This post is also available in: Français (French) Italiano (Italian) Deutsch (German)
In this three-part series, we’ll cover three key tools the Fusion 360 Machining Extension brings to the table that will make your process more efficient than ever — starting with in-process inspection.

Starting, running, owning, and operating a business is hard — there’s no doubt about it. And when it comes to the design, engineering, and manufacturing industries, there’s certainly no formula for maintaining a successful business. You have to consider interdepartmental workflows, CAD/CAM software, machine tools, rising supply chain issues, production efficiencies, on-the-job training, hiring, incoming revenue vs. expenditures, etc. It’s never a clear-cut process. Frankly, our heads hurt just thinking about it. That’s exactly why we’ve introduced the Fusion 360 Machining Extension, which unlocks added manufacturing capabilities in Fusion 360 to help you machine smarter, faster, and stronger.
Business is dynamic, so the solutions you choose to deploy can make or break your success. In this three-part series, we’ll cover three key tools the Fusion 360 Machining Extension brings to the table that will make your process more efficient than ever. We’re kicking off the series by delving into how in-process inspection and Probing tools can lead to faster production runs, more efficient QC protocols, and in the end, more revenue.
What is In-Process Inspection?
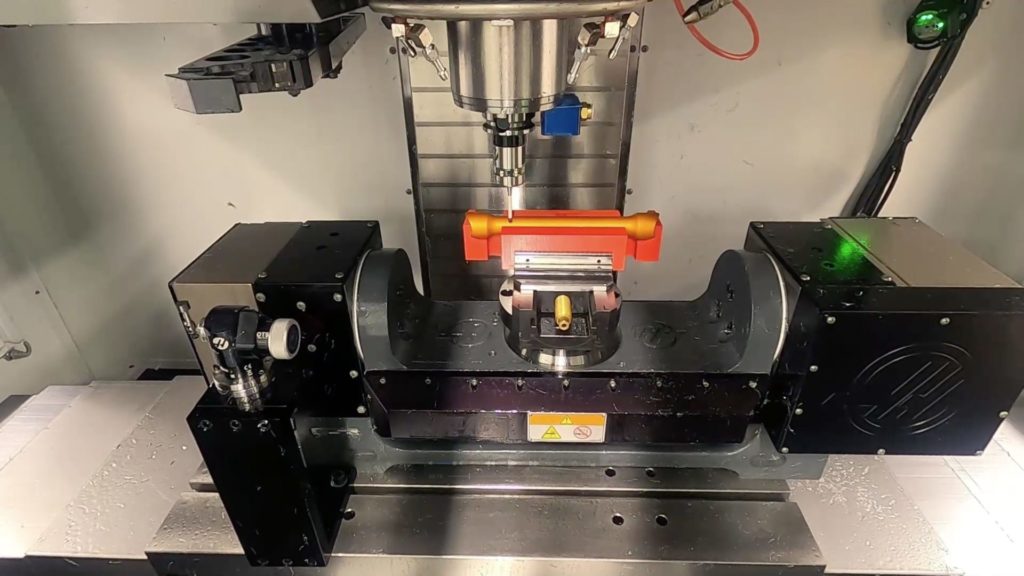
In-process inspection is the act of integrating an inspection protocol in your machine via a spindle-based probe. It’s often used for core and cavity creation for injection mold tooling. However, it is an effective process for any industry. You can use In-Process Inspection with 5-axis machining, all the way through 3-axis and 4-axis machining.

Why is In-Process Inspection useful?
In-process inspection integrates the QC process and streamlines your setups into your manufacturing runs. The Fusion 360 Machining Extension and its accompanying probing tools encourage you to include in-process Inspection as a critical part of your daily production schedule. Why? Say, for example, you’ve run a couple of batches and picked, at random, some of your finished products to check, only to find out you’re off by .005mm or a feature is off-center. Either way, you’ve lost time and material. In some cases, you’ll also have to discover where the problem is. With in-process Inspection, you can discover these problems earlier on in your process to save you that extra bit of time, energy, and money.
The best part? These features don’t come from an entirely different machine or a department. Instead, they use the probing tools on your machine. The process starts during the CAM process and is executed in machine post-machining. Once you specify areas to measure in Fusion 360, those features become moves in your G-code. In-process inspection allows you to fully deploy every piece of functionality you already paid for in one process, with one machine and one CAD/CAM tool.
How does In-Process Inspection work?
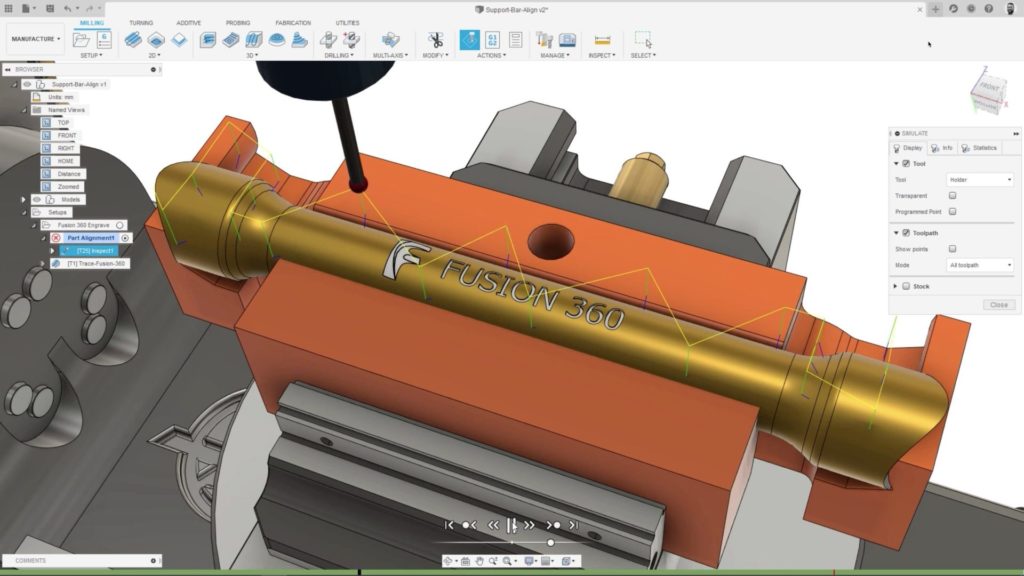
In-process inspection creates measurement and alignment sequences offline. It also allows you the ability to inspect freeform surfaces and probe geometry such as bores and faces to verify the accuracy, dimensions, and positions of critical features and surfaces.
For part setup, in-process inspection post-processes the measurement sequence as NC code then runs it on the machine. Fusion 360 then reads the results and generates a part alignment automatically, then uses it for all following operations. This tool is handy for rough, non-prismatic castings or 3D printed parts that are challenging to locate manually, and larger, heavier parts that are difficult to maneuver.
Fusion 360 uses the same technology for part verification, which allows you to verify your part without taking it off your machine. This feature enables you to check part accuracy before moving to subsequent processes or final Inspection. Unexpected variation can be detected and remedied immediately, minimizing costs and improving efficiency.
Try the Fusion 360 Machining Extension Before You Buy
A successful process doesn’t happen overnight. You need to hone your workflow to be perfect, repeatable, and profitable every time. Oftentimes, we make concessions because of cost or learning curves. To that point, you’re probably thinking, “Sure, probing sounds useful, but it’s risky to buy and implement something I haven’t used before.” Well, we completely agree. And remember: Probing and inspection processes can be used in any multi-axis machining scenario.
If fear of cost, learning curve, or complexity is holding you back, fear not. Access a 7-day free Fusion 360 Machining Extension trial to see how much your process can change for the better before any commitment. We’ll leave you with this question: If you could add useful functions to your daily workflow while staying within one platform, why wouldn’t you?

Check out Part 2: Rotary Strategy and Part 3: Toolpath Automation of this series for more information.
Want to learn even more about the Fusion 360 Machining Extension? Check out these webinars:
Why Steep and Shallow is a Reason to Upgrade to the Fusion 360 Machining Extension
Why Surface Inspection is a Reason to Upgrade to the Fusion 360 Machining Extension
Why 4th Axis Rotary is a Reason to Upgrade to the Fusion 360 Machining Extension