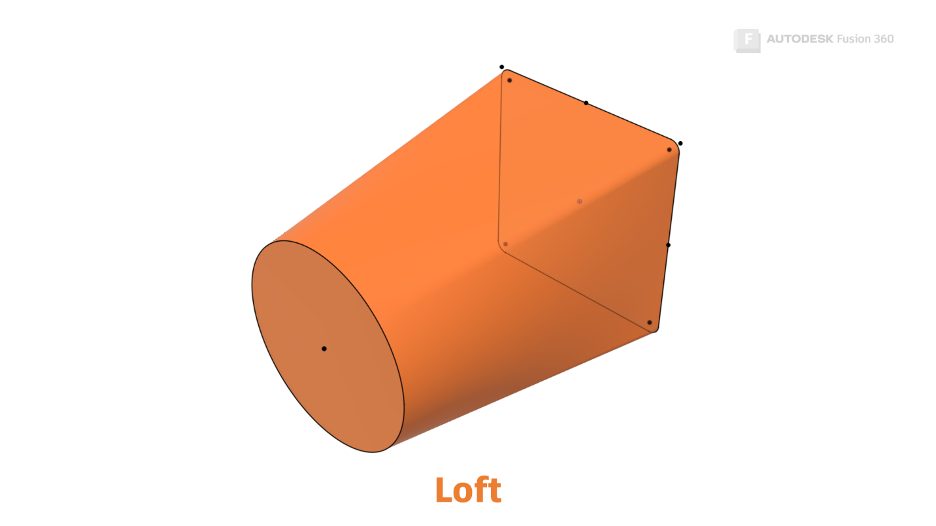
In Part 2 of this series, we found out when we should create a swept form, and when we need to move on to the Loft command. In Part 3, we’ll learn how lofted forms are created by the Autodesk shape manager (ASM) in Autodesk Fusion 360.

What does the Loft command do?
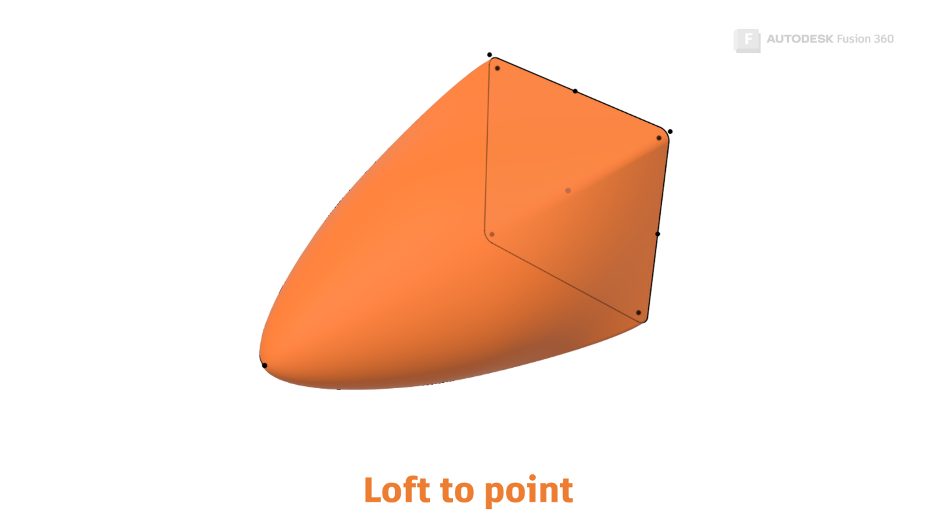
The Loft command creates a shape that is a smooth transition between two or more profiles. A profile can be a sketch, or the face or edge of existing geometry. You can also Loft from a profile to a point. This can be helpful when modeling a curvature continuous end cap.
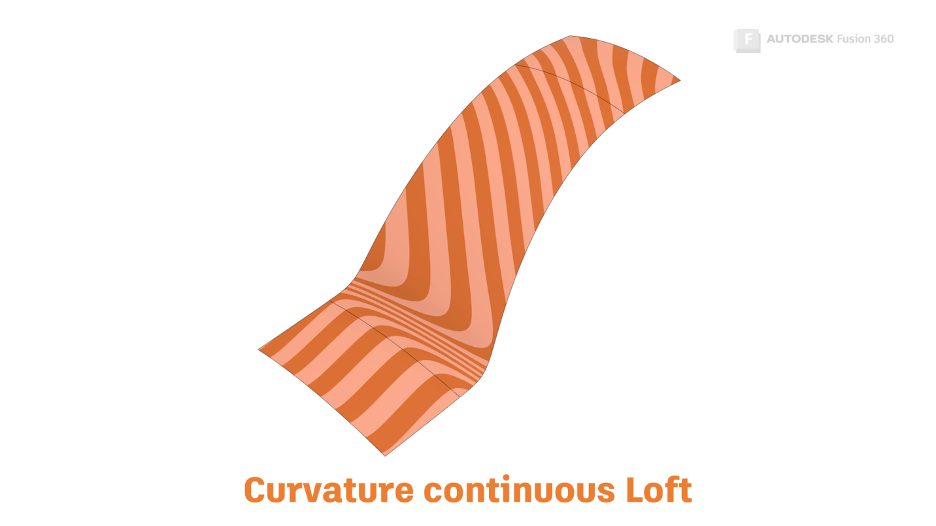
Because the loft command can ‘warp’ the surface it creates to suit its inputs, we can set boundary conditions to maintain curvature continuity to the input geometry (Read Part 01 for a definition of curvature continuity).


What’s the difference between a Guide Rail and a Centreline?
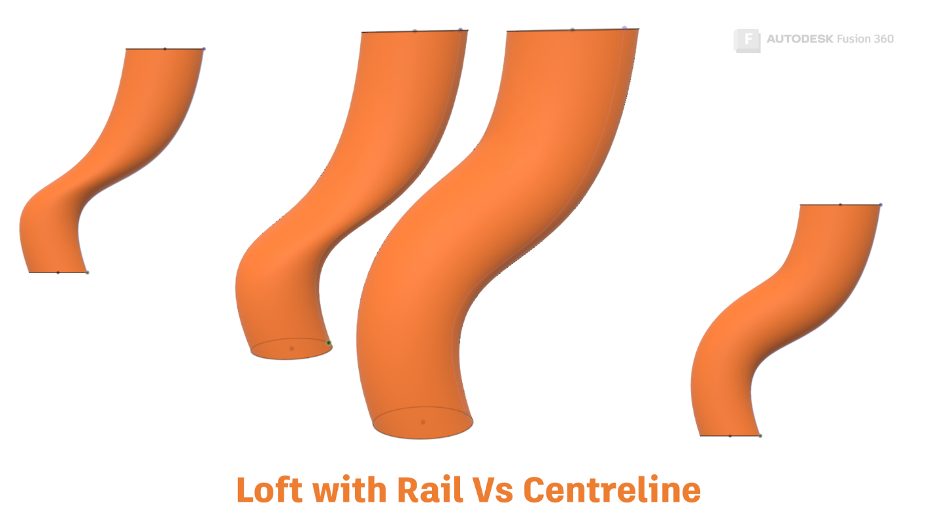
A lofted form can use additional geometry to help guide its shape. These guides are lines, arcs, or splines. They can be used as ‘Guide Rails’ or ‘Centrelines,’ but what’s the difference?
A guide rail does the same job as a profile. The shape we create is being ‘pulled toward the guide rails. We can have as many guide rails as we need. The placement of guide rails is important, and they should always connect each profile in the set. Think of the lofted form as a surface that is ‘stretched’ around the profiles and guide rails.
A Loft with centerline behaves in a very similar way to a Sweep path. The Autodesk Shape Manager will interpolate intermediate profiles that warp between the start and finish profiles. These intermediate stages will be perpendicular to the centreline. The profiles follow the path instead of being ‘pulled’ toward it.
Centreline geometry doesn’t need to connect to the profile geometry as guide rails do. Centreline geometry also doesn’t need to be in the ‘center’ of the profile!

A centreline loft with start and finish profiles will give you a naturally smooth transition. If you struggle to get what you need from a guide rail loft, try a centreline loft instead.
When shouldn’t I use a Loft?
Lofts can be created from sketches, faces, edges, and points as inputs, but they require at least two profiles. What if we want to create a surface using only one input? Maybe it’s time to learn about the Patch command.
Get Smart with Fusion 360
Check out the other articles in this series:
3D Modeling Terminology
What Is a Sweep in Fusion 360?
What’s the Difference Between Loft vs. Patch?
This article is based on an Autodesk University class. You can watch a recording of the class and download a handout that goes with this presentation from the Autodesk University website here:
7 Deadly Sins of 3D Part Modeling in Inventor & Fusion 360.