Elevate your design and manufacturing processes with Autodesk Fusion
This is for all the brand new Fusion 360 users. I’ll show you how to create a new Fusion design. Then we’ll look at how you can start with some simple shapes.
Start a new design
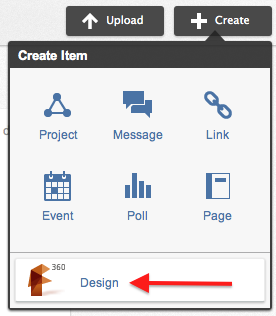
Create a new Fusion design to get started. Click the Create menu then select Design.
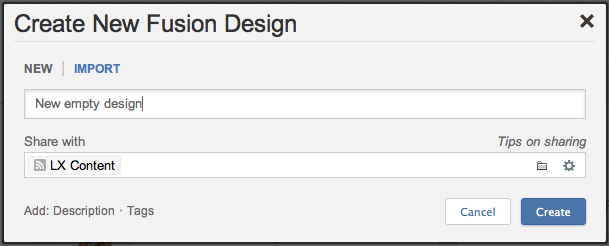
Give your design a name and assign a project. Use projects to organize your designs and related data.
A new empty design is created and opened. This is your blank canvas to create anything you like. We’ll create some simple shapes to introduce you to the different types of geometry you can create.
Create basic bodies
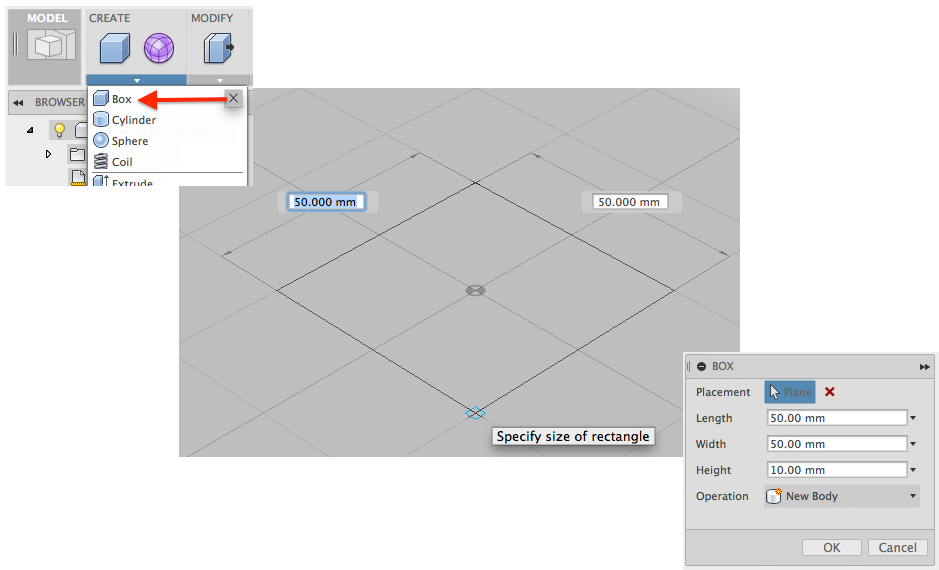
We’ll start in the Model workspace. Use the Model workspace to create prismatic shapes with straight faces and edges. There are basic shape commands in the Create menu (box, cylinder, sphere, and coil). Click on Box to begin creating a box. Select the bottom (XZ) plane then pick two points to define the corners of a rectangle. Specify a height by entering a value in the dialog box or by dragging the manipulator arrow. You can use the values shown in the dialog or use your own values. Click OK to complete the box.
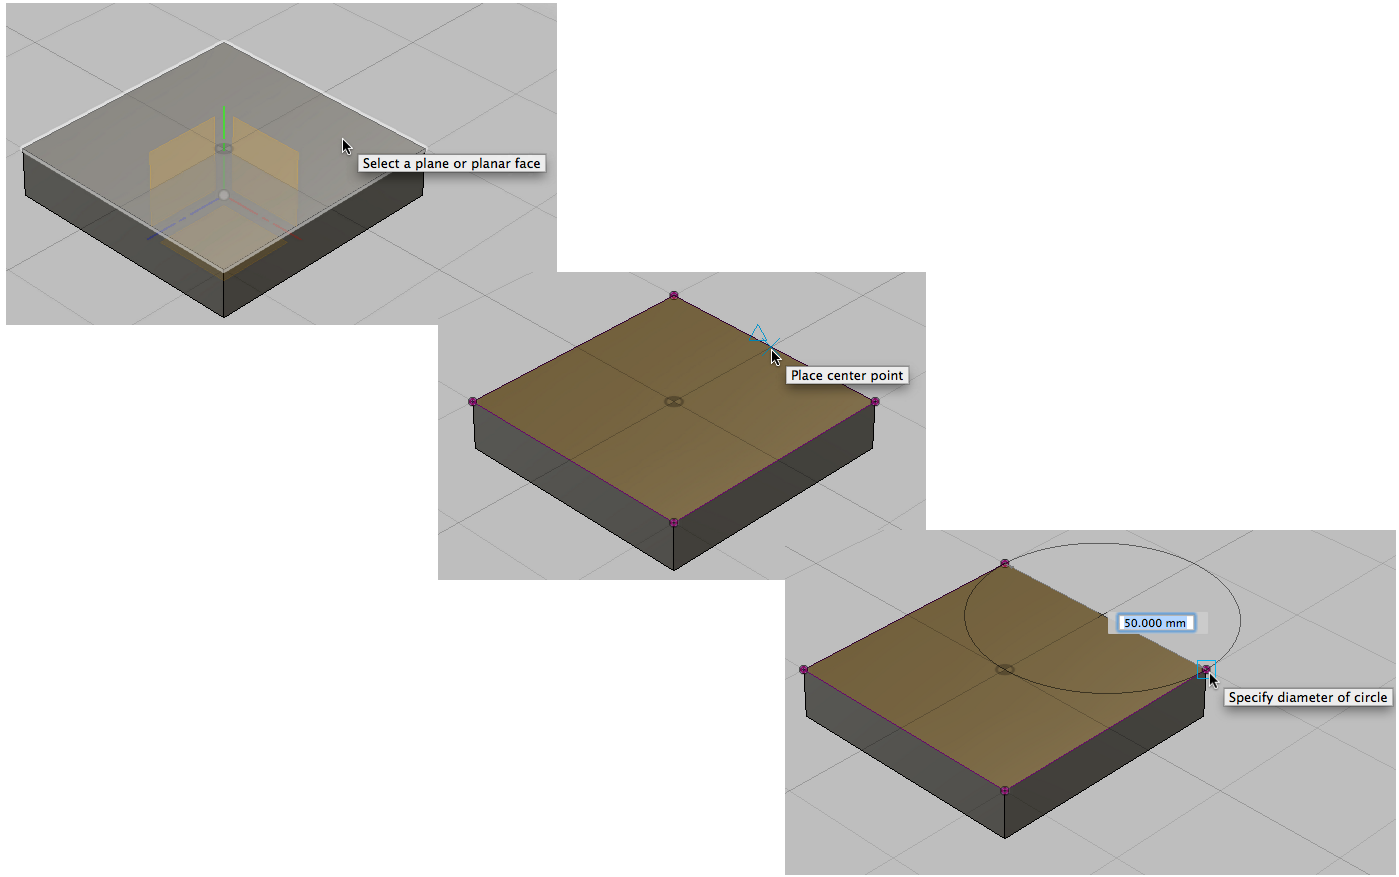
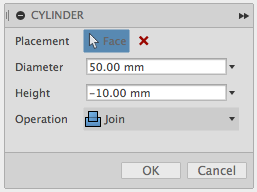
The commands in the Create menu can be used to add geometry to a body. Use Cylinder to add to the box you just created. Click the Cylinder command in the Create menu. Select the top face of the box to position the cylinder. Move the cursor to the midpoint of the top edge and click to specify the center of the cylinder. Click on one of the corners to specify the diameter of the cylinder.
Specify -10 mm for the height in the dialog or by dragging the manipulator arrow. Change the Operation to Join to add material to the body and click OK.
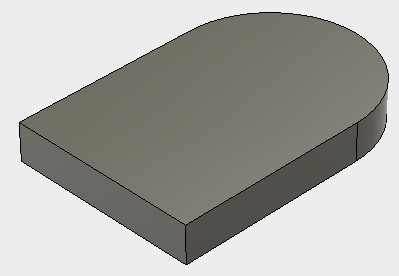
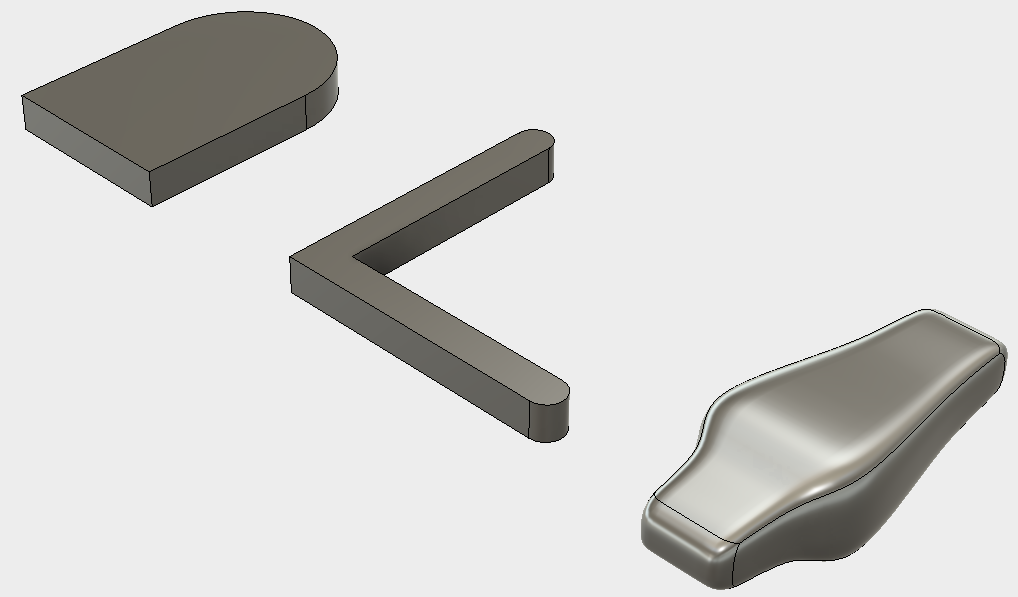
The body should look similar to this, depending on the values you used.
Use sketches to create bodies
Use 2D sketches to create bodies that are more complex than a simple cube or cylinder. We’ll create and “L” shape sketch but 2D sketches can be as complex as needed.
Start the 2-Point Rectangle command in the sketch menu.
Select the same XZ plane you used for the box earlier. Click a point to position the first corner of the rectangle then enter 10, press <Tab>, enter 75, and press <Tab> again. Click to finish the rectangle. Dimensions are added automatically when you enter values for the size instead of picking points.
Repeat the process to create a 65 mm by 10 mm rectangle perpendicular to the first rectangle.
Start the 3-Point Arc command in the Sketch menu. Pick the two top corners of the first rectangle then move the cursor and click when you see the tangent symbol . Repeat this process to create an arc on the second rectangle. The sketch should look like the “L” shape below.
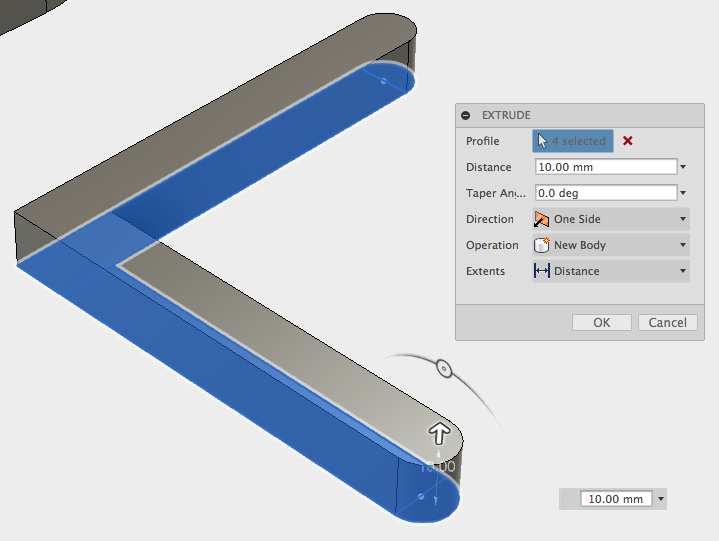
Click the Extrude command in the Create menu. Click the four profiles (two rectangles and two arcs) then specify 10 mm for the Distance. Click OK to create the new body.
Create sculpted forms
Organic shapes are also very easy to create using Fusion 360. Use the Sculpt workspace to create organic shapes. Click Create Form in the Create menu to enter the Sculpt workspace. Read the prompt that is displayed then click OK to dismiss it.
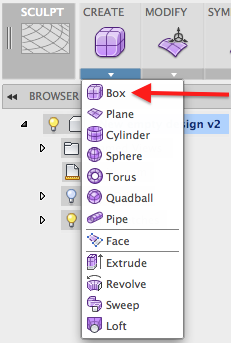
The Sculpt workspace has the same simple shapes that we saw in the Model workspace plus a few more. Sculpt also has Extrude, Revolve, Sweep, and Loft for create bodies using 2D sketches. It is most common to start with a simple shape when in the Sculpt workspace. Click Box in the Create menu.
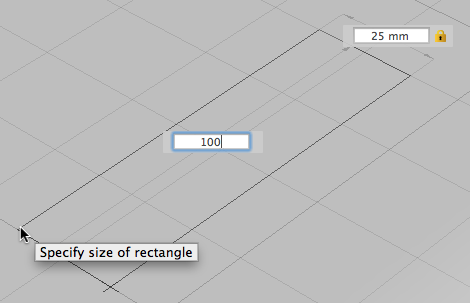
Pick the same XZ plane that we used to start the first box. Pick a point for the center of the rectangle then enter 25, press <Tab>, enter 100, and press <Tab>.
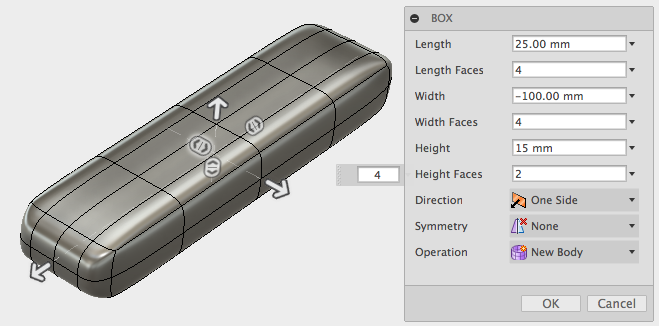
The number of faces on bodies determines the control you have over the shape. You want to use the minimum number of faces on a body to give the desired control. Enter 4 for the Length Faces and Width Faces then click OK to create the box.
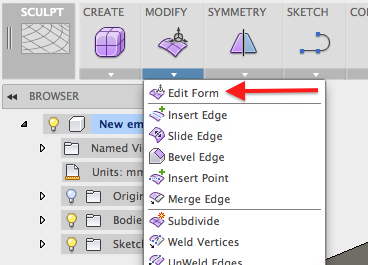
Use the Modify commands to make changes to the bodies in the Sculpt workspace. Click Edit Form in the Modify menu.
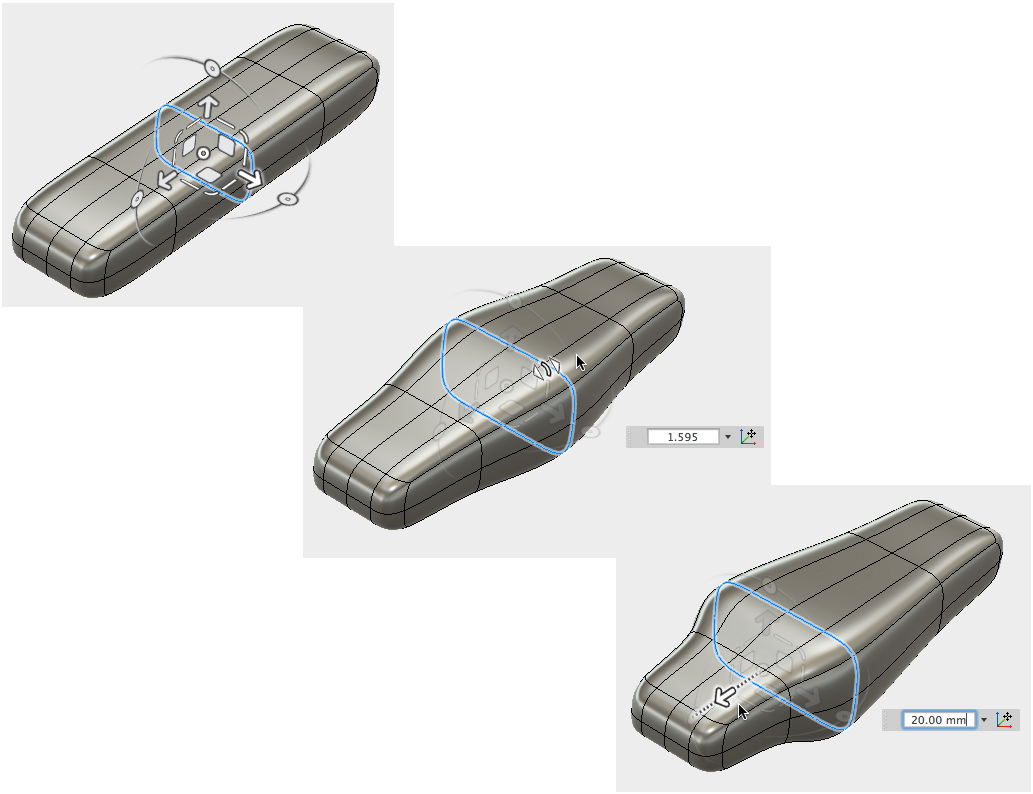
Double-click on the middle edge to select the entire ring of edges. Drag the corner manipulator to change scale the edges. Click one of the arrow manipulators to move the edges. Continue to experiment with the manipulators to see the affect they have on the body.
When you are satisfied with your shape click Finish Form to return to the Model workspace.
Congratulations! You have created your first bodies in Fusion 360. Be sure to check out the Learning area of the Fusion website for more tutorials, videos, and help content.
More to come. Design Differently!
-Patrick
