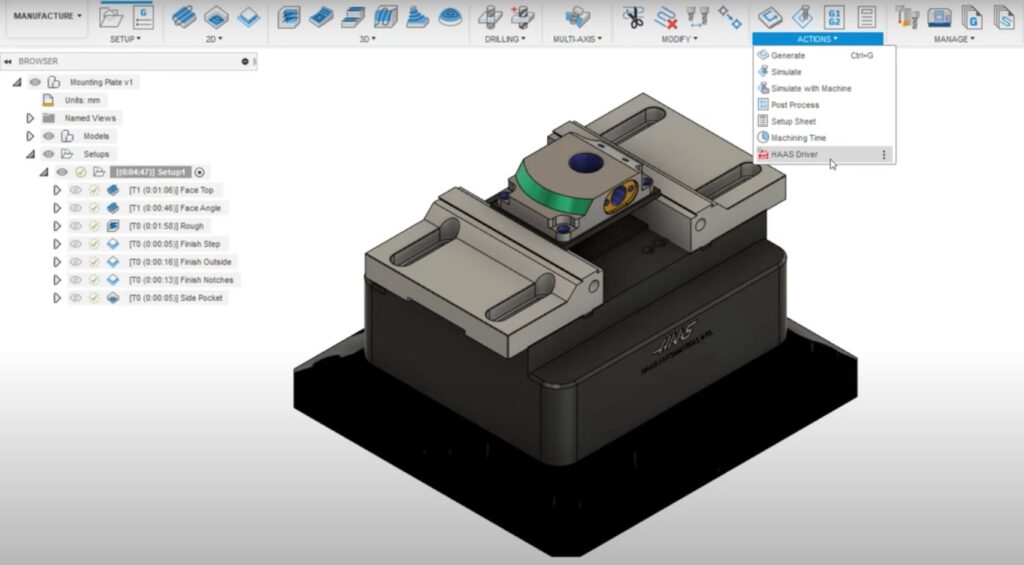
The new Haas Driver for Fusion 360 enables instant-on productivity for users with Haas milling machines. Check out the rest of the benefits and how to access the add-in in this tutorial.

The Haas Driver for Fusion 360 is a new add-in that enables instant-on productivity for users with Haas Milling Machines fitted with the Haas NGC controller. It will search for machines connected to your shop network and add them to your Fusion 360 machine library. This allows NC programs to be sent directly to the controller.
How to access the Haas Driver
To access the Haas Driver, start by downloading it from the Fusion 360 App Store here. Once it’s installed, it will appear as an option inside Fusion 360 under the Actions panel in the Manufacture workspace. Once you open the driver window, the first step is to add your machines. Do this using the plus icon, and you can then select whether to search for a machine on the network your PC is connected to or search by IP address for a specific machine.
Selecting “Search my network” is the easiest method to find all machines. Once found, you can select single or multiple machines and then add these to your library. You can then view the information for the machine in the Haas Driver window, including any rotary attachments which are loaded on. This information about the machine’s setup is used to automatically configure the post processor.
The next step is to assign your machine to your manufacturing setup. Do this in the usual way by selecting a machine from the Setup tab to open the machine library. There will now be a new Network library folder that will contain any machines added using the Haas Driver. Select the appropriate one and OK to assign.
How to use the Haas Driver
Once your toolpaths are ready, the next step is to use the Haas Driver to send the code. Switch to the Send Operations tab so that any setups with a network library Haas machine assigned will be selectable. You can select the entire setup or individual toolpaths, and the machine that they are assigned will display. When ready select Send.
At this point, the Haas Driver will check for any changes on the machine. If there are none, it will continue to the next step, which is to enter a program name and optional comment. You can then select where to send the NC program — directly to the machine or to a local output destination on your PC. Send to Machine will be the quickest method to get the file onto the controller. Once sent, you will see a preview of the code. You can now find the file under the “Project” folder on your controller, ready to run and configured for your machine.
If you would like to make any adjustments to how the code is output, you can edit the machine using the pencil icon in the Network Machines tab. You can change some settings, such as the display name. In the NC preferences tab, you can adjust your post processor preferences to output the NC code for your needs.
Check out the video tutorial below to wach the step-by-step instructions:
That’s all you need to know to start using the Haas Driver for Fusion 360. Ready to achieve instant-on productivity with your Haas milling machines? Try Fusion 360 for free today.
