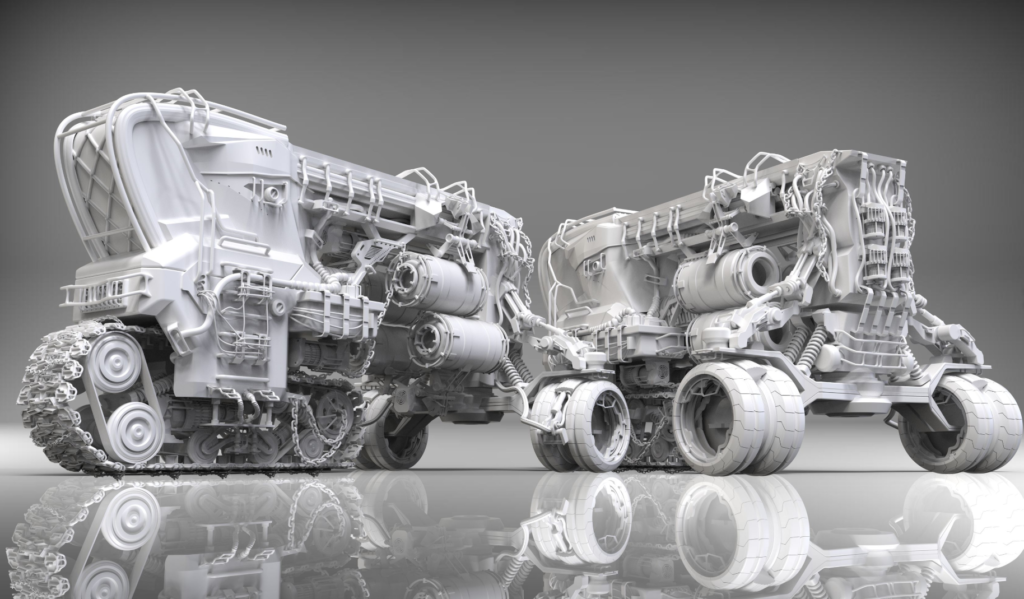
We love to Make Anything here at Autodesk, and we love innovators, innovating, and innovation too! (Wow, that’s a lot of innovation) and one of the things I personally geek out on is when tools are used “wrong” to discover new solutions to problems. In the past nine months, we’ve noticed an increase in the use of Fusion 360 by visual artists and video game creators. So we were wondering how Fusion 360, a solid modeler, could amplify a primarily mesh-based workflow. That’s when we first caught wind of the incredible work Jason Zigrino does in his spare time, recreating and realizing classic designs from Braun and Sony in 3D, mixing Fusion 360 with other tools to bring his visions to life.
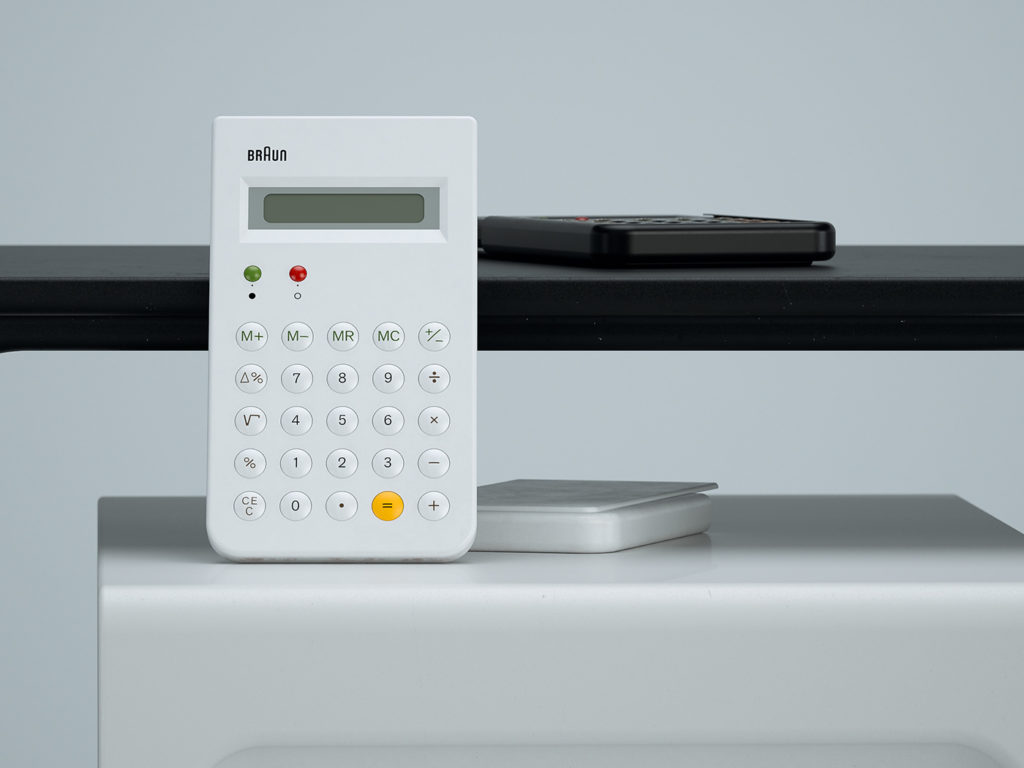
I talked to Jason recently about his workflow and heard from him directly on how all these different ideas came together and asked him to dive into his workflow, recreating the classic Braun calculator.
Step 1: The Gathering
Just like any project with existing data, the first step is data gathering. Jason often works with items that are well documented, so compiling images to refer to, and other data is straightforward and necessary. However, data like dimensions can vary wildly, and reverse engineering with only the internet as a resource can be challenging at times. Still, at the very least, with a massive set of reference images, the object can be modeled proportionately. It’s important to remember that Jason is not producing data for manufacturing, but for the best possible rendition. The ability to make is not as important as the ability to realize!
Step 2: The Modeling
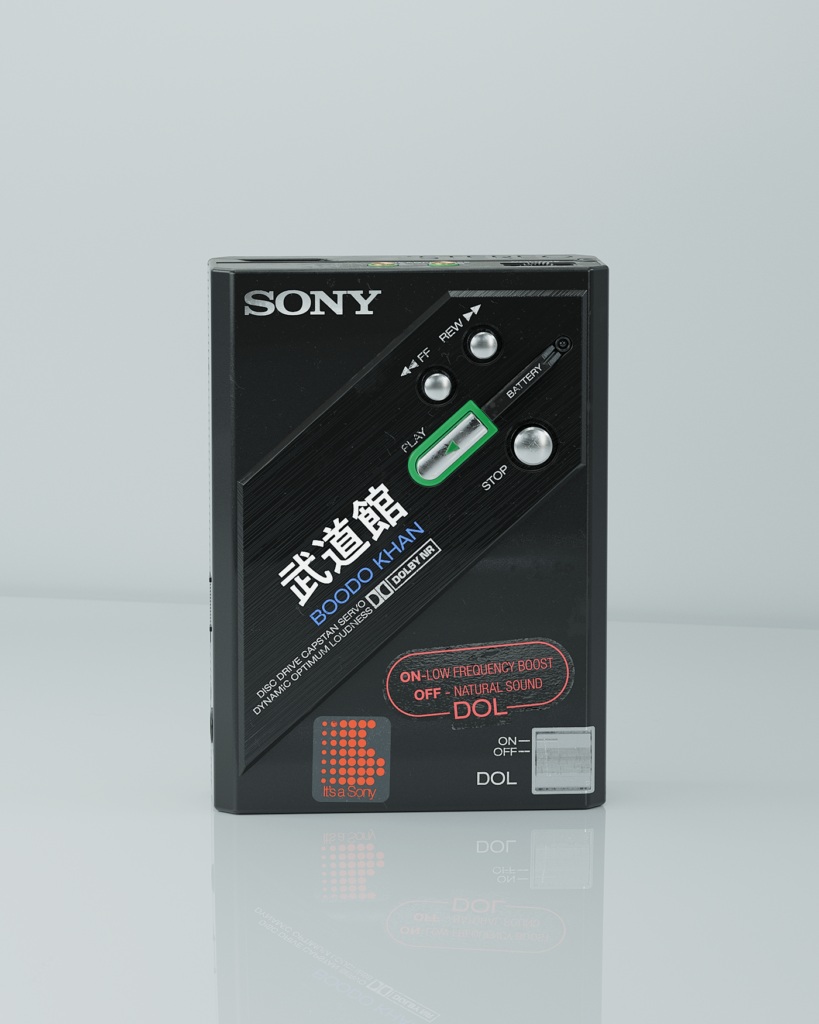
From here, Jason starts his modeling work. “Once I am content with the resources I have gathered, I can then begin work in Fusion 360. I often receive messages about what modeling program I use, as well as why I would bother to add more complexity by using another program. [Afterall]…I could just model all of it in Cinema 4D.” Then he goes on to explain that he treats all CAD like tools in a workshop, not a Swiss Army Knife. While it’s possible to use any CAD tool to arguably achieve the intended result, by fragmenting his work out across different software, Jason is leveraging the best aspects of each tool in his ‘toolbox’ to get the best results.
“The fascinating thing is that Fusion 360 is a profoundly powerful program that is equally matched by its approachability to new users.” Zigrino adds, “It reminded me of when I first discovered Photoshop. Just playing around and creating wonderful things from deep within my mind.”
Step 3: The Organizing
I asked Jason about how he uses Fusion 360 and treats his models; his approach surprised me. Jason organizes his data into vital groups instead of manufacturing assembly.
“My components will often contain a layer for the main bodies. Another for buttons, knobs, and switches. And another for text and stickers, as well as, any more I may need down the line.” Zigrino says, “Once I have my layers set, I like to set up some canvas images to get me on the right path.” From there, a more familiar dimensionally and sketch driven workflow emerges to get the data ready, layering details in as necessary, and leveraging the parametric functions to refine steps as things come together.
Jason continues, “I devote the remainder of my modeling process to the more meticulous details. For most, it would seem quite odd to model the text at all. I go back and forth between modeling the text as a physical object or as a more traditional image-based approach. While the flexibility of the image-based text is undeniable, it has always frustrated me having to dive into the UVs and place the text just right. If it were off just a bit, I’d have to dive back into the texture and manipulate it again.”
Step 3: The Exporting
Ok, we’re about to dive into what happens to data in his workflow after Fusion 360, so I’ll let Jason take over the article from here.
“From here, I export the parts from Fusion 360. This is where those component layers come into play, hiding all other layers I export only my main bodies component layer, repeating this for all the other component layers.”, he explains. “I often export as an IGES file but SAT and STEP work as well. Then I import those parts into MoI 3D. This lets me control the final OBJ more, before exporting to Cinema4D.”
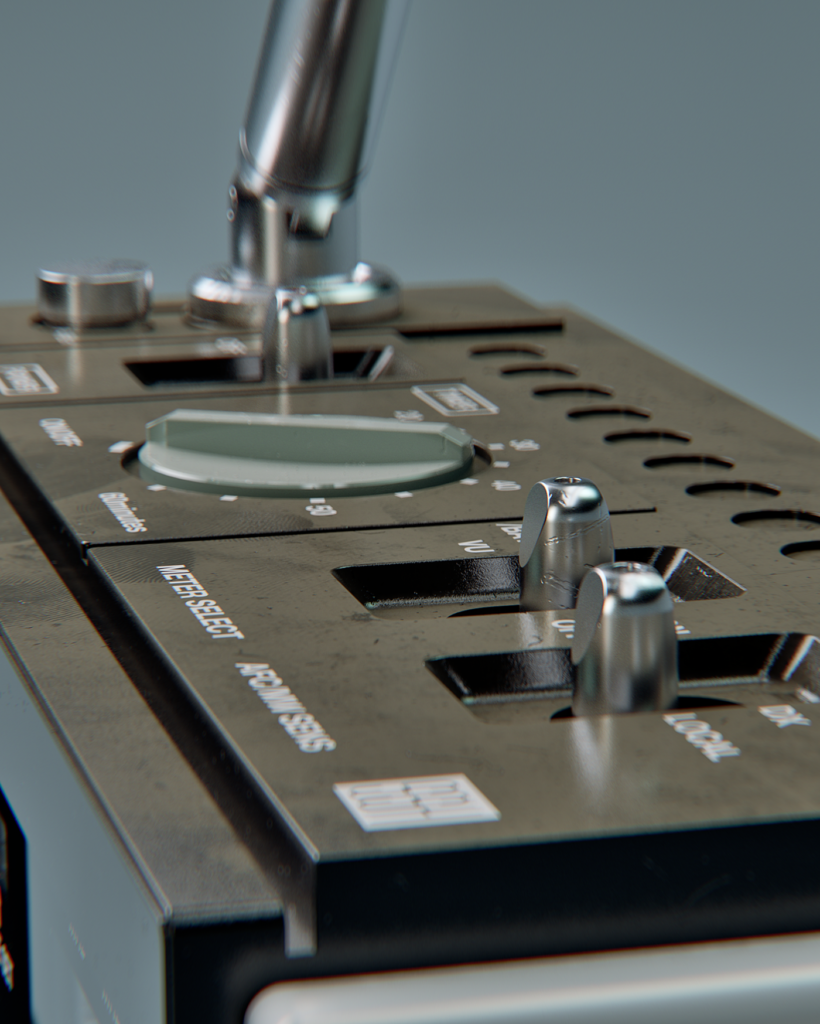
Jason continues, “There are a whole host of render styles out there, and each of them shines when the lighting is done well. As for texturing, sometimes, I recreate the product as if I just came off the factory floor. In perfect condition but often cold and lifeless. I like to approach it as if the product has a story behind it. A life it has lived. Some of my projects like the Blade Runner 2049 props have been weathered to appear as though they have seen real battle. When I recreate them, I want that same weight and backstory felt when people see my renders.”
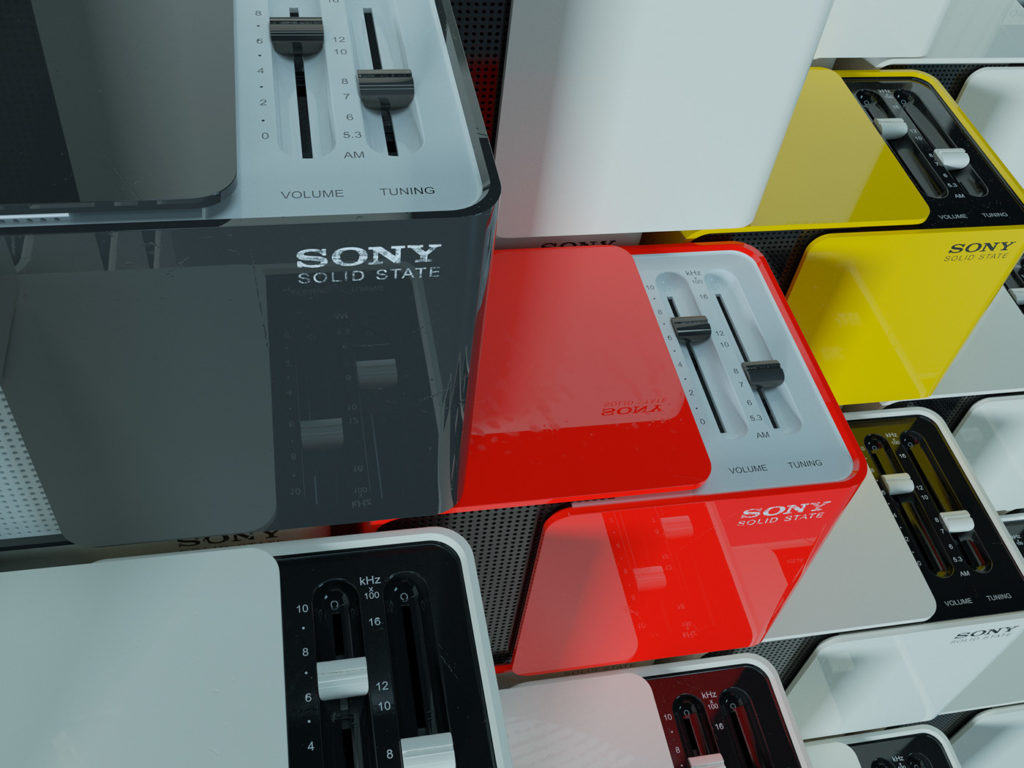
“The same goes for the retro-tech, just imagine the Sony ICF-5500 buried in an old wooden chest in your grandparent’s attic or basement. Sifting through the old and forgotten treasures just to come upon a classic gem neglected for decades, dust and grime collected in the smallest of nooks and crannies.”
Step 4: The Coloring

Jason finishes, “Finally, rendering and color grading, if you’re lucky, very little tinkering will be required to create a clean image. Color grading, in my opinion, is such an underrated part of the process. An image that once looked ordinary now looks striking, taking a before and after look at the raw render versus the color graded image is quite honestly like night and day. What once was flat grey and bland is now vibrant and full of life.”
“Unfortunately, I didn’t discover any shortcuts to get me where I am today. Just a lot of long nights watching tutorials and playing with settings to get things just right. Also, a lot of failures. But in failure, you find out not only what you did wrong but hopefully what you can do right. There is a treasure trove of astounding people out there willing to share their thoughts and experiences. So if you’ve made it this far, thank you for allowing me to share mine with you.”
You can find Jason’s work on Instagram and Behance.
Find out what Fusion 360 can do for you, start designing today.
