Power In Your Pocket: How a Battery Works for the Electronics Beginner
It’s hard to picture the world without batteries in it. Say goodbye to that smartphone you tow around in your pocket. Or that laptop you take with you wherever you go. Oh, and that car you drive? I’m afraid you’ll need to learn how to hand crank it now that batteries aren’t a thing. These little chemical superheroes play such a massive and vital role in our modern lives, but many of us take them for granted. We just assume they plug in and provide power for a greater purpose, but how exactly does all of that work? Thankfully you’re an electronics designer, so you’ll need to know a little more. You might just be placing a battery holder on your PCB layout, but it helps to know what that battery is doing, and why.
What Is a Battery?
That might seem like a rhetorical question, but what exactly is a battery? Sure, we know that it provides power when we plug it into a circuit, but there could be little engineering gnomes working behind the scenes in that metal container! You can think of batteries as small capsules of chemical potential. When left alone the chemical inside a battery don’t do anything, but when you plug one into a circuit, those chemicals come alive, converting chemical energy into electrical energy to power all of your most cherished electronic devices.
This conversion process from chemical to electrical energy can release over days, months, or years, depending on what kind of battery you choose and how much chemicals are within. For example, you might only switch out the battery in your watch once every five years, but the AA batteries in your Xbox controller might need to be swapped out every month. To understand the inner workings of a battery, it’s good to start with the general anatomy and structure of these little chemical superheroes.
The External Structure
Starting on the outside, any battery regardless of shape or size will always have two terminals, one positive (+) and one negative (-). In an ordinary dry cell battery like an AA or AAA, those two terminals reside on each end of the unit. But on something bigger, like a car battery, you’ll find the positive and negative terminals sitting on top of the unit.
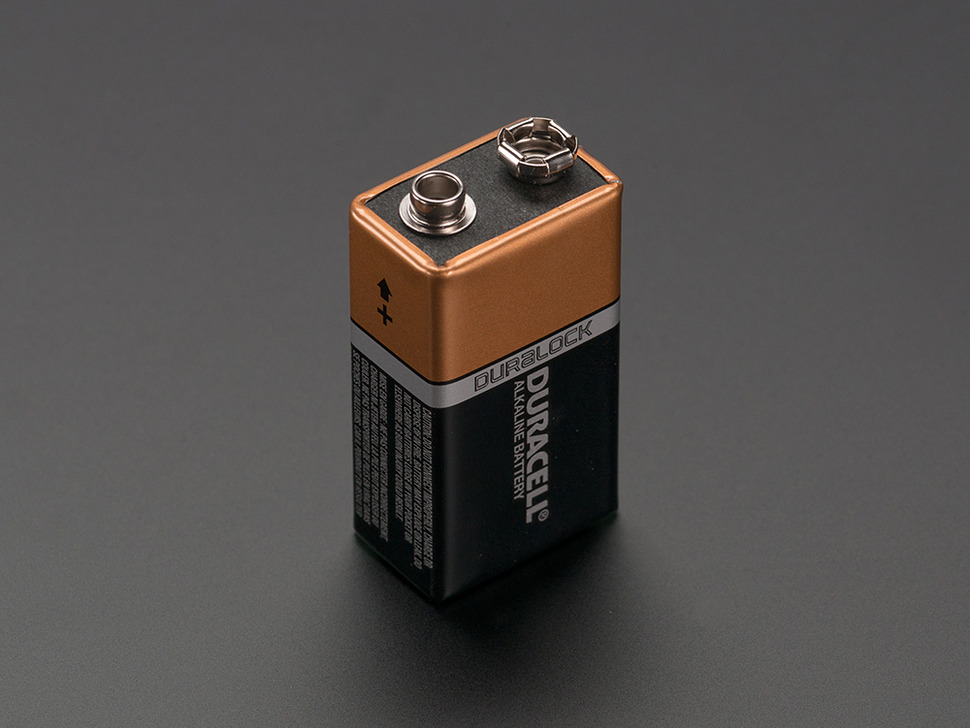
Regardless of where the terminals on a battery are located, the result is always the same. You connect the two terminals together in a circuit, to perform a certain task, called load. A load can be anything from powering a smartphone to spinning a motor.
The Internal Workings
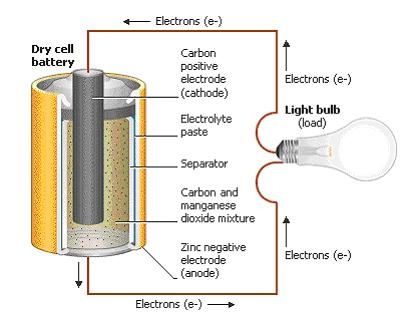
Inside the battery is where the transfer of energy happens. Here, you’ll always find three essential components regardless of what kind of battery you look at:
- Electrodes. First, you’ll find a pair of electrodes. One of which is the anode, a positively charged electrode which connects to the negative terminal of the battery. The other is the cathode, a negatively charged electrode which connects to the positive terminal.
- Separator. These two electrodes always have to be kept separate from each other otherwise the battery will short circuit itself when plugged into a circuit. This is where the separator comes in handy; it doesn’t allow electrons to flow straight from anode to cathode.
- Electrolyte. Lastly, all batteries have a kind of chemical paste or liquid fill with an ionized element. These ions have lots of extra electrons. The electrolyte is ultimately what allows an electric charge to flow between a cathode and anode. Without an electrolyte, none of the magic within a battery would happen.
How Does a Battery Work?
We already know that a battery converts chemical energy into electrical energy to power our electronic devices. But how exactly does this transformative process work? Again, regardless of what kind of battery you’re working with, the primary electrochemical reaction is always the same.
First, you have to connect your battery to a circuit that has a load, or the job for the battery to do. Once the two terminals of a battery are connected, a bunch of electrochemical reactions begin to occur between the anode, cathode, and electrolyte.
The first thing that happens is the anode undergoes a process called oxidation reaction. This is a fancy way of saying that a bunch of excess electrons build up in the anode through the mixture of ions in the electrolyte paste. If there’s anything to know about electrons, it’s that they hate being around each other when there’s too many of them, and so they’ll be looking for a new place to call home. They could just travel straight to the cathode, but there’s a separator blocking their path, so they have to take a long way around through a circuit.
While an oxidation reaction is occurring in the anode, on the other side of the battery a reduction reaction is taking place in the cathode through an exchange of ions and free electrons. Here, the cathode ends up reducing its amount of electrons, creating a free space for electrons in the anode.

So now you have two opposing variables at play. You have too many electrons in the anode and not enough electrons in the cathode. What happens? When you connect that battery up to a circuit, the excess electrons in the anode will travel through the circuit, powering all of your components, until they finally arrive at the cathode. This process happens over and over again, all thanks to the electrochemical process that the electrolyte kicked into motion. Eventually, though, the electrolyte paste is going to run out, and when that happens a chemical reaction stops occurring, then your battery is dead.
For any battery to convert chemical energy into electrical energy, the anode and cathode need to be made from two conductive metals. Why is this? One metal in a battery needs to be willing to build up excess electrons, while the other is required to reduce them. If you used two metals of the same type, they would both be doing the same action, and the electrochemical process would never work.
By using two different metals, like zinc in the anode and manganese dioxide in the cathode, you can ensure that there’s a force pushing and pulling electrons from one terminal to the other. This entire process is called electronegativity.
You can see how all of this comes together in a practical example like a flashlight:
- When you pop a battery into a flashlight, you’re completing a circuit, and the chemical energy within the battery begins to transform into electrical energy.
- Inside the battery, excess electrons are being built up on the anode through oxidation and electrons are being reduced on the cathode through reduction.
- The electrons now need somewhere to go, so they take the path of least resistance through your circuit to power your flashlight, from the anode to the cathode.
Batteries will behave the same in any device. There will always be a difference in electric charge between the positive and negative terminals, which causes electrons to flow and electricity to be created. Without this difference in charge, electrons would already be at peace and in balance, so why would they bother making a circuit work?
When There’s More Than One Battery
Your simple flashlight might run off of one battery, but most devices take more than one chemical superhero to make electrical energy happen. From smartphones to electric vehicles, you’ll typically find batteries arranged in one of two ways, either in Parallel or Serial. Here’s the difference between the two:
Parallel
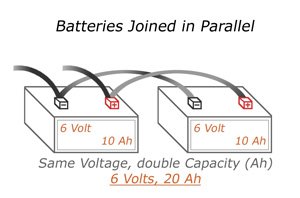
When arranging multiple batteries in parallel, you get the same overall voltage, but an increase in current. This heightened current level is rated in amp-hours or milliamp hours. For example, a battery cell measured at 500 milliamp-hours can produce 500 milliamps of current to a load for an hour.
Serial
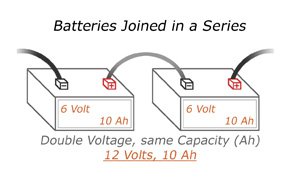
When arranging multiple batteries in serial, you get the same overall current, but now your voltage will be higher. For example, a car battery has six individual battery cells, each of which is 2 volts. Combined, that car battery operates at 12 volts.
Types of Batteries
In the world of batteries, there are a ton of varieties to choose from depending on your specific needs. Rather than just dumping a giant list on you, it makes more sense to break batteries up into two major categories, Primary and Secondary.
Primary Batteries
Primary batteries, or primary cells, are the typical disposable batteries that work once until they run out of a charge and are then discarded. These batteries offer an instant source of power in your pocket, and include:
Zinc-Carbon
This primary cell is the everyday disposable battery that you probably have lying around your house. This inexpensive battery powers everyday electronic devices, ranging from a flashlight to your remote control. In a zinc-carbon battery, the positive electrode is made from carbon surrounded by powdered carbon and manganese oxide. The negative electrode is made of zinc alloy, and the electrolyte consists of a paste of ammonium chloride.

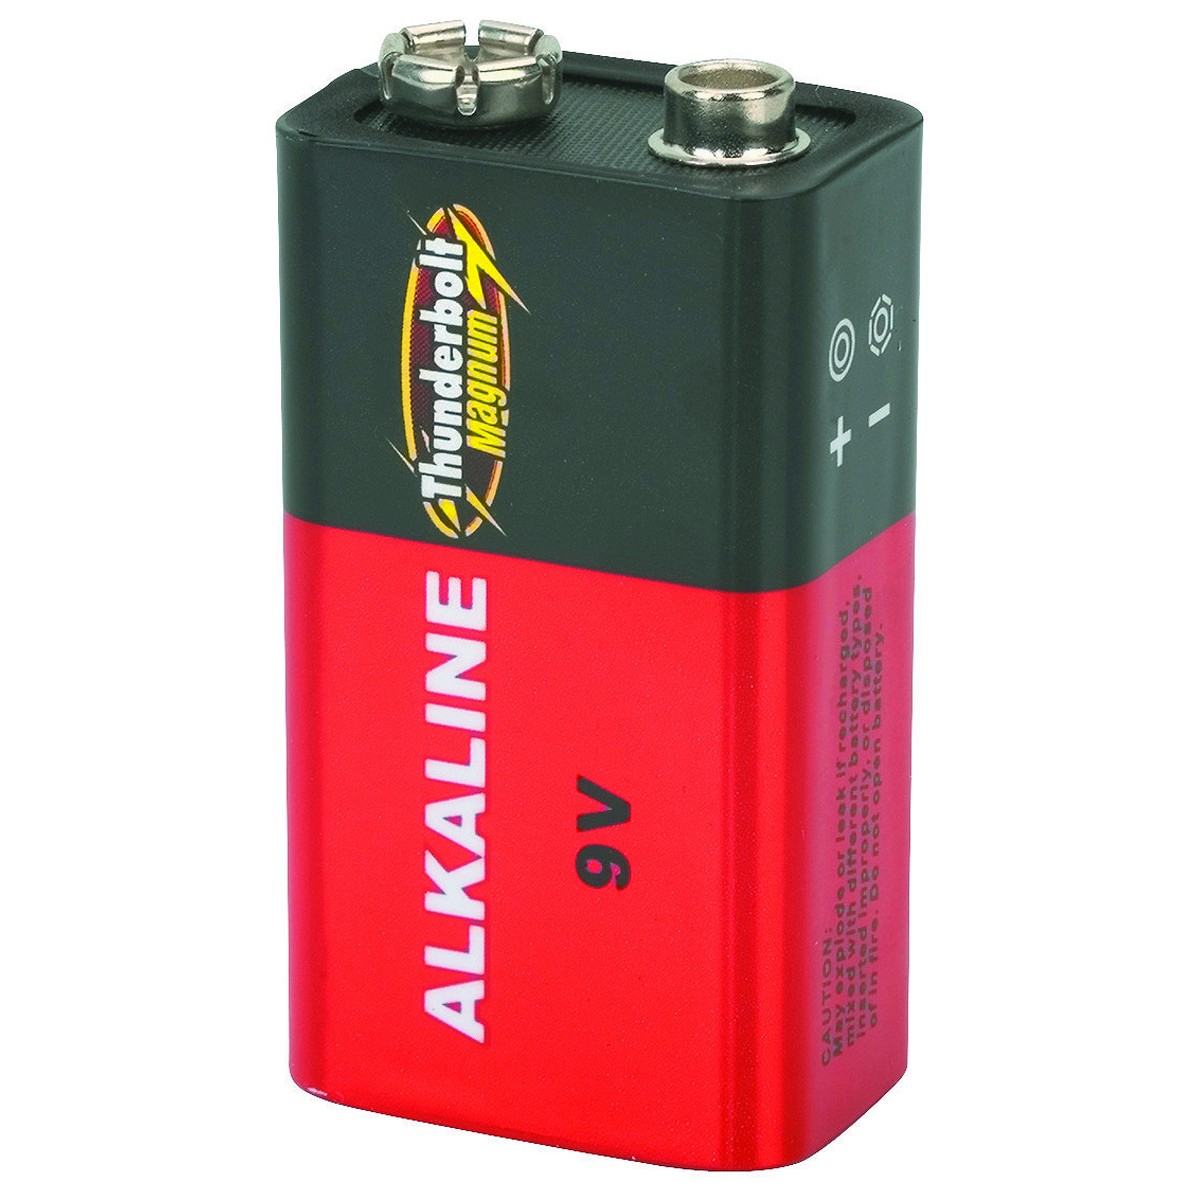
Alkaline
It’s hard to tell the difference between an alkaline and zinc-carbon battery, but alkaline batteries can store and produce more energy, and can often stay charged for years. Within an alkaline battery, you’ll find the positive electrode made of manganese oxide, the negative electrode made out of zinc, and the electrolyte consisting of a potassium hydroxide alkaline solution.
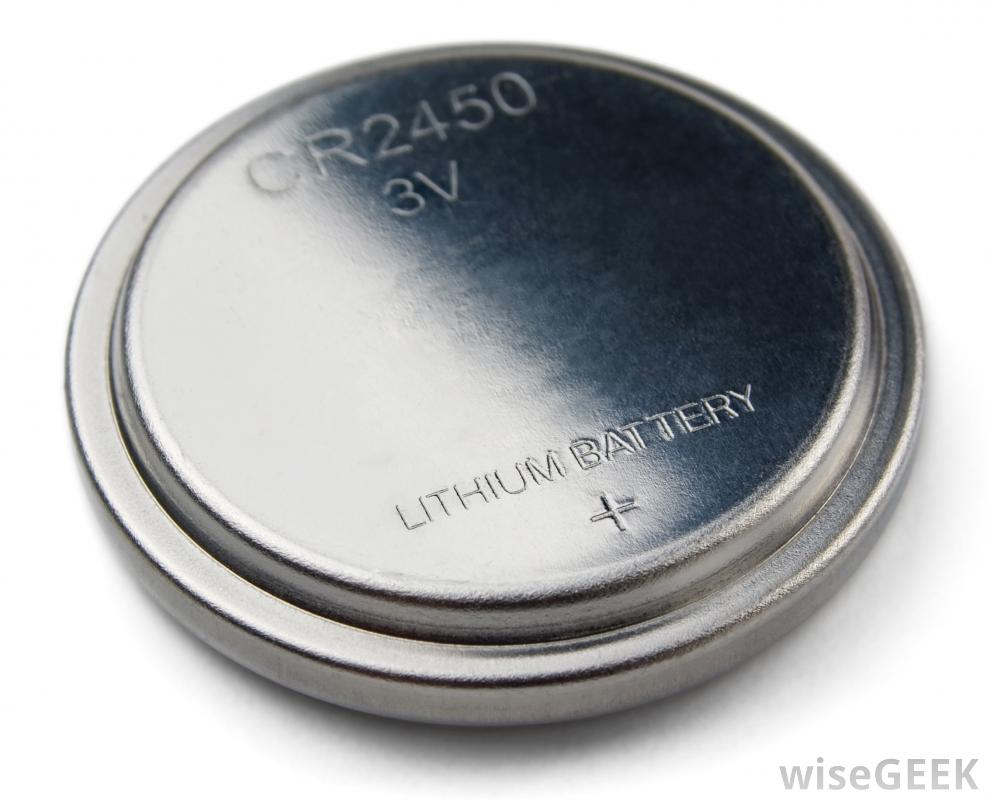
Lithium
You’ll typically find these button-sized lithium batteries being used in watches and hearing aids, but they contain a similar set of chemicals as an alkaline battery. The top side of a lithium cell, the negative electrode, is made from either zinc or lithium. The bottom side, or positive electrode, is made from manganese oxide, silver oxide, or copper oxide.
Secondary Batteries
Unlike primary batteries, which can only produce electrical energy until its chemical energy runs out, rechargeable secondary batteries can reverse their aging process. These batteries send the entire electrochemical process reaction in reverse, firing electrons from cathode to anode until the battery’s cell gets fully restored. Secondary battery types include:
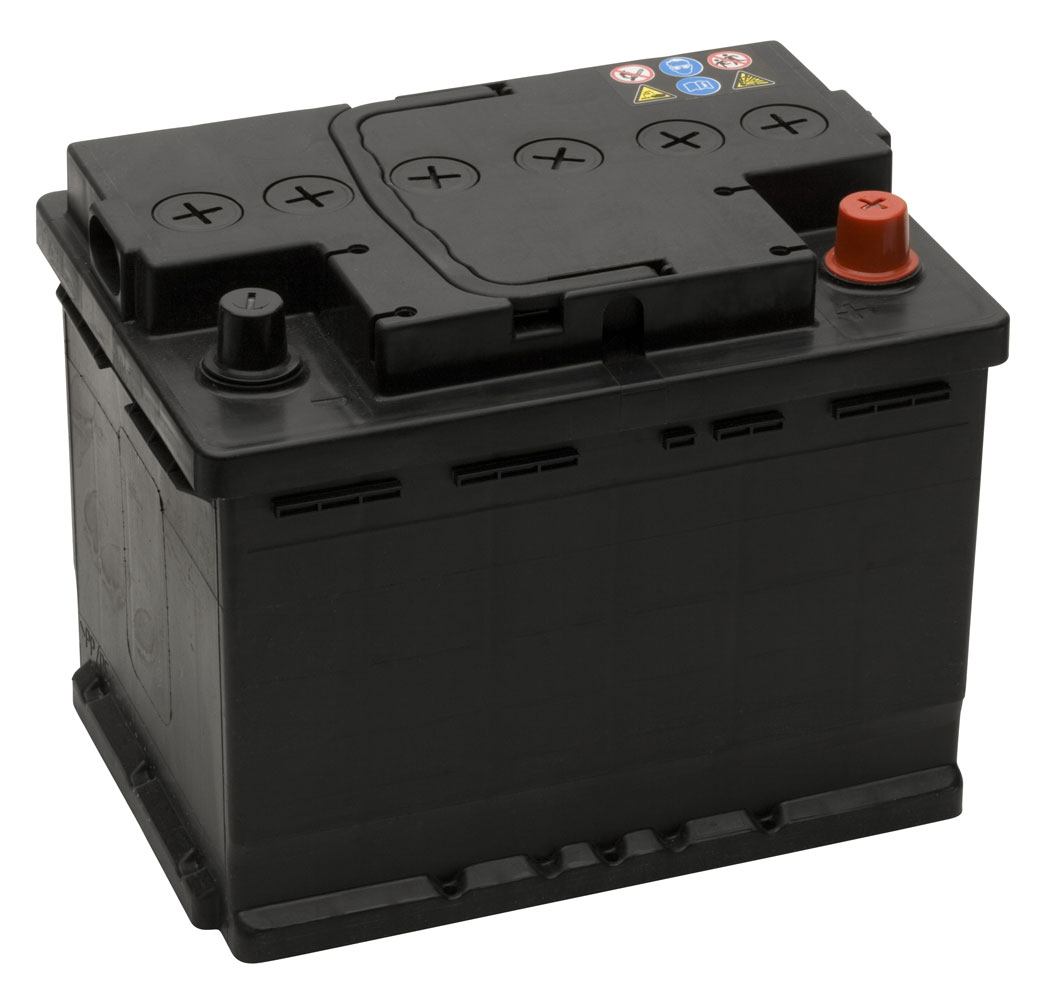
Lead-Acid
This is the battery that you’ll find in your car, and it consists of six separate battery cells that each produce 2 volts, giving you a 12 volt battery wired in parallel. Each cell within a lead-acid battery has a positive electrode made of lead dioxide, a negative electrode made from lead metal, and an electrolyte made from sulfuric acid.
Nickel-Cadmium
Nicad, or Ni-Cd, was the traditional rechargeable battery technology used before the 1990s and was often used as an alternative to disposal 1.5 volt batteries. While these rechargeable batteries are cheap and can be recharged hundreds of times, they also have a bit of a memory problem. How so? If you don’t discharge a Nicad battery fully before charging it again, then you’ll wind up with a diminished charge over time.

Nickel-Metal-Hydride
NiMH batteries work just the same as Nicad batteries do, but are less prone to memory problems. This battery has largely taken the spot of Nicad after the 1990s, mainly because it’s less toxic than a Nicad battery and doesn’t need to be completely discharged before recharging.
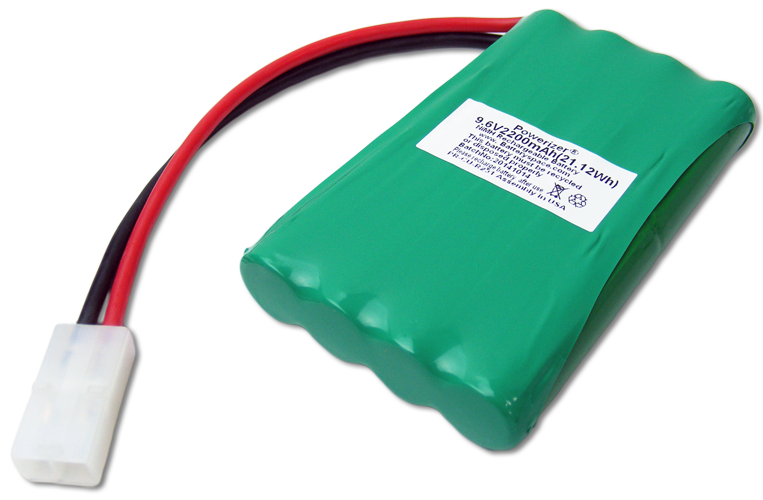
Lithium-Ion
Most major electronic devices these days are using lithium-ion batteries, including your smartphone, laptop, tablet, etc. Lithium has a ton of benefits over Nicad and NiMH batteries, including being more environmentally friendly, working at higher voltages, and storing twice as much energy. Plus, you can charge and discharge a lithium ion battery freely without any memory issues.
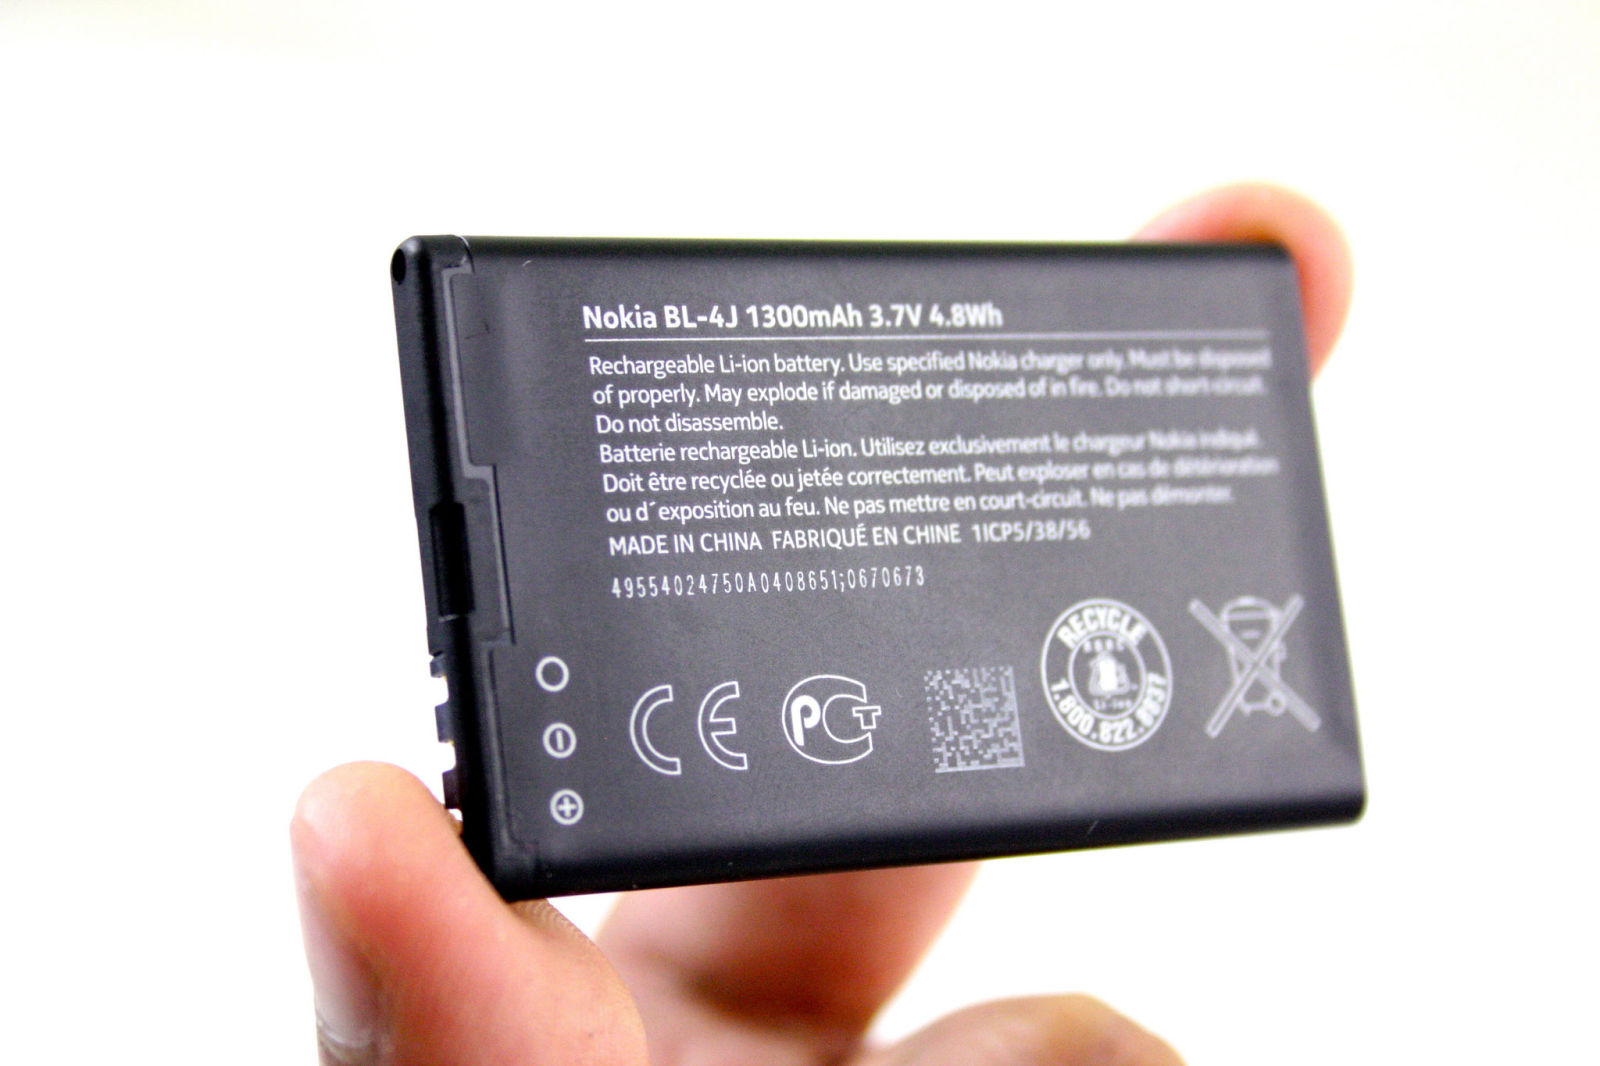
Who Invented the Battery?
Most credit the invention to Alessandro Volta in 1791, but have you ever heard of the Baghdad Battery?
Back in 1938, archaeologist Wilhelm Konig uncovered some strange looking clay pots while on a digging excavation in Baghdad, Iraq. The pots dated from around 200 B.C. and contained an iron rod surrounded by copper. When tested, there were traces of an acidic liquid inside, and if there’s anything to know about batteries, we have two different metals being mixed with a chemical electrolyte. Was this the first ancient battery? Modern replicas have been produced, and these Baghdad Batteries do in fact produce an electric charge.

But as far as 1792 was concerned, Baghdad Batteries simply didn’t exist, and so our story begins with Italian physician Luigi Galvani experimenting with the leg of a dead frog. By sticking two different metals in the frog’s leg, he was able to produce what he called “animal electricity” as the frog’s leg jumped. However, what Galvani didn’t know at the time was that the frog wasn’t releasing some kind of primal electricity. Rather, he had the building blocks of the modern battery to thank.
To prove this, Italian physicist Alessandro Volta set up an experiment where he stacked layers of zinc and silver on top of each other, which were separated by a brine-soaked pasteboard. This voltaic pile, now regarded as the first modern battery, was able to produce a steady current.
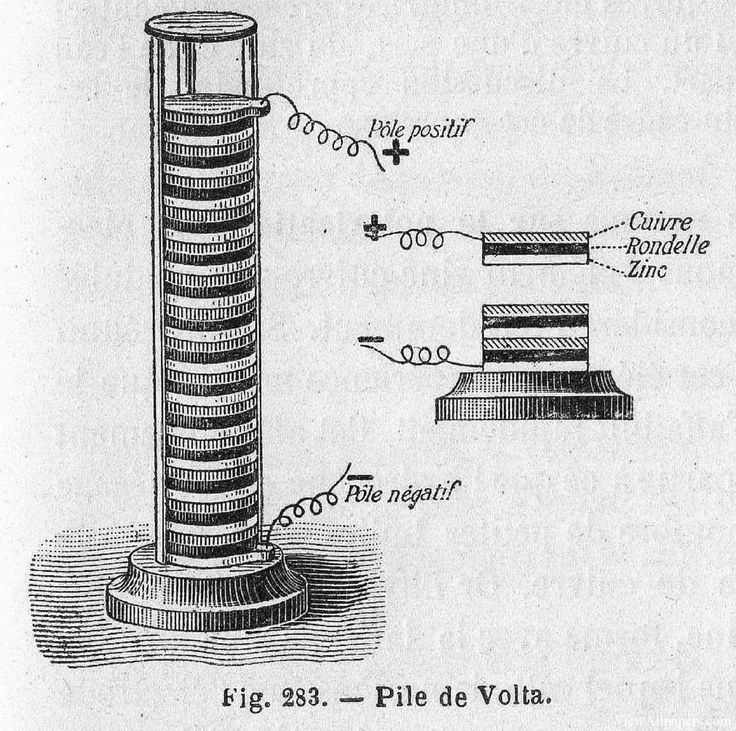
What are the similarities here between Galvani and Volta’s experiments? Both used the basic principles of batteries by using two different metals and an electrolyte. Galvani used two different metal scalpels, and the frog’s leg acted as a kind of electrolyte chemical. In Volta’s voltaic pile, the brine acted as the electrolyte between two different conductive metals, zinc, and silver.
After his groundbreaking experiment, Alessandro Volta was credited with the invention of the first battery, and the rest is well…history. We’ve been improving upon this basic set of principles today to power all of our electronic devices.
Batteries and PCB Design
For beginner electronic designers, batteries are often seen as an afterthought. After all, maybe you just need 5V out for steady DC power. But what happens if you’re working with a 9V battery source and one of your ICs can only handle 1.8V? That’s when considerations about batteries and power design make things a little more complicated.
While we won’t be getting into any of the specifics of power design within this blog, it does help to know the basics of what to look for in both your schematic and PCB layout when working with batteries. For your schematic, whether you’re planning to use standard alkaline batteries or lithium-ion, you’ll see symbols that look like these:
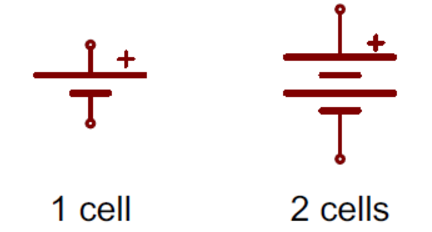
In this schematic symbol, the longer line represents the positive terminal, and the shorter line is the negative terminal. You might also see batteries with more than two lines, which indicates there is more than one cell in the battery.
You’ll also need to be aware of how the physical battery holder will look on your PCB layout. Many beginner electronic designers make the mistake of thinking that they’re placing the actual battery on their board when you’re just placing a holder to contain the batteries. If you’ve ever ripped open an electronic device to check out the internals then you might have seen one of these:
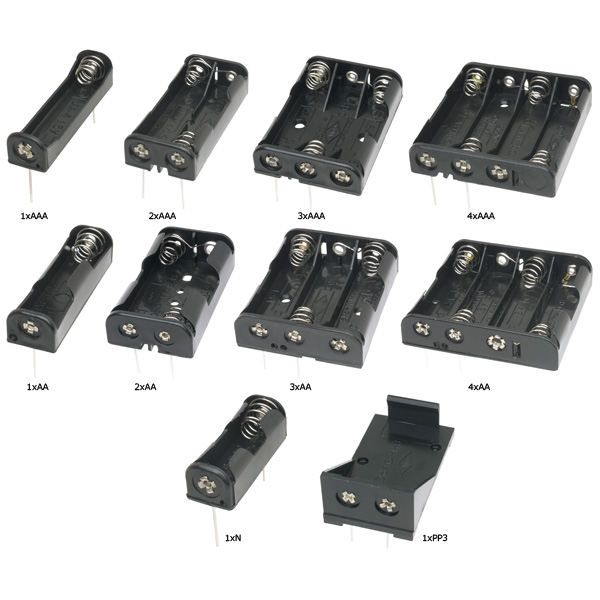
There’s also the lithium button-cell battery holder as shown in the image below, which has its unique physical footprint.

It’s nice and easy to place a battery holder for a disposable battery and forget about it, but what happens if you want to add an automated battery charger to your design? That’s where things get a little more complicated. Check out the schematic below, this is a circuit diagram for an automatic battery charger, and it has a lot going on, including:
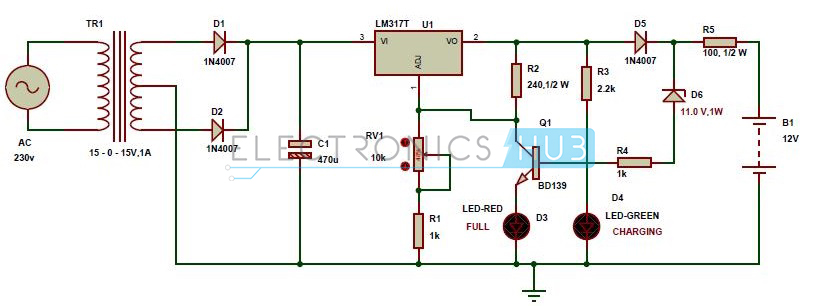
- We’ve got the main AC supply of 230V, which hits a transformer that steps down the voltage to 15V.
- From there, it’s a matter of using the two diodes, D1 and D2, to convert the fluctuating AC voltage into a DC.
- This DC power then flows through the LM3177 voltage regulator, which will provide a consistent and steady DC voltage output regardless of how the AC input voltage changes.
- When the battery is fully charged, the LED-RED will light up, and the D6 Zener diode will start to conduct. This will send the current through the BD139 transistor and out to ground, so the fully charged battery doesn’t get damaged.
Power In Your Pocket
Who would have thought these little chemical superheroes could have so many applications while sharing so many principles! It’s truly impossible to imagine the world these days without batteries. These electrical powerhouses have untethered our lives from cords, allowing us to be mobile with our electronic devices wherever we go in the world. Regardless of what battery you’re using, the underlying foundation is always the same. You have a set of electrodes in the form of an anode and cathode, and an electrolyte that provides a chemical reaction. Once in motion, chemical energy turns into electrical energy in the form of excess electrons, which travel from the anode to cathode while powering your circuit. Our batteries might be getting more advanced and holding charges longer, but at the end of the day, they all work the same. Remember that.
Did you know that Autodesk EAGLE ships with a ton of free battery libraries, so you don’t need to waste time making them from scratch? Try Autodesk EAGLE for free today to try them out!