Trying to select a pesky component? Hoping to optimize your workflow? This guide for how to select an area in Fusion 360 is for you!
What is area selection?
Area selection is a method in Fusion 360 where you can select more than one element at the same time. There are three different forms that allow you to do this: window selection, freeform selection, and paint selection. Once you master these, you’ll be an area selection pro in no time.
Let’s walk through each of the three forms and how you use them:
1. Window Selection

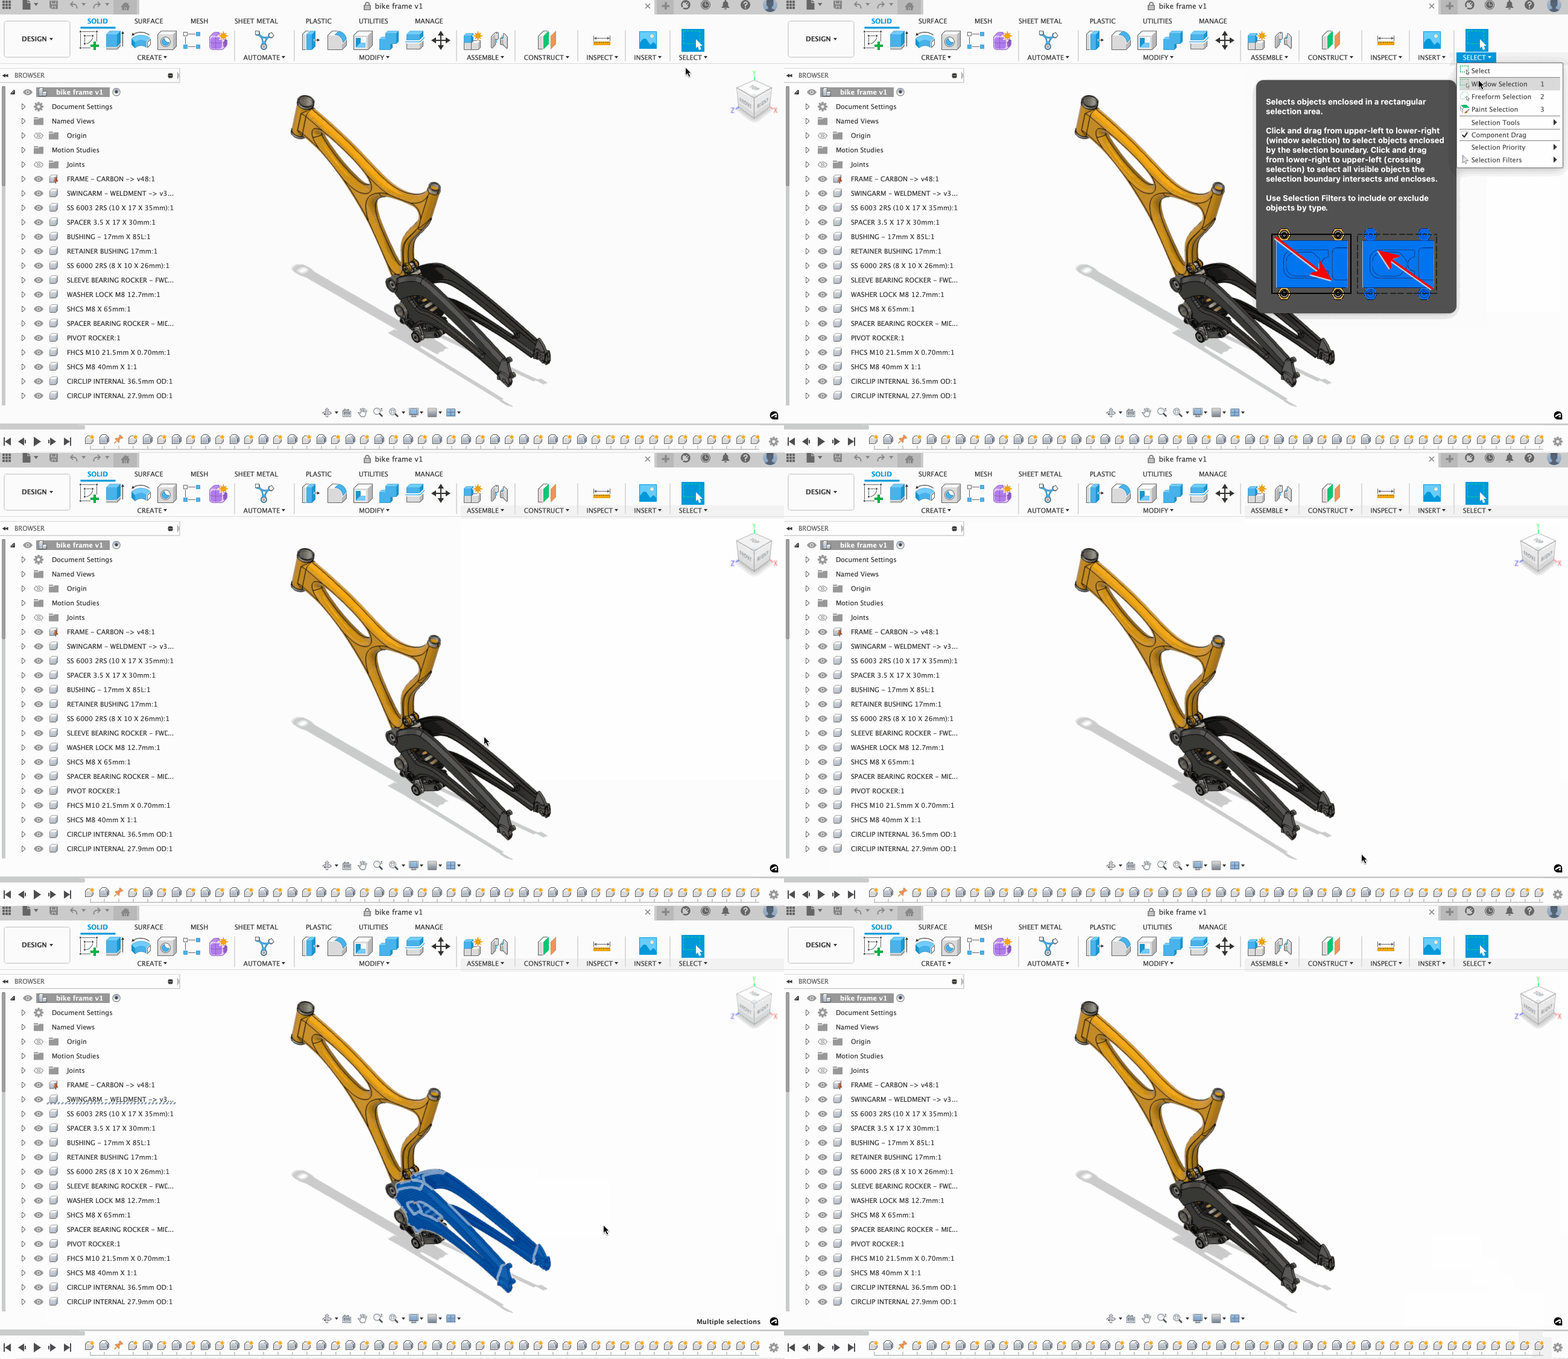
Window selection is going to be your default selection tool. It works by selecting objects enclosed in a rectangular selection area. Accessing window selection is easy. If not already activated, click “Select” on the right-hand part of the toolbar and select “Window Selection” or simply use the hotkey “1.”
While in Window Selection, click and drag your mouse from upper-left to lower-right (window selection) to select objects enclosed by the selection boundary. Or click and drag from lower-right to upper-left (crossing selection to select all visible objects the selection boundary intersects and encloses).

2. Freeform Selection

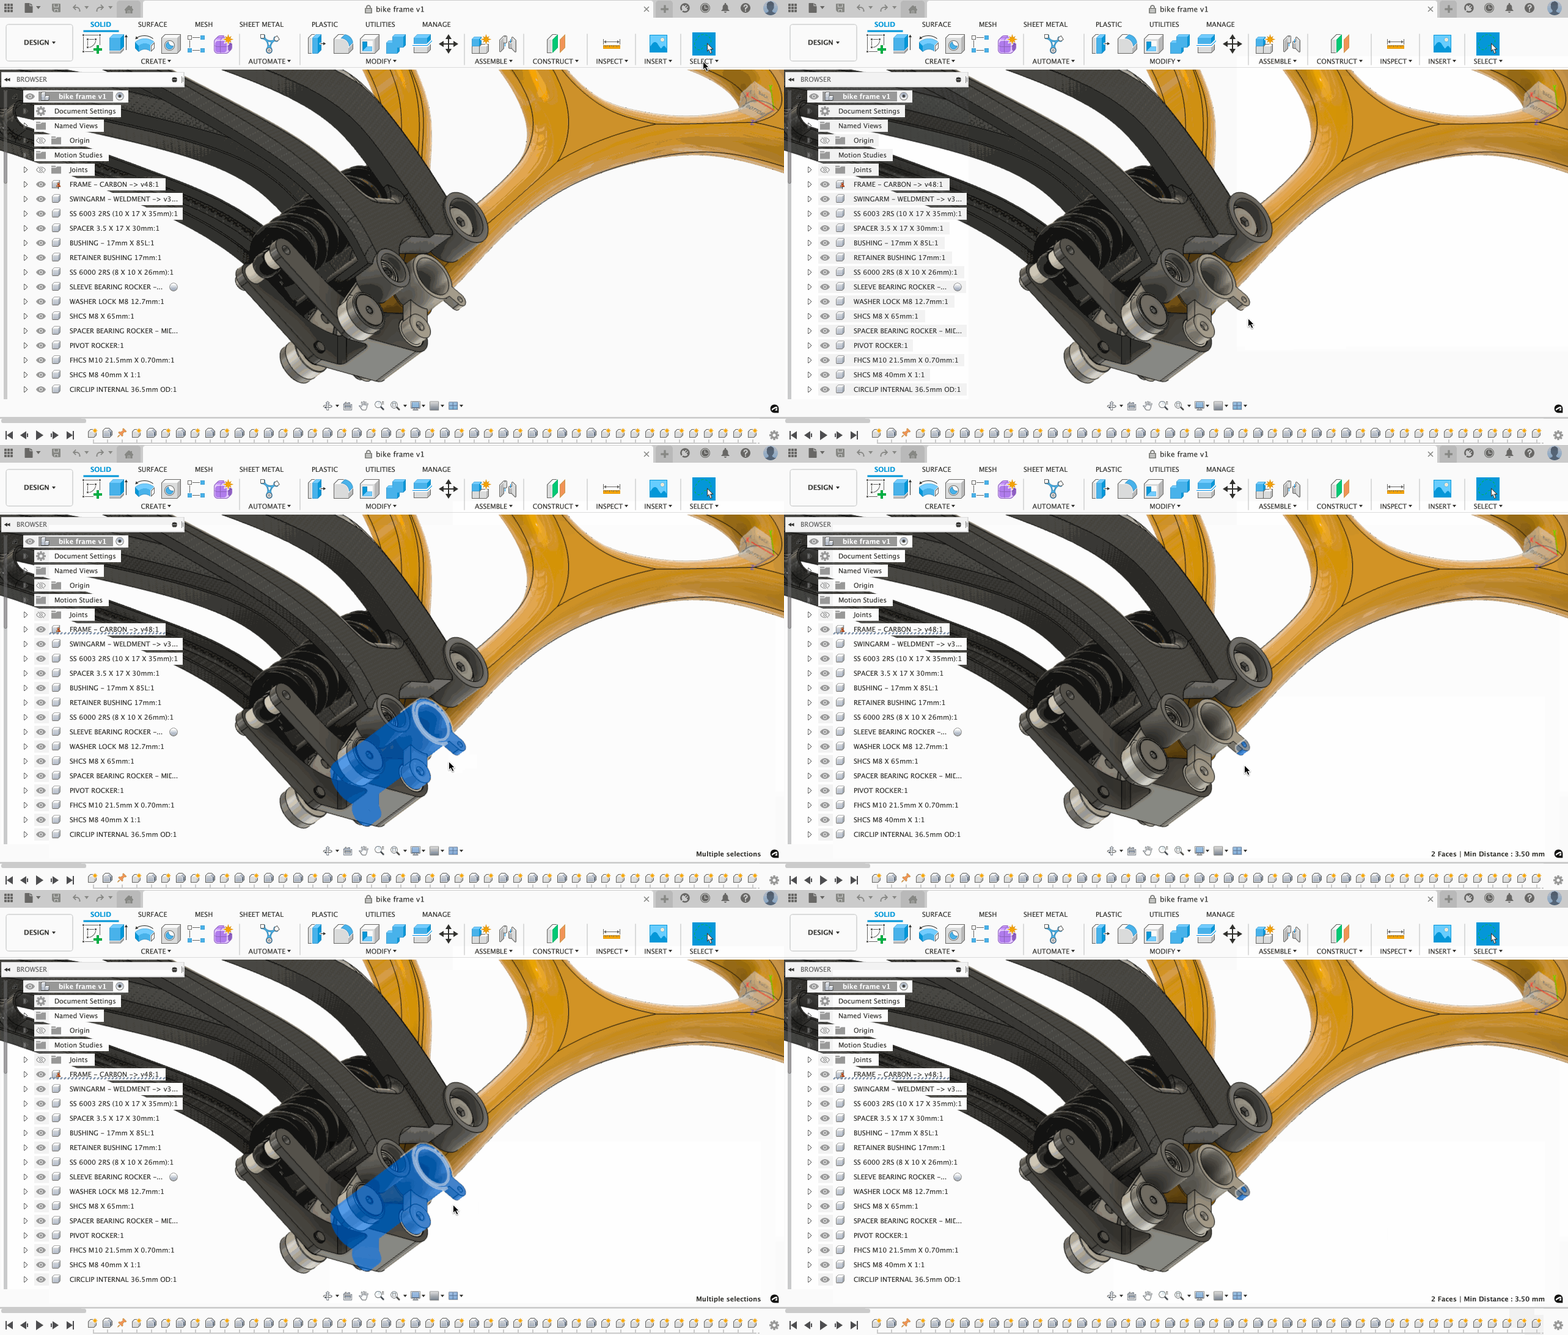
Do you keep messing up while trying to select a hard-to-get area? Try using the freeform selection tool. You can access it in the “Select” menu, located in the right-hand corner of the toolbar, or by using the hotkey “2.”
Freeform selection works by selecting objects enclosed in an irregular (lasso) selection area. To use Freeform Selection, draw a clockwise boundary shape to select all objects within the boundary or use a counterclockwise boundary shape to select all visible objects crossed by the boundary.

3. Paint Selection
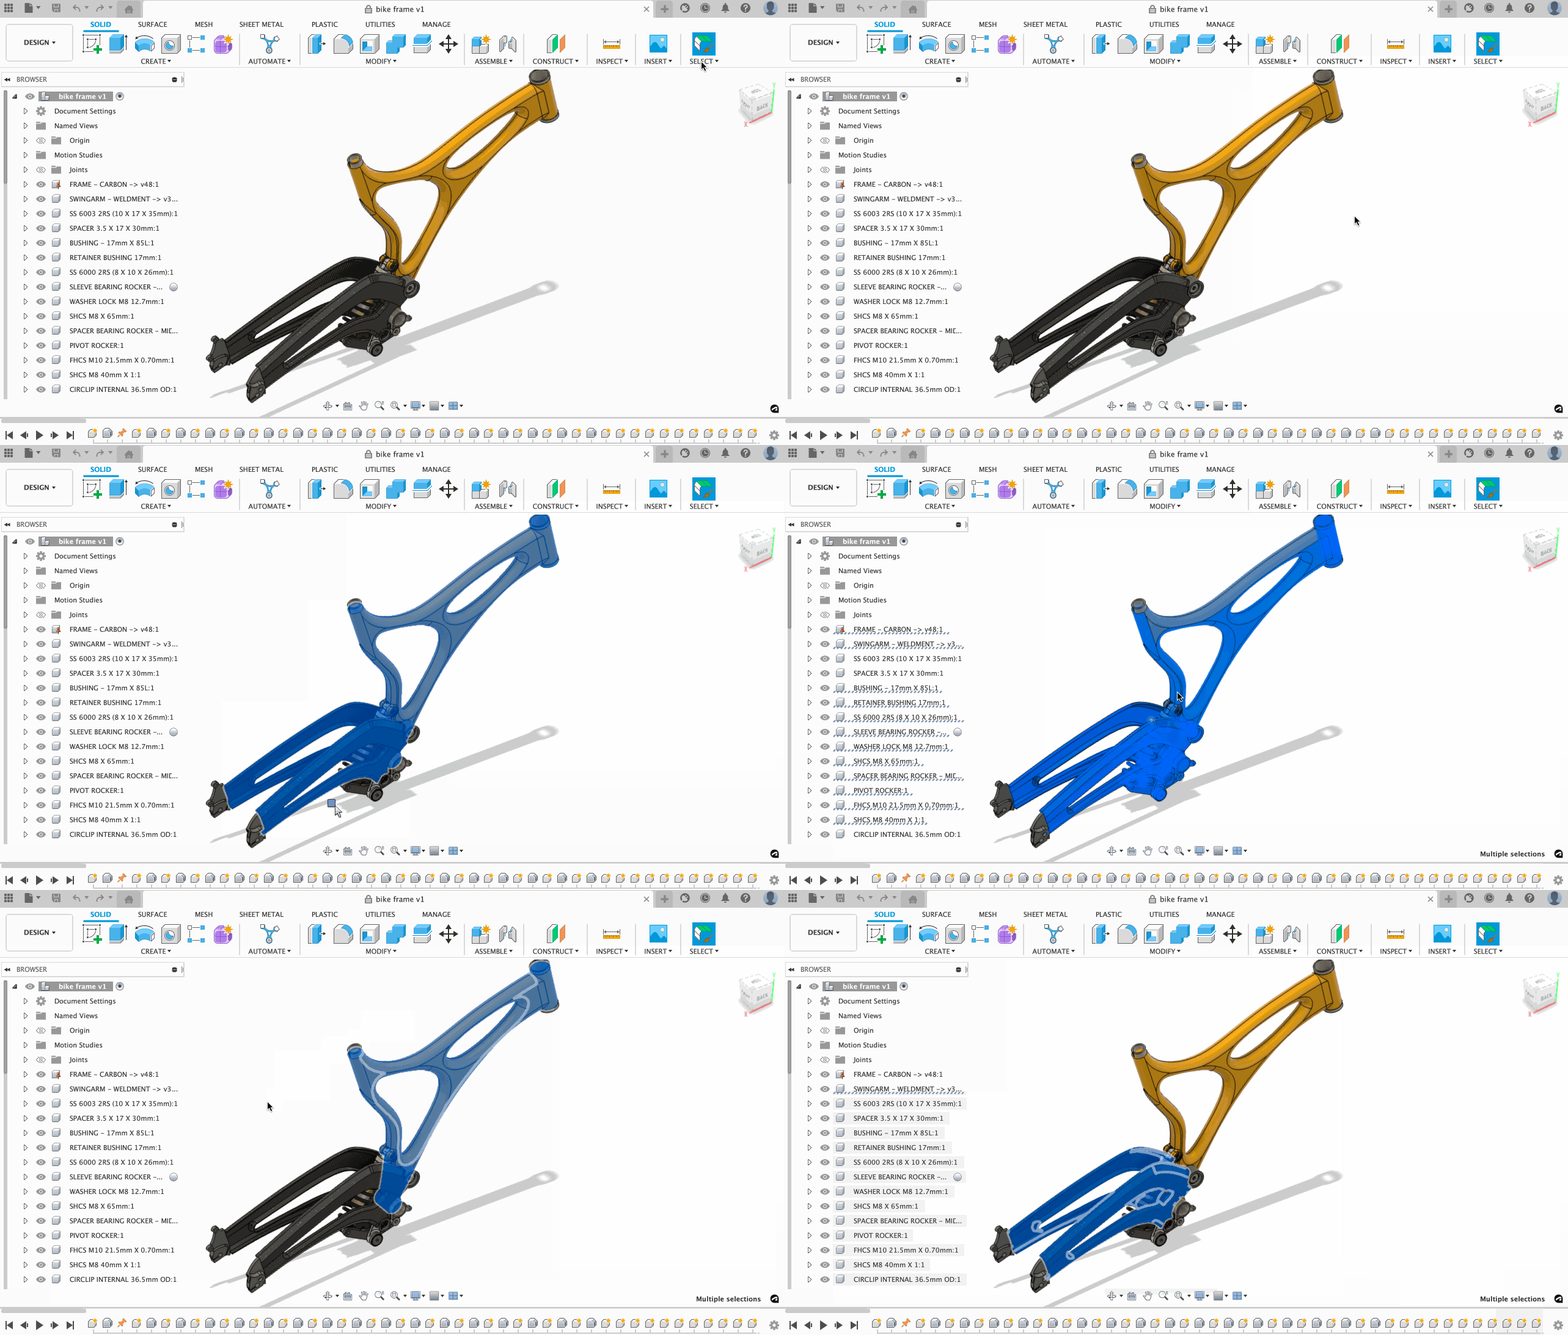
Last but not least, we have Paint Selection. Paint Selection is a great way to easily select an area with ridged or organic shapes. To access this command, go to the “Select” menu located in the righthand corner of the toolbar or simply press the hotkey “3.”

To use Paint Selection, all you need to do is press and hold the left mouse button and move across objects to select them. Easy, right?

Modify area selection
Not satisfied with what you selected? Try modifying what you’ve included or excluded using selection filters. Selection filters are a great way to customize the selection tool to fit your exact needs. Use “Select All” to include or exclude all object types or limit your selections by only selecting specific selection types and unselecting the rest. If you want to enable the selection of hidden objects during Window or Freeform selection, check “Select Through.”

And there you have it! Now you know how to select an area in Fusion 360. Download Fusion 360 (if you haven’t already!) to put your skills to the test.
