This article will show you how to set up a new project for a distributed assembly so that you and your project members can collaborate on it simultaneously in Fusion 360. If you find the below accompanying video helpful, please let us know by leaving feedback on our Self-Paced Learning site.
Before we get started, there are several factors to consider as you set up the structure of a collaborative project in Fusion 360:
- Are you working alone or collaborating with other project members?
- Are you collaborating simultaneously?
- Which components are you designing and manufacturing yourself?
- Which components will be manufactured by a third party?
- Which components are you purchasing?
- Are you using common hardware?
- Do you need to deliver drawings for the manufactured components?
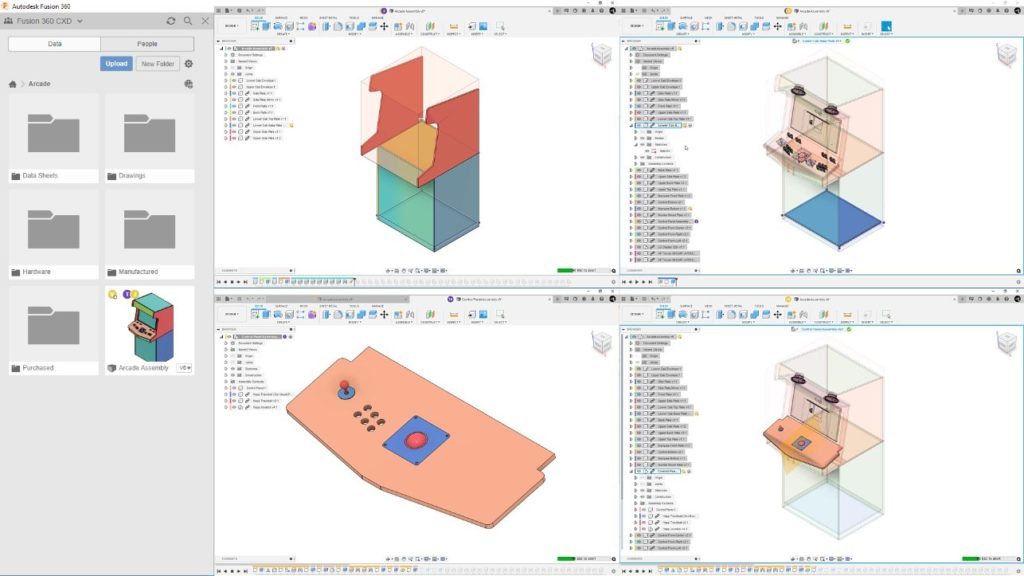
Let’s assume several project members will collaborate simultaneously in this distributed Arcade assembly. The assembly will contain a mix of components designed and manufactured in-house, components manufactured by a third party, and off-the-shelf components. Additionally, it will include drawings of the designed components and common hardware, such as threaded inserts, fasteners, and hinges.
How to Create Projects
You can create a new project from the Data Panel in Fusion 360 or from Fusion Team in a web browser.
- In Fusion 360, expand the Data Panel, then click the Home icon to navigate to the top of the data structure.
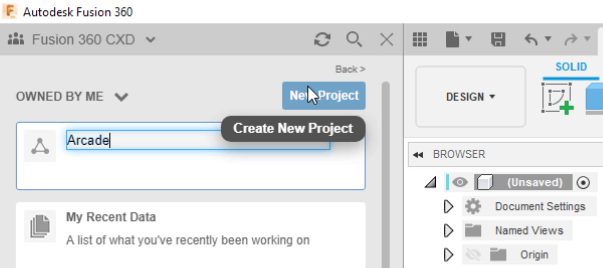
- Click New Project, and a new project appears in the project list.
- Enter a name for the project
- Pin the project if you’d like it to be pinned to the top of the list (optional)
- Double-click to open the project
When you create a project from the Data Panel, the Project Type default setting is Closed. This means only team members you invite to the project can access it.
When you create a project in Fusion Team, you can select the Project Type and choose a Project Avatar during the creation process.

Within the project, you can upload any data associated with the design and invite project members to collaborate. You can also click the Open Details On Web icon to open the project in Fusion Team. Then you can manage project settings, members, and content in a web browser.
How to Create a Folder Structure
The new project has no folder structure to start with. You can save a new design and start working immediately on smaller projects. However, for more complex projects with multiple collaborators, you’ll want to set up a system from the beginning to help keep your team and project organized.
- In the Data Panel, with the project open, click New Folder, and a new folder appears in the project.
- Enter a name for the folder
- Repeat the process for each folder and subfolder you need
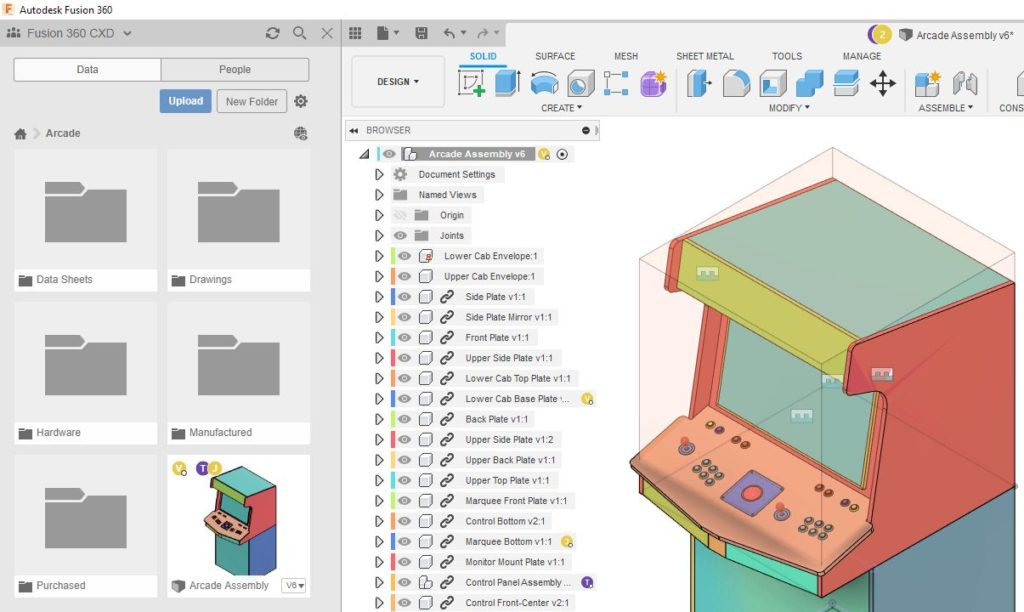
For this Arcade example, you might want to create a:
- Manufactured folder to contain the components you’ll design and manufacture in-house
- Purchased folder for components you’ll purchase off the shelf, like the controls
- Drawings folder to contain any drawings to send to third party manufacturers
- Data Sheets folder to contain any specifications or data sheets associated with components in the design
- Hardware folder for any hardware you’ll use, like threaded inserts, fasteners, and hinges
Pro Tip: Common Component Projects
You can store all the common components, such as hardware, electrical connectors, or fittings, directly in the project. However, if you use a lot of the same hardware in multiple different assemblies, you may want to create dedicated projects to contain common components.
This way, you can manage access to these projects separately, organize them in a way that’s easy to navigate, and insert the hardware as external components in multiple assemblies across different projects. To update a common component, simply update its geometry in one place, and any project that references it will consume the change automatically.
Now you know how to set up a new collaborative project in Fusion 360 so that you and your project members can collaborate on it simultaneously. Want to learn more about collaborating in Fusion 360? Check out this Autodesk University presentation. Did you find this video helpful? Check out the rest of this video series on our Self-Paced Learning site and leave feedback.