& Construction

Integrated BIM tools, including Revit, AutoCAD, and Civil 3D
& Manufacturing

Professional CAD/CAM tools built on Inventor and AutoCAD
2 min read
Ready to optimize your manufacturing process? Here are the six key steps you’ll need to take when you start your Autodesk Fusion Operations trial.
Surely you are excited to get started using Fusion Operations, but you’re probably wondering, “How do I get up and running as quickly as possible?” Don’t worry; we’re here to help you get the most out of your experience.
Here are the key steps you’ll need to take when you start your Fusion Operations trial.
Who are the workers you want to test the system with? Get them set up by going to the Worker’s Workspace under Management. To add a worker, fill in the required information for each person. We suggest starting with a small group of less than five team members.
What products do you want to track production for during this trial? We recommend starting with an existing product line that is fairly low in complexity or a new pilot product line that you’re looking to implement this system with. To do this, go to the Products Workspace under Management, create a new product, and fill in the required fields.
How do you create your products? Define the operations related to manufacturing this specific product line you defined earlier. You can accomplish this by going to the Operations Workspace under Management, adding the operation, and linking the operation to the previously created product.
Data drives insights. So now that you’ve defined the workers, products, and operations, you can create production orders and begin seeing how well you’re able to execute your production plans in real-time. Remember, the goal here is to provide visibility and insights into the areas that spreadsheets and whiteboards can’t.

The production order is the key record to drive insight for Fusion Operations. To set one up, go to the Production Orders Workspace under Management. Link the specific products and workers related to the production order, production code quantities, start dates, and due dates. Next, set the order as ‘active.’
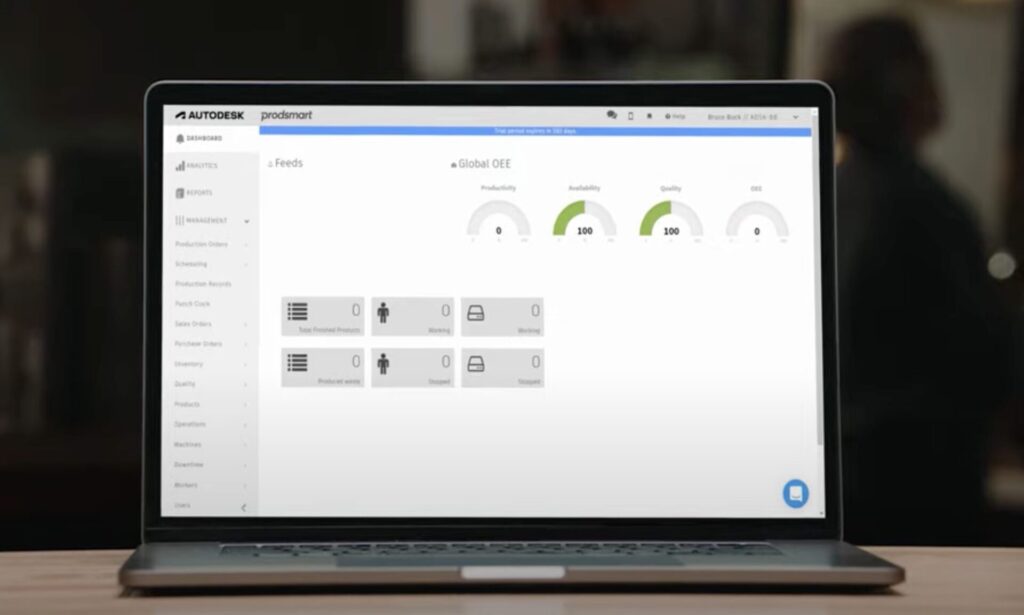
To start testing, use the mobile app simulator or the mobile app to activate the Insert Production Function and log work against the production order. You’ll see notifications right away that production has begun. Continue to enter activities to start feeding data to the
dashboards.
5. Get familiar with the app
Great, now you have your tenant configured and ready to go. But how do you get everyone else on your team up to speed with minimal risk costs and disruption to daily operations? To start, we recommend installing the app prior to going live. Train pilot participants on logging activities against the production order that you set up previously.
Next, go live with the pilot run and establish a daily cadence to check in on any issues users are having. Get feedback on the functions and review the dashboard analytics and reports. Finally, as you progress, keep refining each workspace with more detail and begin to choose other workspaces that can add even more insight to your production process.
There you go! You’re now ready to start taking advantage of data insights to minimize production waste, reduce manufacturing costs, and identify bottlenecks. If, at any point in this process, you run into a few snags, please reach out to a Fusion Operations product specialist by using
the live chat feature. We’re excited to help you optimize your manufacturing process.
By clicking subscribe, I agree to receive the Fusion newsletter and acknowledge the Autodesk Privacy Statement.
Success!
May we collect and use your data?
Learn more about the Third Party Services we use and our Privacy Statement.May we collect and use your data to tailor your experience?
Explore the benefits of a customized experience by managing your privacy settings for this site or visit our Privacy Statement to learn more about your options.