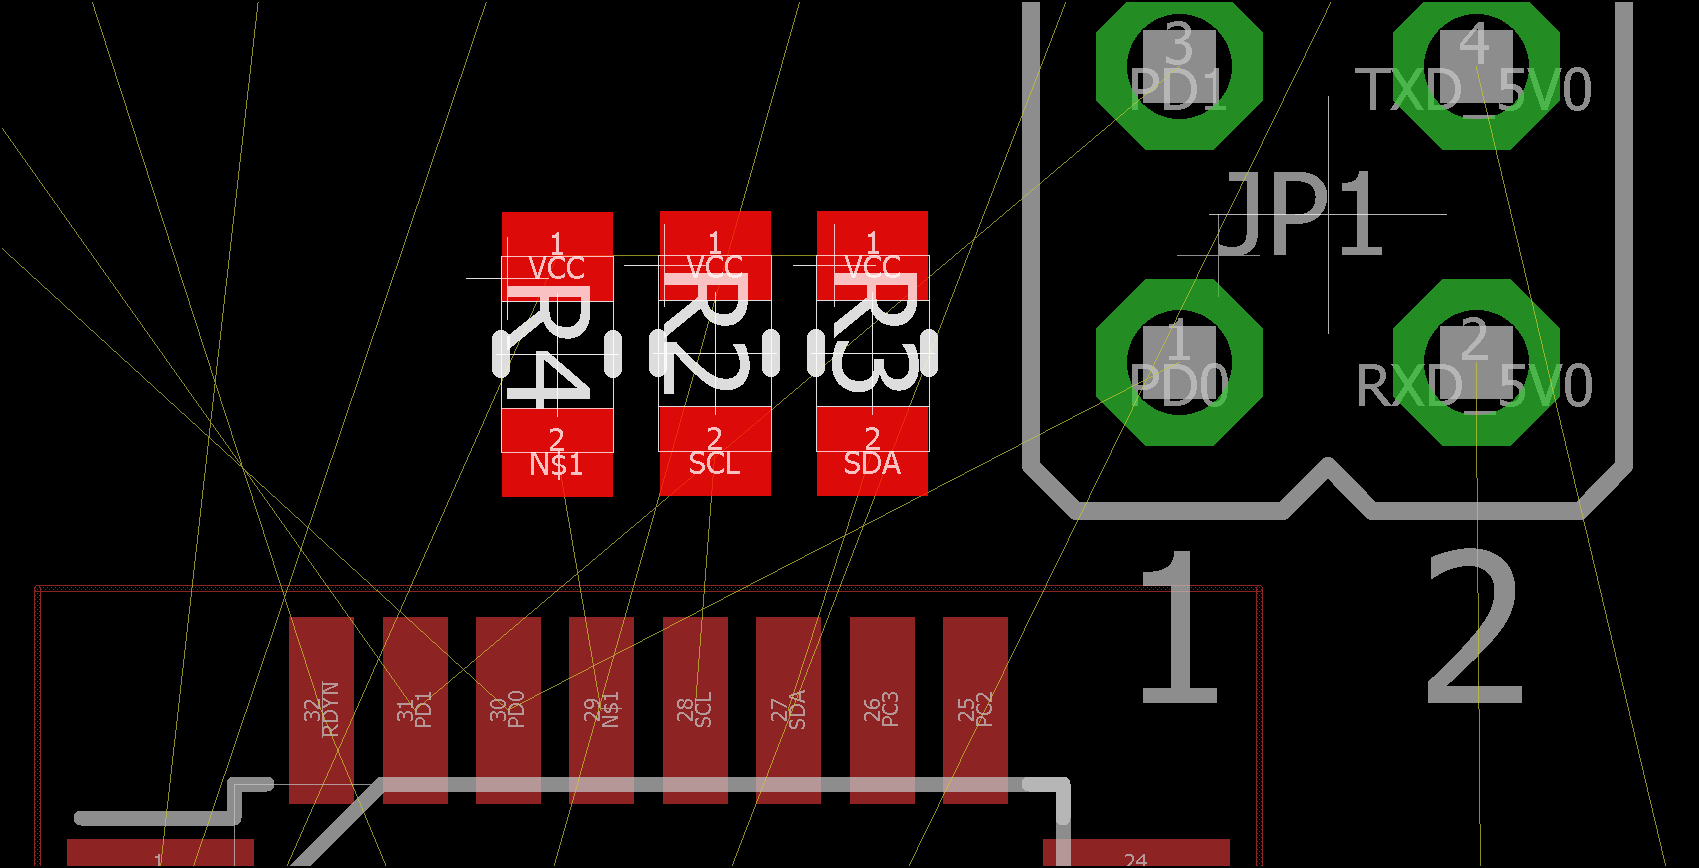
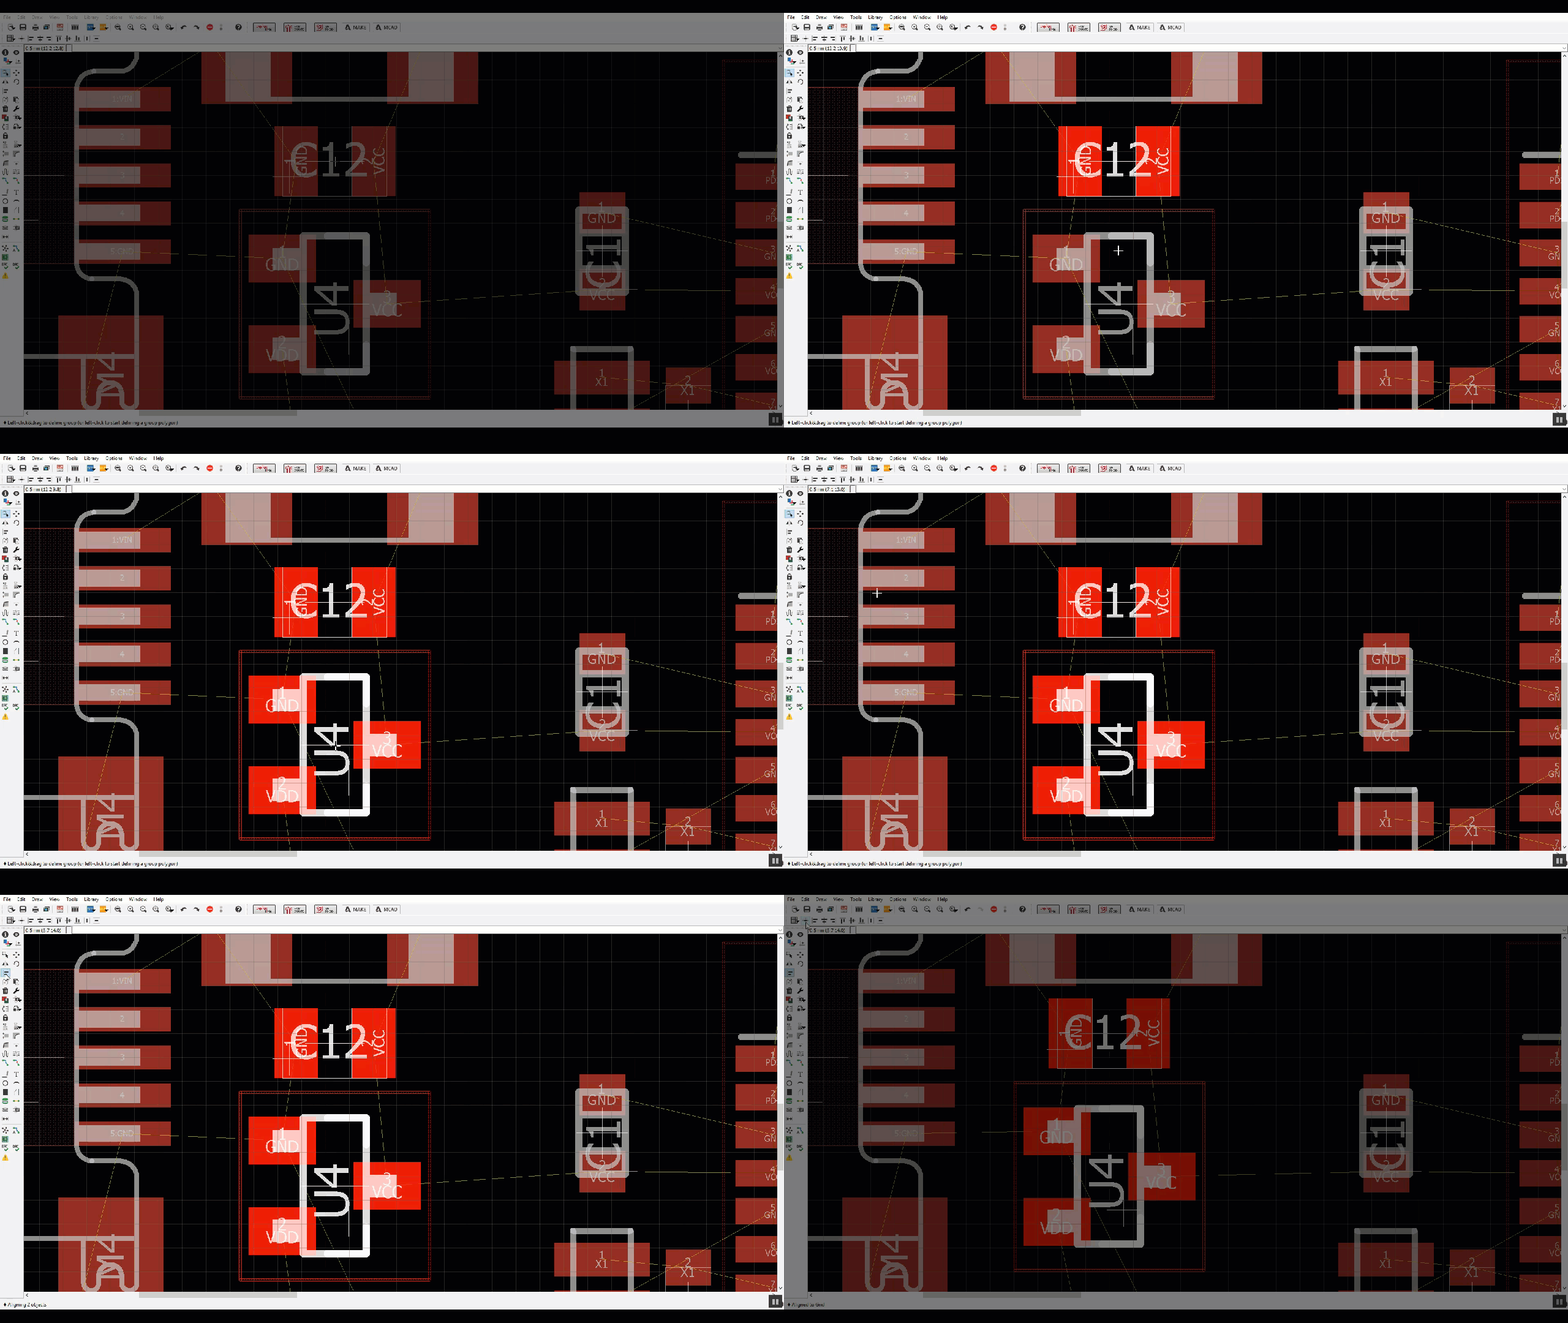
No tool is ever complete without a full set of alignment tools. Whether it’s your word processor of choice, or even your PCB design software, we all crave the ability to align and order things as we please. That’s why in Autodesk EAGLE Version 8.1.1 we went all out on adding a complete suite of PCB alignment tools that makes it easy to design beautiful board layouts. The rest of the world might say we engineers have a problem with OCD, but really, we just like things to work great, and look great! Let’s dive into the brand new PCB alignment tools in Autodesk EAGLE and learn how to use them in your own design project.
Why Alignment Tools Matter for PCB Design
The entire EAGLE community has been shouting from the rooftops to give you alignment tools, and we’ve been listening. After all, there’s nothing enjoyable about squinting to count grid points while you line up that row of SMD resistors or vias. The new alignment tools in Autodesk EAGLE includes everything you might expect:
- Align a set of objects by their top, bottom, left, right, or center origins.
- Evenly space grouped objects based on horizontal or vertical distributions.
- Align new design blocks or library parts to your grid settings with grid alignment.
Now, while all of these alignment tools will surely make your life easier at design time, they even have an impact down the road during manufacturing. It’s more than just making your board beautiful; alignment tools can help with:
Making Pick and Place Machinery More Efficient
Chances are you’re designing a board with a ton of surface mount components, and you’ll need the help of a rapid-fire pick and place machine to get those parts placed. You could start slapping down components wherever you please during your layout process, but think of the machines, please! By carefully aligning and spacing your components, your manufacturer’s pick and place machine will be a lot more efficient at placing accurate solder mask stencils and parts. Plus, you’ll avoid any unnecessary delays when having your next prototype manufactured.

Satisfying Your Aesthetic Needs
We might all be engineers, working away to create new tools and inventions, but we’re also artists at heart. There’s no greater feeling of pride than looking at a PCB design with perfectly aligned parts, all evenly spaced, with beautiful sweeping traces connecting everything together. With the new alignment tools in Autodesk EAGLE, it’s easier than ever to design a board that not only works but looks great too.
Ok, now that we’ve got all of the real benefits out of the way, let’s get started! We’re going to chunk this tutorial up into three separate parts:
- Part 1 – Distributing Objects Horizontally or Vertically. We’ll start with the granddaddy of alignment by distributing objects evenly, whether that’s a row of resistors or vias.
- Part 2 – Aligning Objects by Edges or Centers. We’ll then move on to aligning a set of objects by their edges or centers, which makes it easy to align those decoupling caps right where you need them.
- Part 3 – Aligning Objects to Your Grid. Lastly, we’ll take a look at how to quickly align new objects, like design blocks or parts from multiple libraries, to your particular grid.
Part 1 – Distributing Objects Horizontally or Vertically
That’s right, no more having to count individual grid points just to make sure all of your objects are distributed evenly! Here’s how to make it happen with the new alignment tools:
- First, you need to select all of the objects. To do this, select the Group
 tool on the left-hand side of your interface.
 - Now you can either left-click and drag a box around the objects you want to group, or Ctrl + left-click each object individually.
- When your objects are all grouped, select the Align
 tool on the left-hand side of your interface.
 - You’ll notice a new row of alignment objects show up at the top of your interface above the command line. Select either the Distribute Horizontally
 or Distribute Vertically
  option to instantly space out your selected objects.
That’s all it takes! Below we’ve now got some perfect distributed resistors, ready to be wired up.

Part 2 – Aligning Objects by Edges or Centers
In addition to distributing objects, you can also easily align a set of objects by their respective edges or center origins. The steps are the same as distributing:
- First, select the Group
 tool on the left-hand side of your interface.
 - Then left-click and drag a box around the objects you want to group, or Ctrl + left-click to select objects individually.
- With your objects grouped, choose the Align
 tool and choose one of the available alignment options at the top of your interface
  Align Left Edges,
  Align Centers Horizontally,
  Align Right Edges,
  Align Top Edges,
  Align Centers Vertically, or
  Align Bottom Edges
Now that you know how to distribute objects and align them, you can combine these tools together to align your way to a beautiful PCB layout. Check out the gif below that shows you how it all comes together on a practical design.

Part 3 – Aligning Objects to Your Grid
The last alignment option to cover is aligning objects to your grid. This will come in handy if you’re pulling in a design block or use third party libraries that were created with different grid spacing. To use this option:
- You’ll first want to pull in a design block or part library to your design, and then select it with the Group
 tool.
tool. - Next, select the Align
 tool on the left-hand side of your interface, and select the Align to Grid
  option.
 - Your object that might have been originally off center of your grid should have snapped to a center origin point, and you’re done!

One Small Step for EAGLE, One Giant Leap for Your PCB Layout
Whether you need to align or distribute a group of components, vias, or pads, the new alignment tools in Autodesk EAGLE Version 8.1.1 makes it easy to do! Designing a PCB layout with aligned and evenly spaced components goes way beyond aesthetics. You’ll also be ensuring that all of your SMD components get evenly soldered during their time in the oven. And you’ll also avoid any unnecessary delays when your parts can be efficiently placed by your manufacturer’s pick and place machine.
Ready to subscribe? Upgrade to an EAGLE Subscription today!