Our Machining Fundamentals series is created to help you brush up on your CAM knowledge, whether you work in a machine shop or are just getting started. Each episode is hosted by one of our in-house machinists and provides a detailed overview of a tool/process. In the last edition, we covered milling tools. Here we have an introduction to lathes, where you’ll learn how lathes work, how they differ from milling machines, when to use a lathe versus a milling machine, and how to use them with Fusion 360.
In this video, we go over lathes, which are a bit different than milling machines. On a milling machine, the cutting tool spins and the part moves beneath it. On a lathe, however, the part spins really quickly, and the tool moves across the part. Lathes are really efficient and can remove lots of material very quickly.
The downside of lathes, though, is that lathes create perfectly cylindrical components, which isn’t ideal for every project. We always recommend doing thorough research on which machine is best for your part. Do you need a milling machine that creates freeform shapes, or do you need a lathe to create cylindrical shapes very efficiently?
On the milling machine, we had a vise that held the part. On a lathe, we have something called a chuck instead. This lathe is hydraulically operated, so to get started, put your billets of material in then press the foot pedal. Now the material is solid inside of the machine, so you can start using the tools to cut. As you can imagine, there are a wide variety of tools to choose from with lathes. For example, there are general purpose turning tools that can go in different orientations.
The tools sit in what’s called a turret, and they can sit in different orientations — you choose the orientation based on what’s best for your specific part. This turret features 10 stations, so we can look and use the best stations for the best orientations. You’ve also got 10 chances to put the best set of tools in to make your path most efficiently.

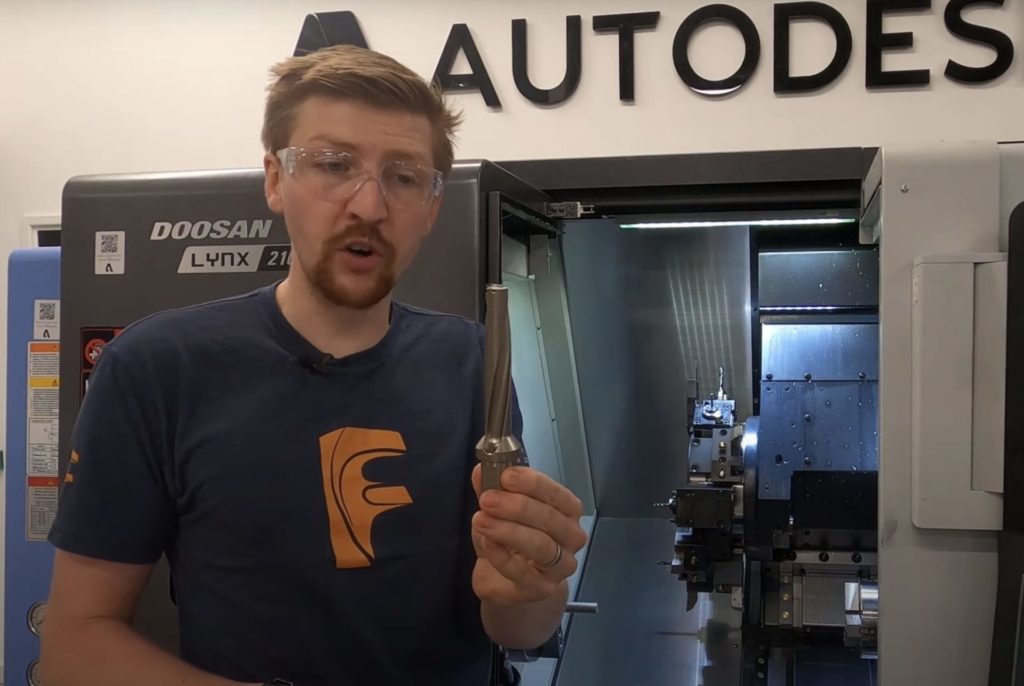
We also have drills, the drill pictured above is called a U Drill. It has tungsten carbide inserts built into it. We normally have it mounted in a horizontal orientation, and we move it into the path to create large diameter holes very quickly.

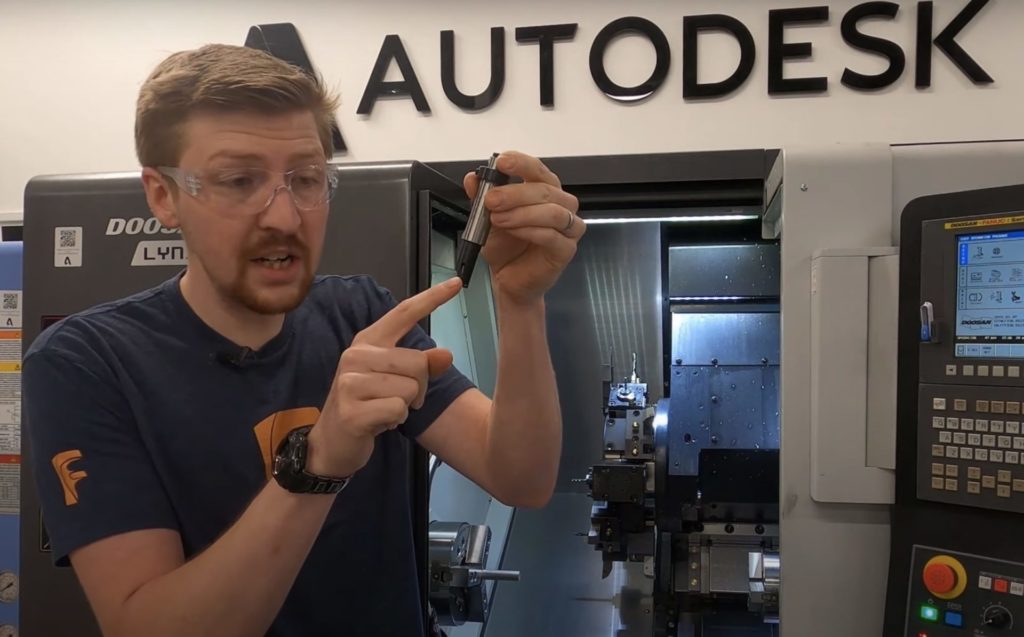
Pictured above is a grooving tool, which has a really small tip that’s put into the machine. It creates grooves on the part, which is brilliant for things like O Ring grooves or anything else where you need to put a groove internally or externally on your part.

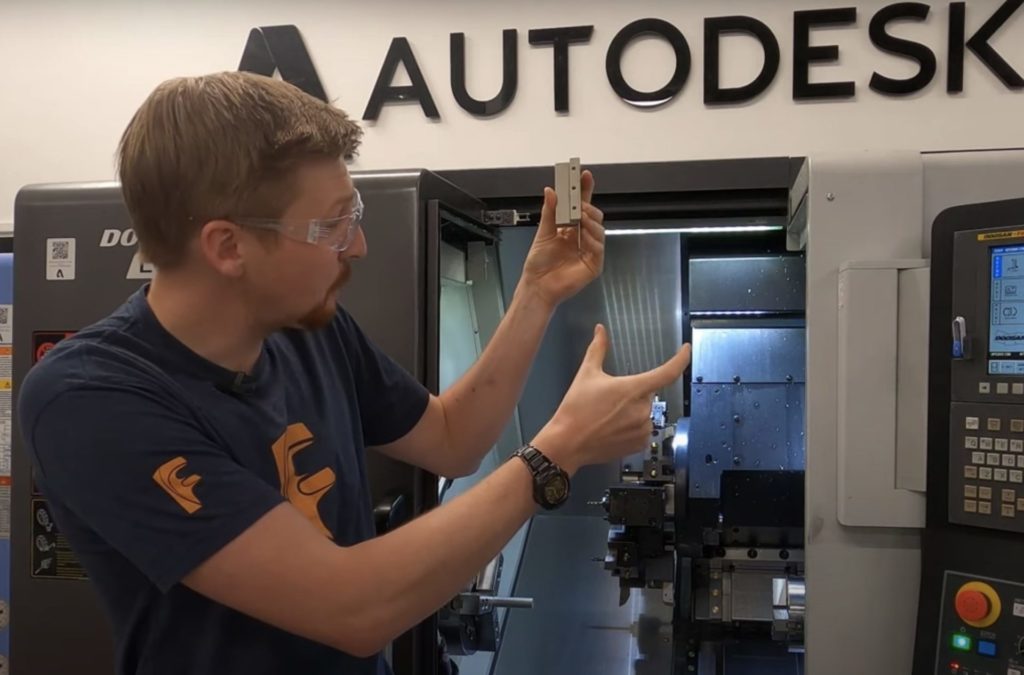
Finally, we take a look at a parting off blade. Lathes are brilliant at mass production. Once you make one part, you can actually come in with this blade, move it down and completely remove your component from the billets. You then move your stock further out of the jaws and then make another part. It’s a really useful tool.
As you can imagine, there are many other types of tools that you can use — these are just a few of the basic ones. So this full setup includes the spindle and the turret with all our tools, and the turet spins to put the correct tool against our part.
This lathe is a 3-axis lathe, so it’s quite complex. A lot of lathes are only 2-axis, so they only have a Z-axis and an X-axis. Those are the only two axes you need to make a cylindrical part. Now again, this is a very complex lathe, so we also have a Y-axis that brings the tool in a specific direction. That’s because this is not just a lathe, this is also a milling machine.
Because this machine is should primarily be used as a lathe but has the ability of a milling machine, this particular machine is called a turn mill. Turning is the primary operation, and milling is a secondary operation. If it was the other way around — if it was built as a milling machine with additional capabilities on a lathe — it would be a mill turn machine. So again, you have to choose what machine is best for your components.
Stay tuned: following this episode about milling tools, we’ll be publishing Machining Fundamentals episodes weekly. Future topics include post processors, toolpath types, NC code, work coordinate systems, and more.
In the meantime, download Fusion 360 to start machining smarter today. Learn more about how to maximize your machine with Fusion 360. Or, refer a friend if you’re already part of our community.

