Let’s explore sketch constraints in Autodesk Fusion, an essential tool for creating precise and predictable sketches. Sketch constraints define the relationship between sketch lines, ensuring they move in expected ways, especially crucial when editing dimensions or parts in your model.
Sketch constraints in Fusion
The workspace in Fusion is called the canvas, which is the interactive area where you create and manipulate sketch objects such as points, lines, arcs, and splines. Imagine two sketches: one with constraints and another without. When changing a dimension in the unconstrained sketch, the movement may not be as expected. In contrast, the constrained sketch will adjust uniformly based on defined constraints. This uniformity is essential as changes propagate through your 3D model.
Elevate your design and manufacturing processes with Autodesk Fusion
When applying constraints, it’s important to know where to start, such as by selecting the correct sketch entities and identifying the start and end points for constraints like coincident or curvature constraints, to achieve accurate geometries.
12 key sketch constraints
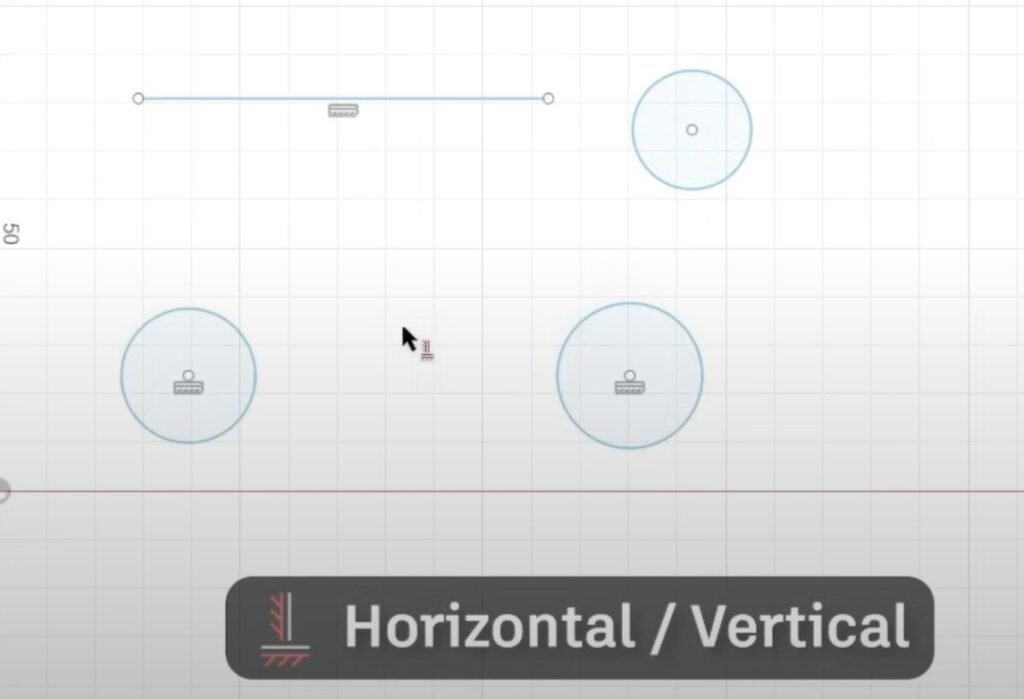
Horizontal/vertical constraint: Constrains a line to be horizontal or vertical. Useful for aligning lines or objects.

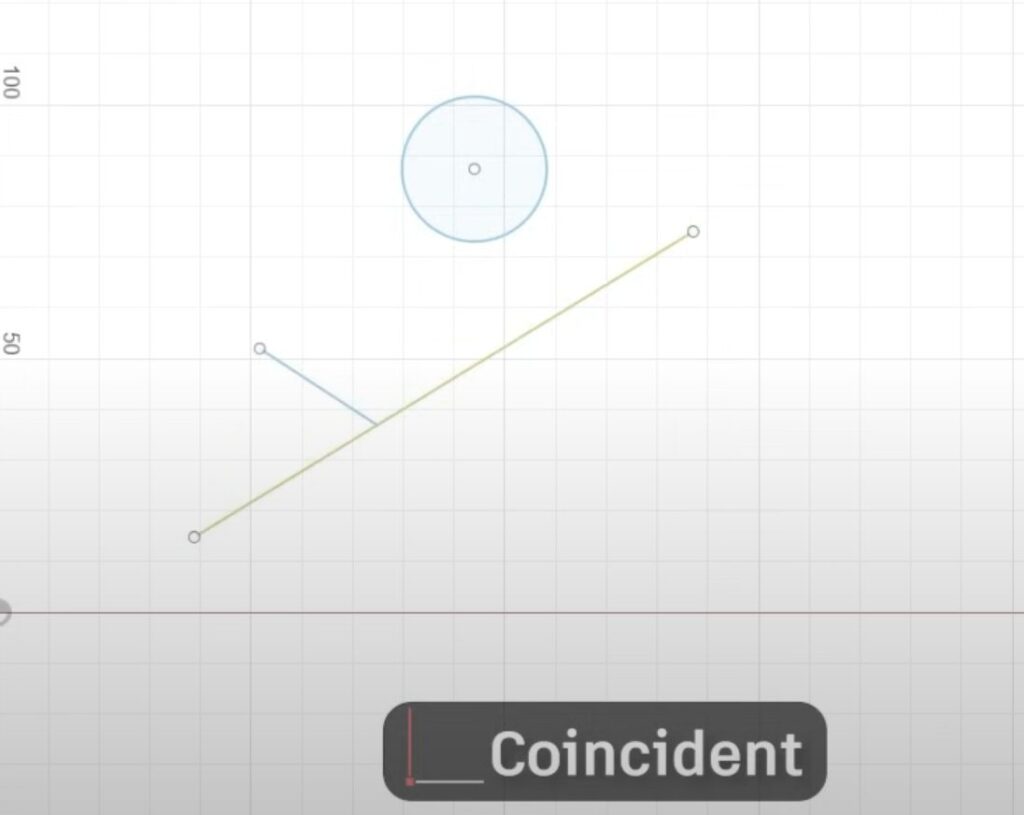
Coincident constraint: Fixes a sketch point to another object, keeping them connected by defining the start and end points for joining lines or arcs.

- Tangent constraint: Ensures a line stays tangential to a circular object, crucial for smooth transitions between shapes.
- Equal constraint: Makes sketch objects equal in size or length, ensuring symmetry.
- Perpendicular/parallel constraint: Constrains lines to be perpendicular or parallel, maintaining desired orientations.
- Fixed constraint: Keeps a sketch item’s size and position constant, regardless of other sketch changes. That said, a problem can arise from fixing lines, especially in larger sketches, as it can complicate updates and make adjustments more difficult.
- Midpoint constraint: Aligns two object centers together, creating a midpoint connection.
- Concentric constraint: Aligns two circular objects’ centers, useful for concentric shapes.
- Colinear constraint: Fixes two lines to be both parallel and aligned, ensuring uniform movement.
- Symmetry Constraint: Creates symmetry between two objects when mirrored along a line.
- Curvature constraint: Provides a unified direction and center of curvature for smooth curves. Understanding how curvature constraints influence splines and arcs is key to achieving smooth transitions.
When editing curves, you can use the break tool to divide or segment curves for better control. Splines, which are smooth curves created through a series of points, can be adjusted for organic shapes and refined transitions.
As you sketch, Fusion will assist by automatically adding constraints like horizontal/vertical alignment. Before applying a constraint, identify the specific geometry—such as faces, edges, or vertices—that you want to constrain. Hovering over objects reveals potential constraints, like midpoint connections. Fusion also indicates valid constraints based on selected objects, guiding your sketching process. Note: Always make sure that you select the correct entities before applying constraints for the best results.
If Fusion adds unwanted constraints, simply click the constraint icon and press delete to remove it. Right-clicking reveals available constraints for selected objects, streamlining your workflow. The position of your cursor affects how you modify sketches, and using right click opens context menus for efficient constraint management.
Mastering sketch constraints ensures your designs are precise and adaptable. Completing the constraint setup is essential to ensure proper alignment and connection of objects. With these tools, you’ll create sketches that behave predictably, making editing and modeling more efficient. New constraints in Autodesk Fusion simplify assemblies and improve user experience, especially when managing complex models.
When working with assemblies, these improvements streamline the process and make constraint management easier. Always look ahead in your design process to anticipate constraint needs and ensure a smooth workflow.
Have fun exploring sketch constraints in Autodesk Fusion, and feel free to ask any questions in the comments or on the Autodesk community. Happy sketching!