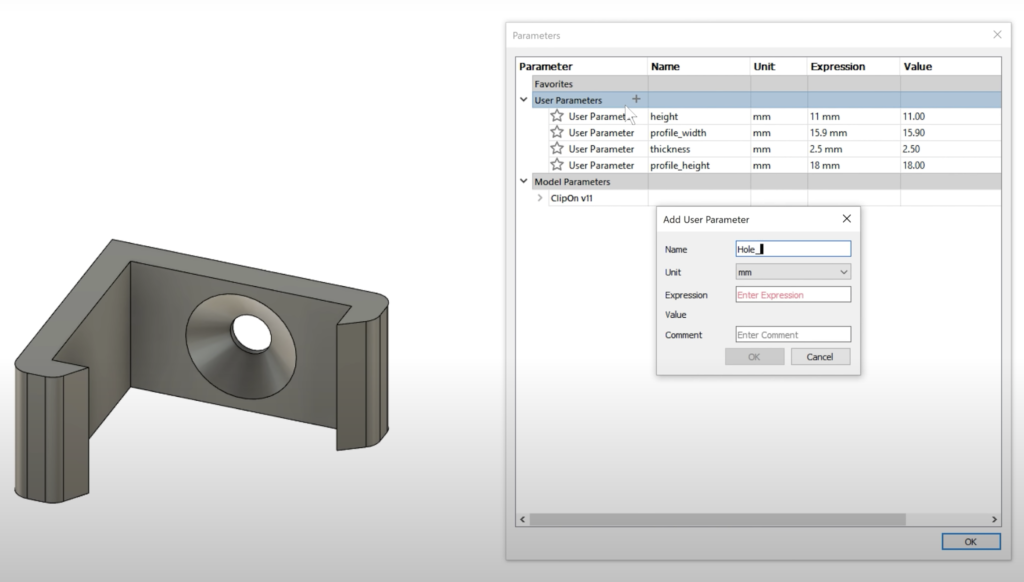
Mikoláš Zuza from Prusa3D recently shared a video tutorial that shows how to use parametric modeling in Fusion to your advantage. In this tutorial, Zuza covers how to quickly and easily change the dimensions of a model without having to correct individual steps. When you change a models paramaters in Fusion, you can watch the changes happen in real-time, which is quite handy (and satisfying to watch).
Changing parameters is easy to do and can be accessed through the following commands: Modify > Change Parameters. A chart will then pop up where you can create a new parameter and assign a value to it. You can then use your parameter whenever you need to define new dimensions in a sketch or when you’re using dimension-changing tools like extrude.
After covering the basics, Zuza delves into some real-life examples that show how parametric modeling can come in use. When you need a single part to adapt to fit multiple-sized complementary parts, or when you need to change the dimensions of multiple parts at once but don’t want to do it all manually are two great examples.
Watch the full video for even more advice on how parametric modeling can come in handy in your workflow.
If you’re looking for even more information on parametric modeling in Fusion, Zuza released a blog post in conjunction with the above tutorial that gives a written deep dive into the subject. Read the blog post here.
Haven’t tried parametric modeling in Fusion yet? Give it a go today.