We Ended the Probe Debate by Focusing On Priorities First, Probing Second
Debates on the merits of machine probing have been around for as long as I can remember. As long as we’ve had machining tools to play with, engineers have always questioned when and why they should be used. These days, the question we always hear is – to probe or not to probe? I think we’ve lost focus on what truly matters: job priorities.
I got a chance to dive into the great Probing Debate at the Autodesk CAM Summit with the Fusion CAM team. We were all ready to end the probe debate once and for all.
The Merits of Probing
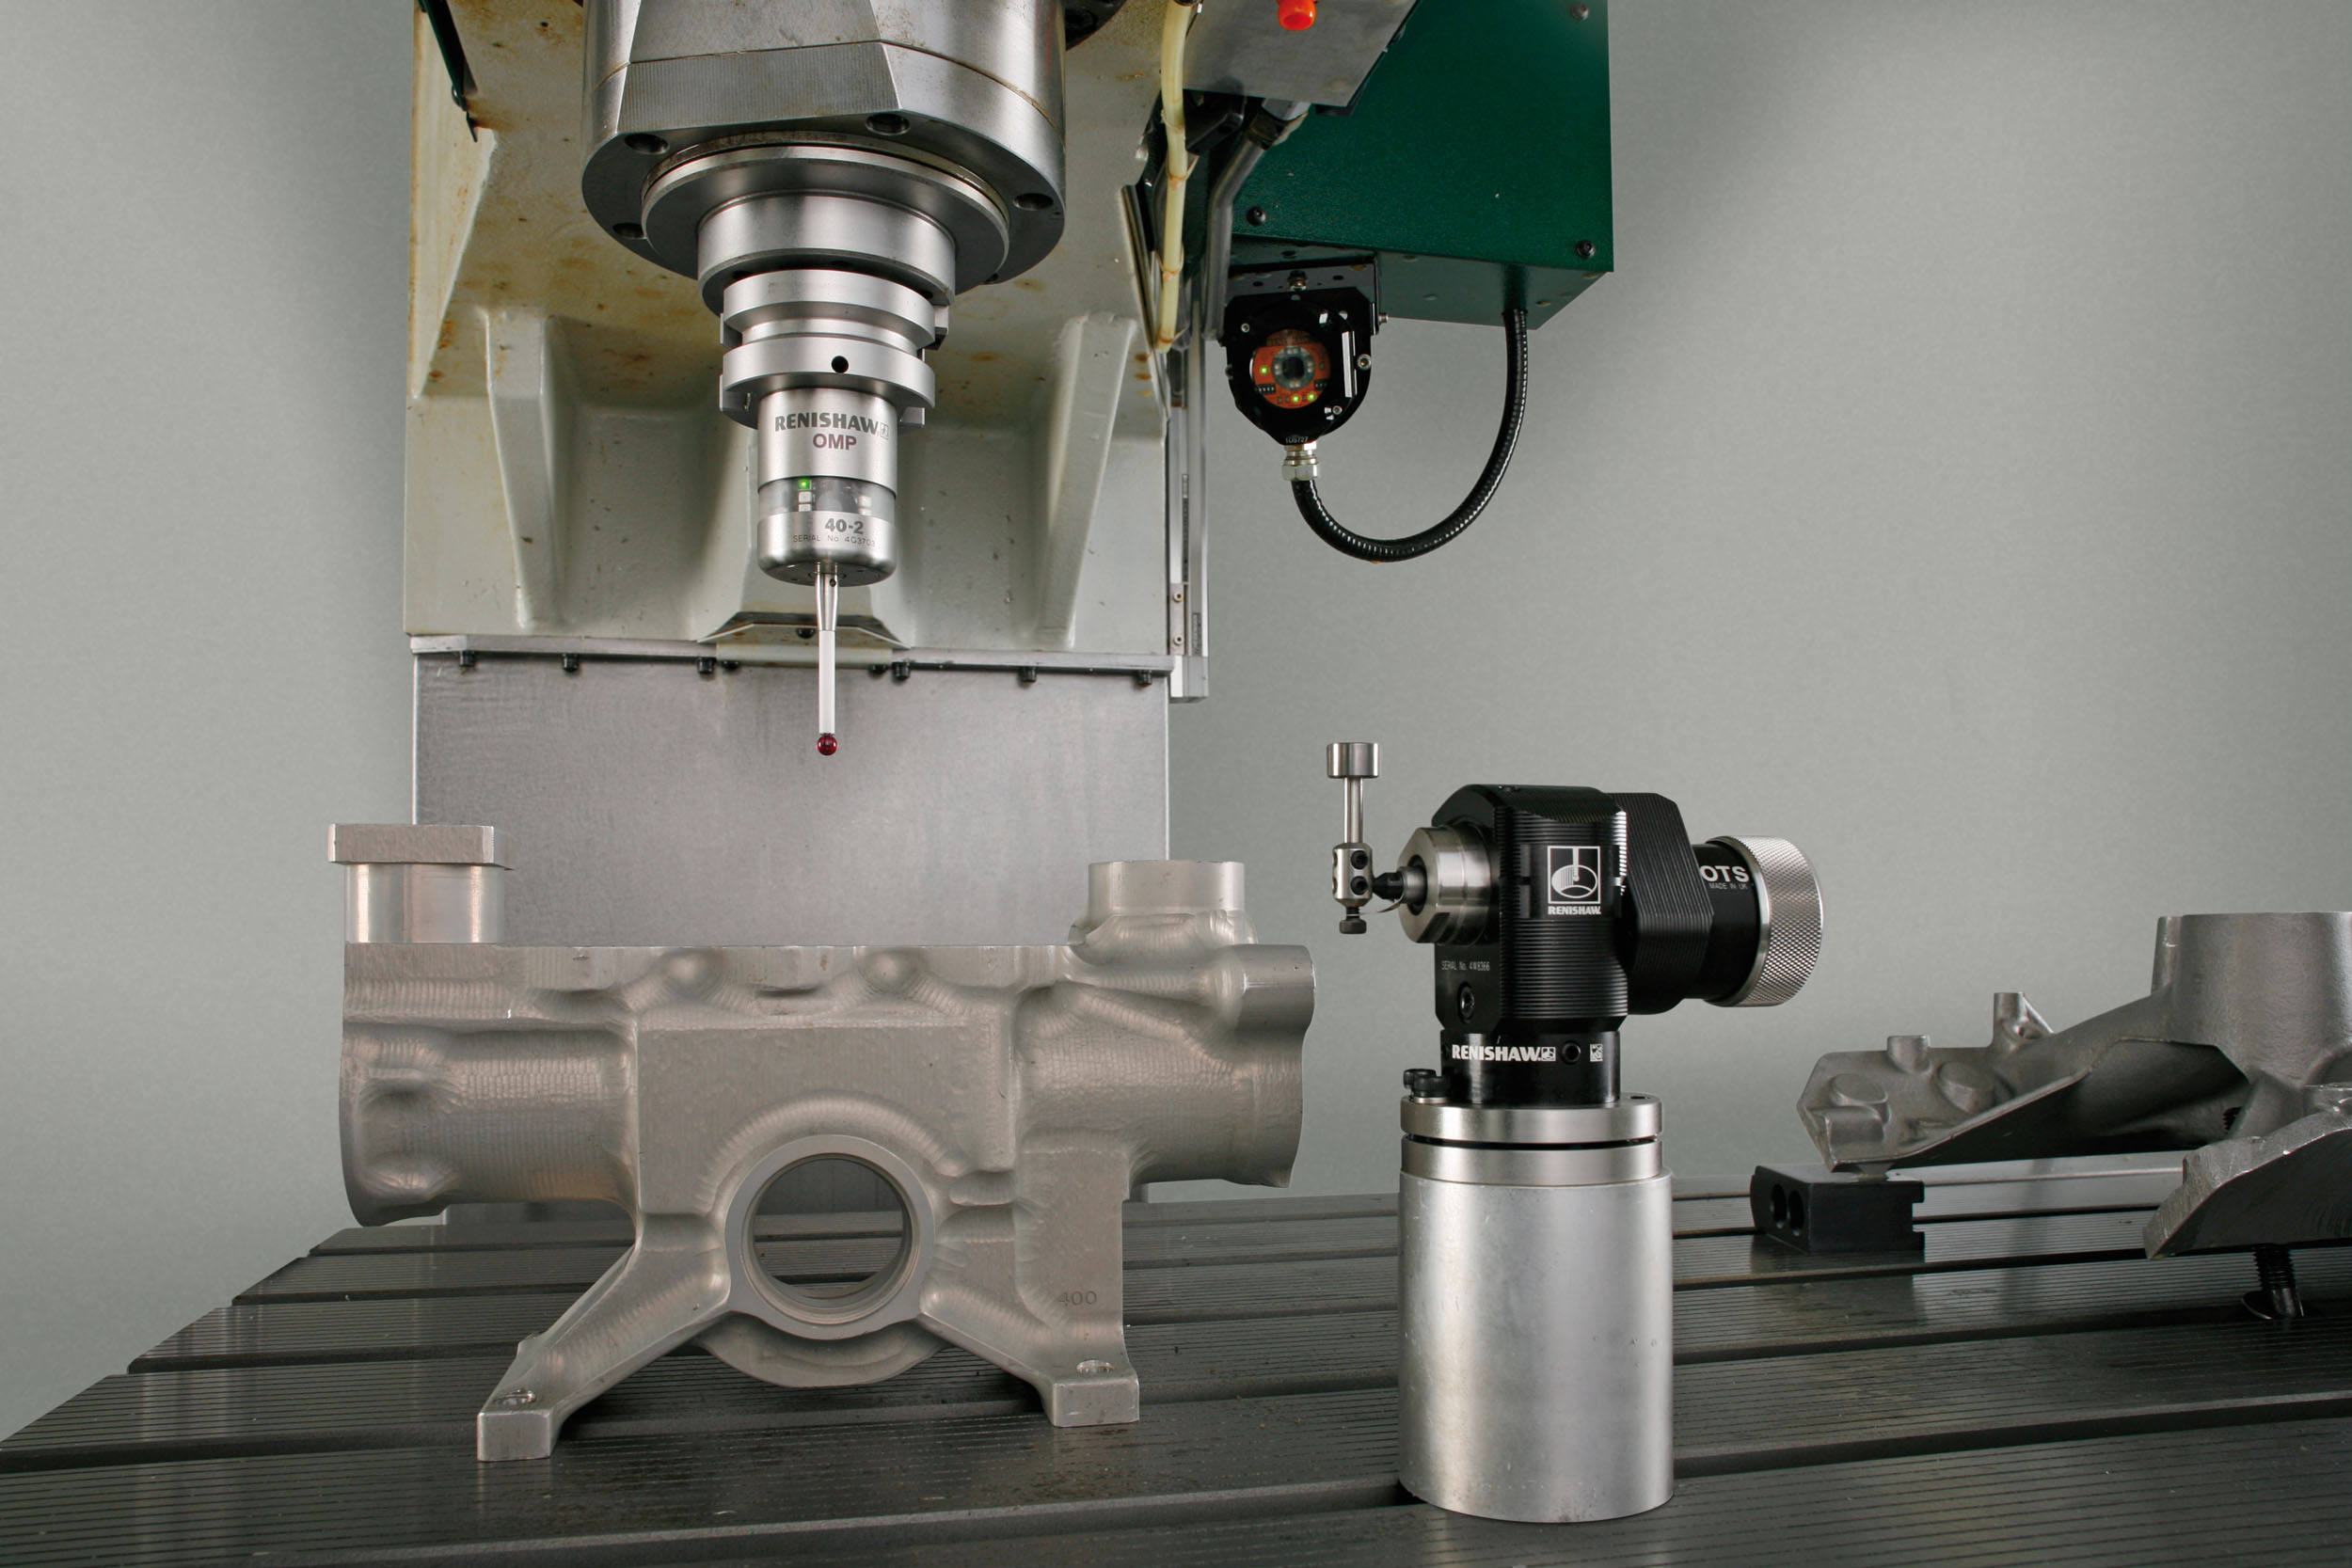
For those of you new to the world of machining, let’s talk briefly about probing. Most CNC machines these days come with a touch probe system like the one pictured below. This probe can gather measurements inside a cutting area to confirm feature locations.

Image courtesy of Renishaw.
Probing cycles also add value by either sounding an alarm or shifting the coordinate system when a part gets loaded incorrectly. You can guarantee doing this a handful of times in your machining career, and probing will save your skin by acting as a second pair of eyes.
The biggest gains to be had from machine probing include:
- An accurate setup process
- Reduced rework rates
- Quick detection of machining errors
- Automatic compensation for tool wear
- Inspection of parts throughout the machining process
With all that said, you might assume that probing is a no-brainer. However, what you gain in accuracy and detection you lose in time. Some machines require manual programing of probing routines. There’s also the increased cycle time to consider with every probing routine added to your workflow. For many low-volume operations, the benefits of probing just don’t add up.
Job Priorities
For this article we’d like to focus on how to use probing efficiently and effectively when the situation calls for it. However, It’s not such a binary yes/no decision of whether to use probing or not. The first, and most important task, is defining the priorities of your job to determine how your probe will be used. Your priorities might be:
- Low cycle time
- Low touch time
- Feature size accuracy or consistency
- Feature location accuracy or consistency
- Unattended run consistency
Only after you’ve defined your priorities can you start to use your probe efficiently to increase part yields. There are two reasons why you’ll want to probe. You’ll either shift a Work Coordinate System (WCS) to the more precise location of stock or features, or probe to measure features during the setup process.
Back at the Autodesk CAM Summit, we worked through the machining of a part using the mindset of Priorities First, Probing Second to see how the process would unfold.
Probing In Action
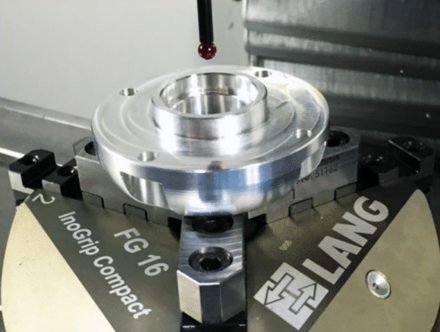
At the Pier 9 workshop our group worked on a 10-piece job that required a quick turnaround. The part already went through its 1st operation with a purposely exaggerated – and difficult to obtain – concentricity tolerance. In the image below you can see the outer profile and 1.000” through-hole that were already machined. For the 2nd operation we’ll be focusing on the concentricity of the counter bore and boss.

Setting Priorities
Our priority was to make a high quality part on the first run as efficiently as possible. Our biggest risk was scrapping parts during the concentricity machining in the 1st and 2nd operations.
Part Setup
We set our XYZ WCS #1 (G54) and WCS #2 (G55) both to the same location. XY aligned with the center of the 3 Jaw Lang Chuck and Z aligned with the parallel jaw surface.
Probing Process

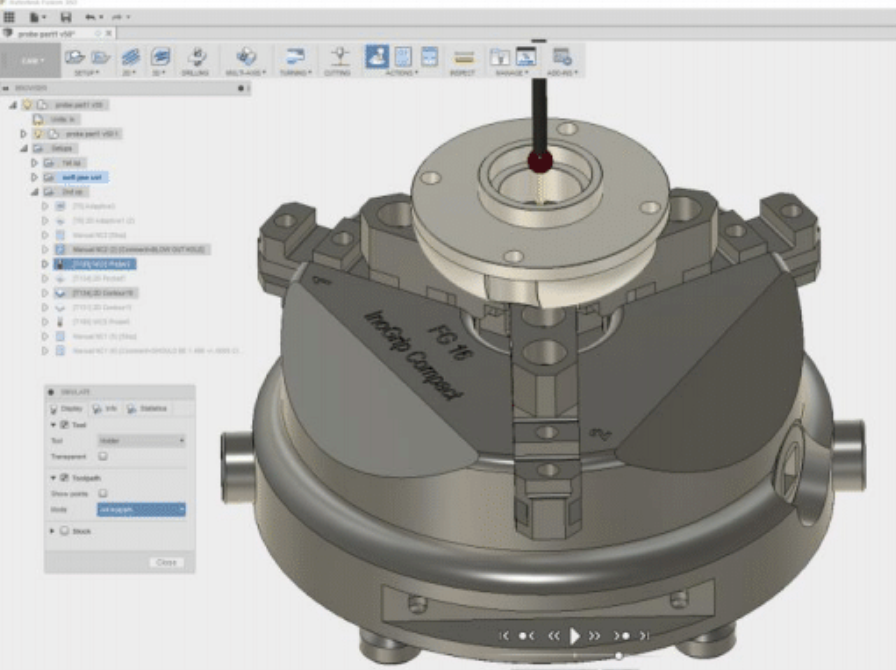
Here’s our machined part in Fusion pre-2nd operation.
We first used WCS #1 (G54) to rough machine away any remaining material lingering from the 1st operation. This machining exposed the 1.000” through-hole and allowed it to be probed. The probe then identified a mislocated position, and output it to WCS #2 (G55) as a Work Coordinate Shift. We then shifted to WCS #2 and focused on machining the counterbore, boss, horizontal surfaces, and chamfers at the more accurate location.
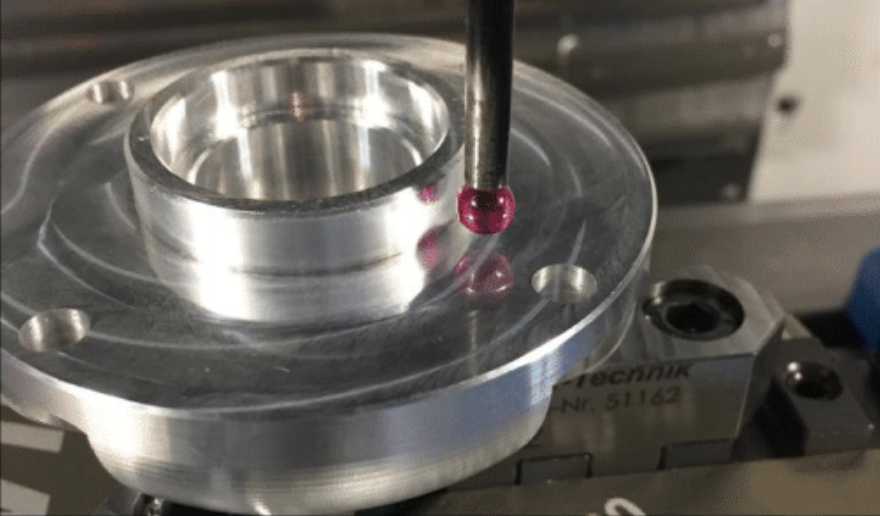
Overall, the results provided a set of features that were accurately machined, thanks to the work coordinate shift from WCS #1. You can see the part below at the end of its 2nd operation.

Probing Reflection
With the machining done, our group had some time to sit down and reflect on the day’s work. What really stood out is how important it is to define the job priorities before defining the probing process. In our case, we knew accuracy and quality were at the top of the list. The probe was simply a means to an end of accomplishing these priorities by shifting coordinates to more accurate locations.
By planning out the priorities of a project ahead of time, it’s a lot easier to make smart use of datums and tolerances and make the most of your probing process. Like most things in life, it’s all about a thoughtful balance.
Fusion 360 has the perfect balance of CAD and CAM, all in one tool. Design, manufacture, and probe to your heart’s content. Subscribe to Fusion 360 today!
