You might recognize the speaker below if you had the chance to attend AU 2017…
It was first designed in Fusion 360 and EAGLE, before being manufactured in situ using a 2,000 square foot, fully functioning factory on the convention floor (where Fusion Production was also put to use).
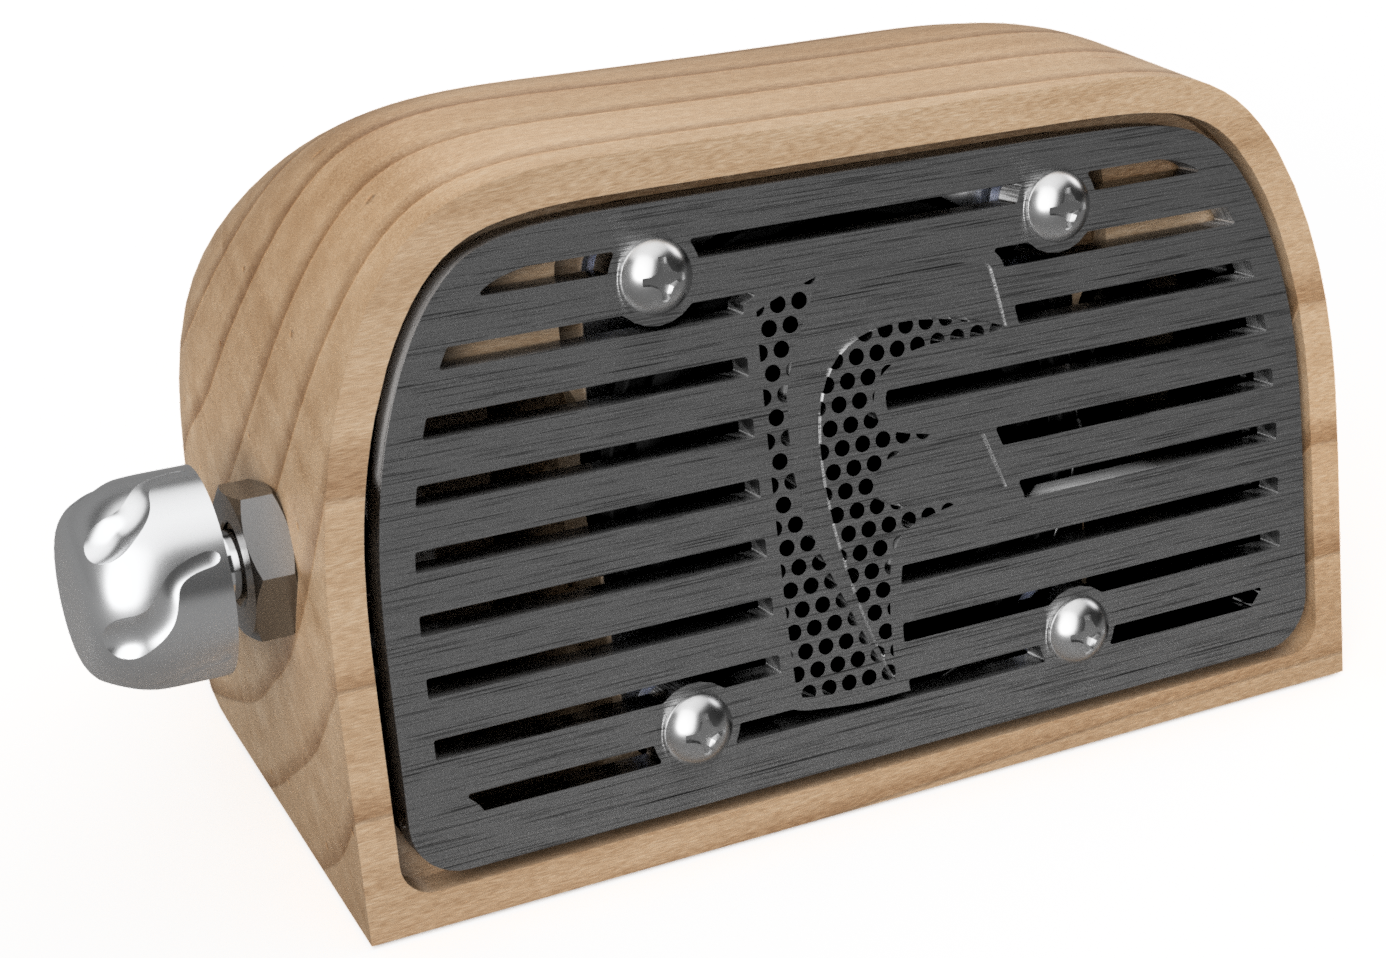
Anyway, to really appreciate the design, I wanted to make a rendering that would show off the internals, as that is where a good chunk of the design work went in. To do that, I wanted to make the enclosure transparent, which took a little finagling…such that a QUICK TIP was in order. So without further adieu, see blow:
I hope that helps. Show off your awesome renders by sharing your work in the gallery!
~Aaron