In this week’s QUICK TIP, I will uncover some hidden hotkeys to make anyone design faster in the sculpt environment. Here are some of my favorite hidden sculpting tips:
Selection
Nobody likes to hunt around the model. Constantly zooming, panning, and rotating to find the correct edge. There are many hidden selections tricks in the sculpt workspace to alleviate this. My two favorites have to be the following tricks:
- Double click on an edge
- select entire edge loop
- Select a Face>Hold Shift>Double Click on Adjacent Face
- Selects entire loop of faces
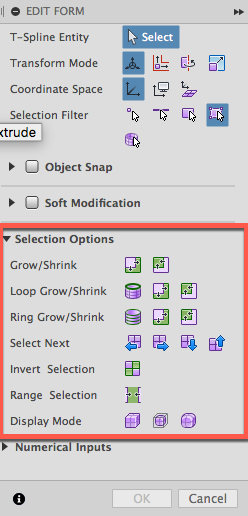
If you want to step up your selection abilities, check out “Selection Options” in the edit form dialogue box. Each option has dedicated hotkeys to increase your sculpting skills.

Adding Faces
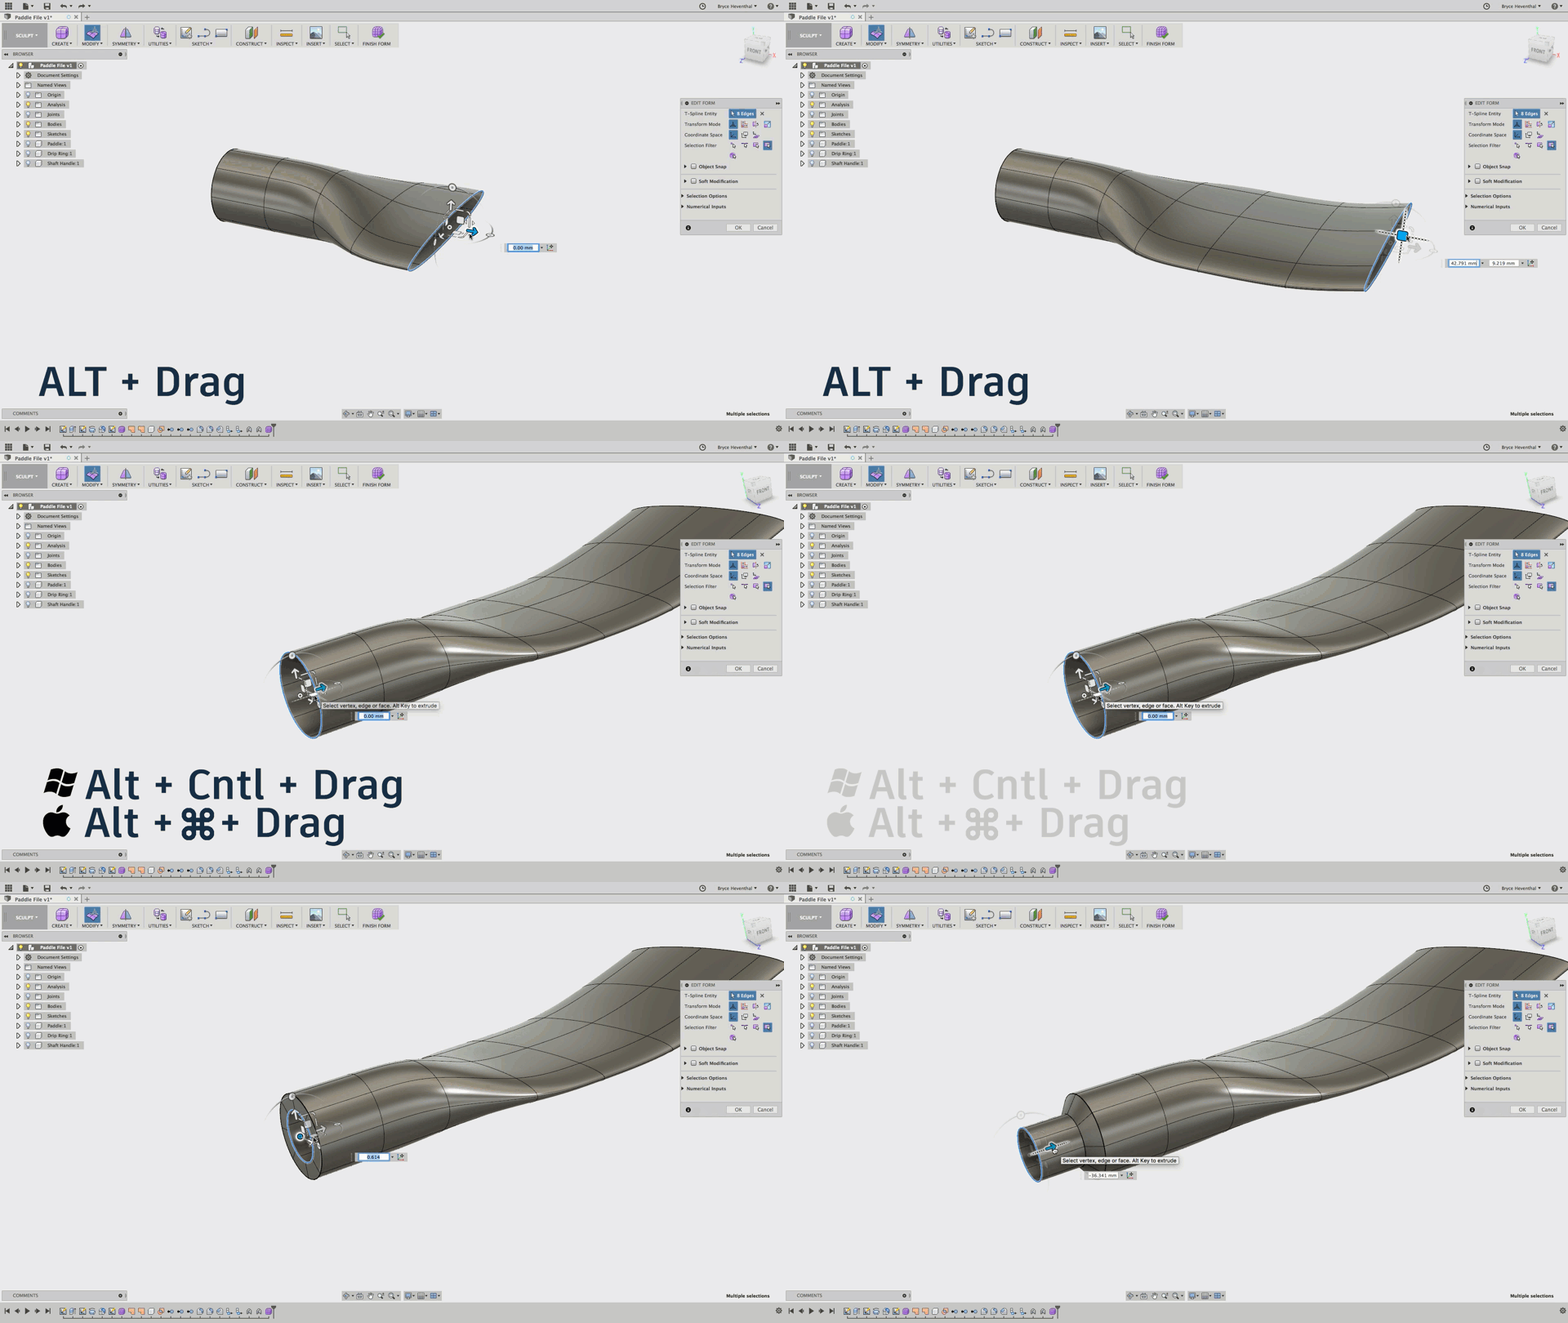
If there is one trick to add to your Fusion 360 toolkit, this is it. There are a variety of ways to add faces to tspline bodies, but my favorite is the ALT + Drag Technique. Turn on “Edit Form,” select an edge or face, hold Alt, and start dragging to add a face in the selected direction. This technique will add faces with G2 curvature continuity. What if you don’t want it to have G2 Continuity? Well, we have you covered (assuming you can remember this combo of keys). Again, start the “Edit form” command, hold Alt + Cntl (on windows) or Alt + Cmd (on Mac), and drag to add a face with a creased edge.

Display modes
I’ll be the first to admit I am not a tspline Jedi…yet. After watching hours of some of our best concept designers, I was surprised to see that over 50% of their modeling time was in box mode. You can activate this mode by pressing Alt+1 on Windows and Cntl + 1 on Mac. So I asked, “Why are you always in box mode?” Well, they told me that it’s more important to downstream process (i.e., thickening, surfacing, etc.) to have a uniform control framework. If you want to learn more about a complete product development workflow, make sure to check out the self-paced training on the Adoption Portal.
