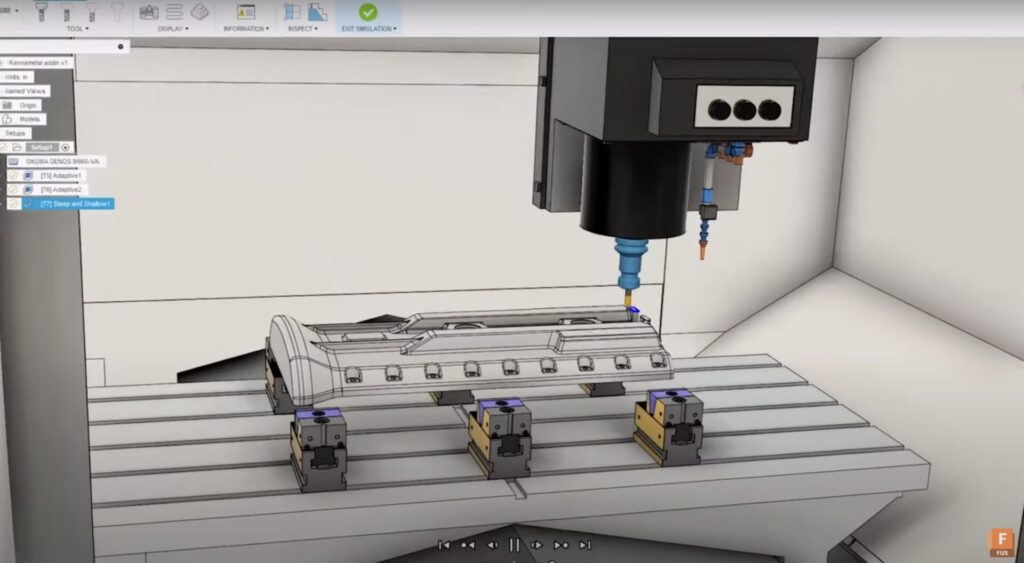
Selecting tooling and setting it up correctly is a vital part of tool path programming. This process, however, can be time-consuming and prone to errors, which can negatively impact the accuracy of parts and the safety of the machine. To mitigate these challenges, Autodesk Fusion offers an add-in from Kennametal that simplifies the process by allowing direct import of tooling and its assembly into your tool library.
Installing the Kennametal add-in
To get started, download and install the Kennametal add-in from the Fusion App Store. You can verify the successful installation by checking the utilities section of the app. Once installed, you will find an icon for the Kennametal add-in in your manufacturer workspace toolbar. This icon provides easy access to the Kennametal tools and allows you to add them directly to your tool library.
Searching and importing tools
Clicking the Kennametal icon opens a new window in the canvas, displaying the Kennametal tooling site. You can easily search for tooling using keywords, catalog numbers, SKUs, or text descriptions. Alternatively, you can select a category and use filters to refine your search.
Once you’ve found the tool you need, click on the SAP material number. This will take you to the product detail page where you can review the tool’s specifications. Importing this tool into Fusion is easy – just click on ‘Create a Solution’ located near the top of the page.
Creating tool assemblies and adjusting parameters
You have the option to import the individual tool or select additional components to create a complete tooling assembly. You can set the recommended cutting data by selecting ‘Feeds and Speeds’ in the secondary menu and adjusting the parameters to match your specific cutting conditions.
When you’re ready, select the ‘Send to Fusion’ option. This will upload the tooling information to your local tooling library, eliminating the need for manual creation. A pop-up will confirm that the tool has been added to your library.
Streamlining the tool selection process
The Kennametal add-in for Autodesk Fusion streamlines the process of selecting, creating, and purchasing the tooling required for your machining processes. It minimizes errors often associated with manual data entry, ensuring accuracy and safety. Once you’ve added a tool to your local library, you can move it to your preferred location and make edits, such as renaming it if needed.
In conclusion, the Kennametal add-in for Autodesk Fusion simplifies tool path programming, making it more efficient and less prone to errors. It’s a valuable tool that promotes accurate and safer machining processes.