Elevate your design and manufacturing processes with Autodesk Fusion
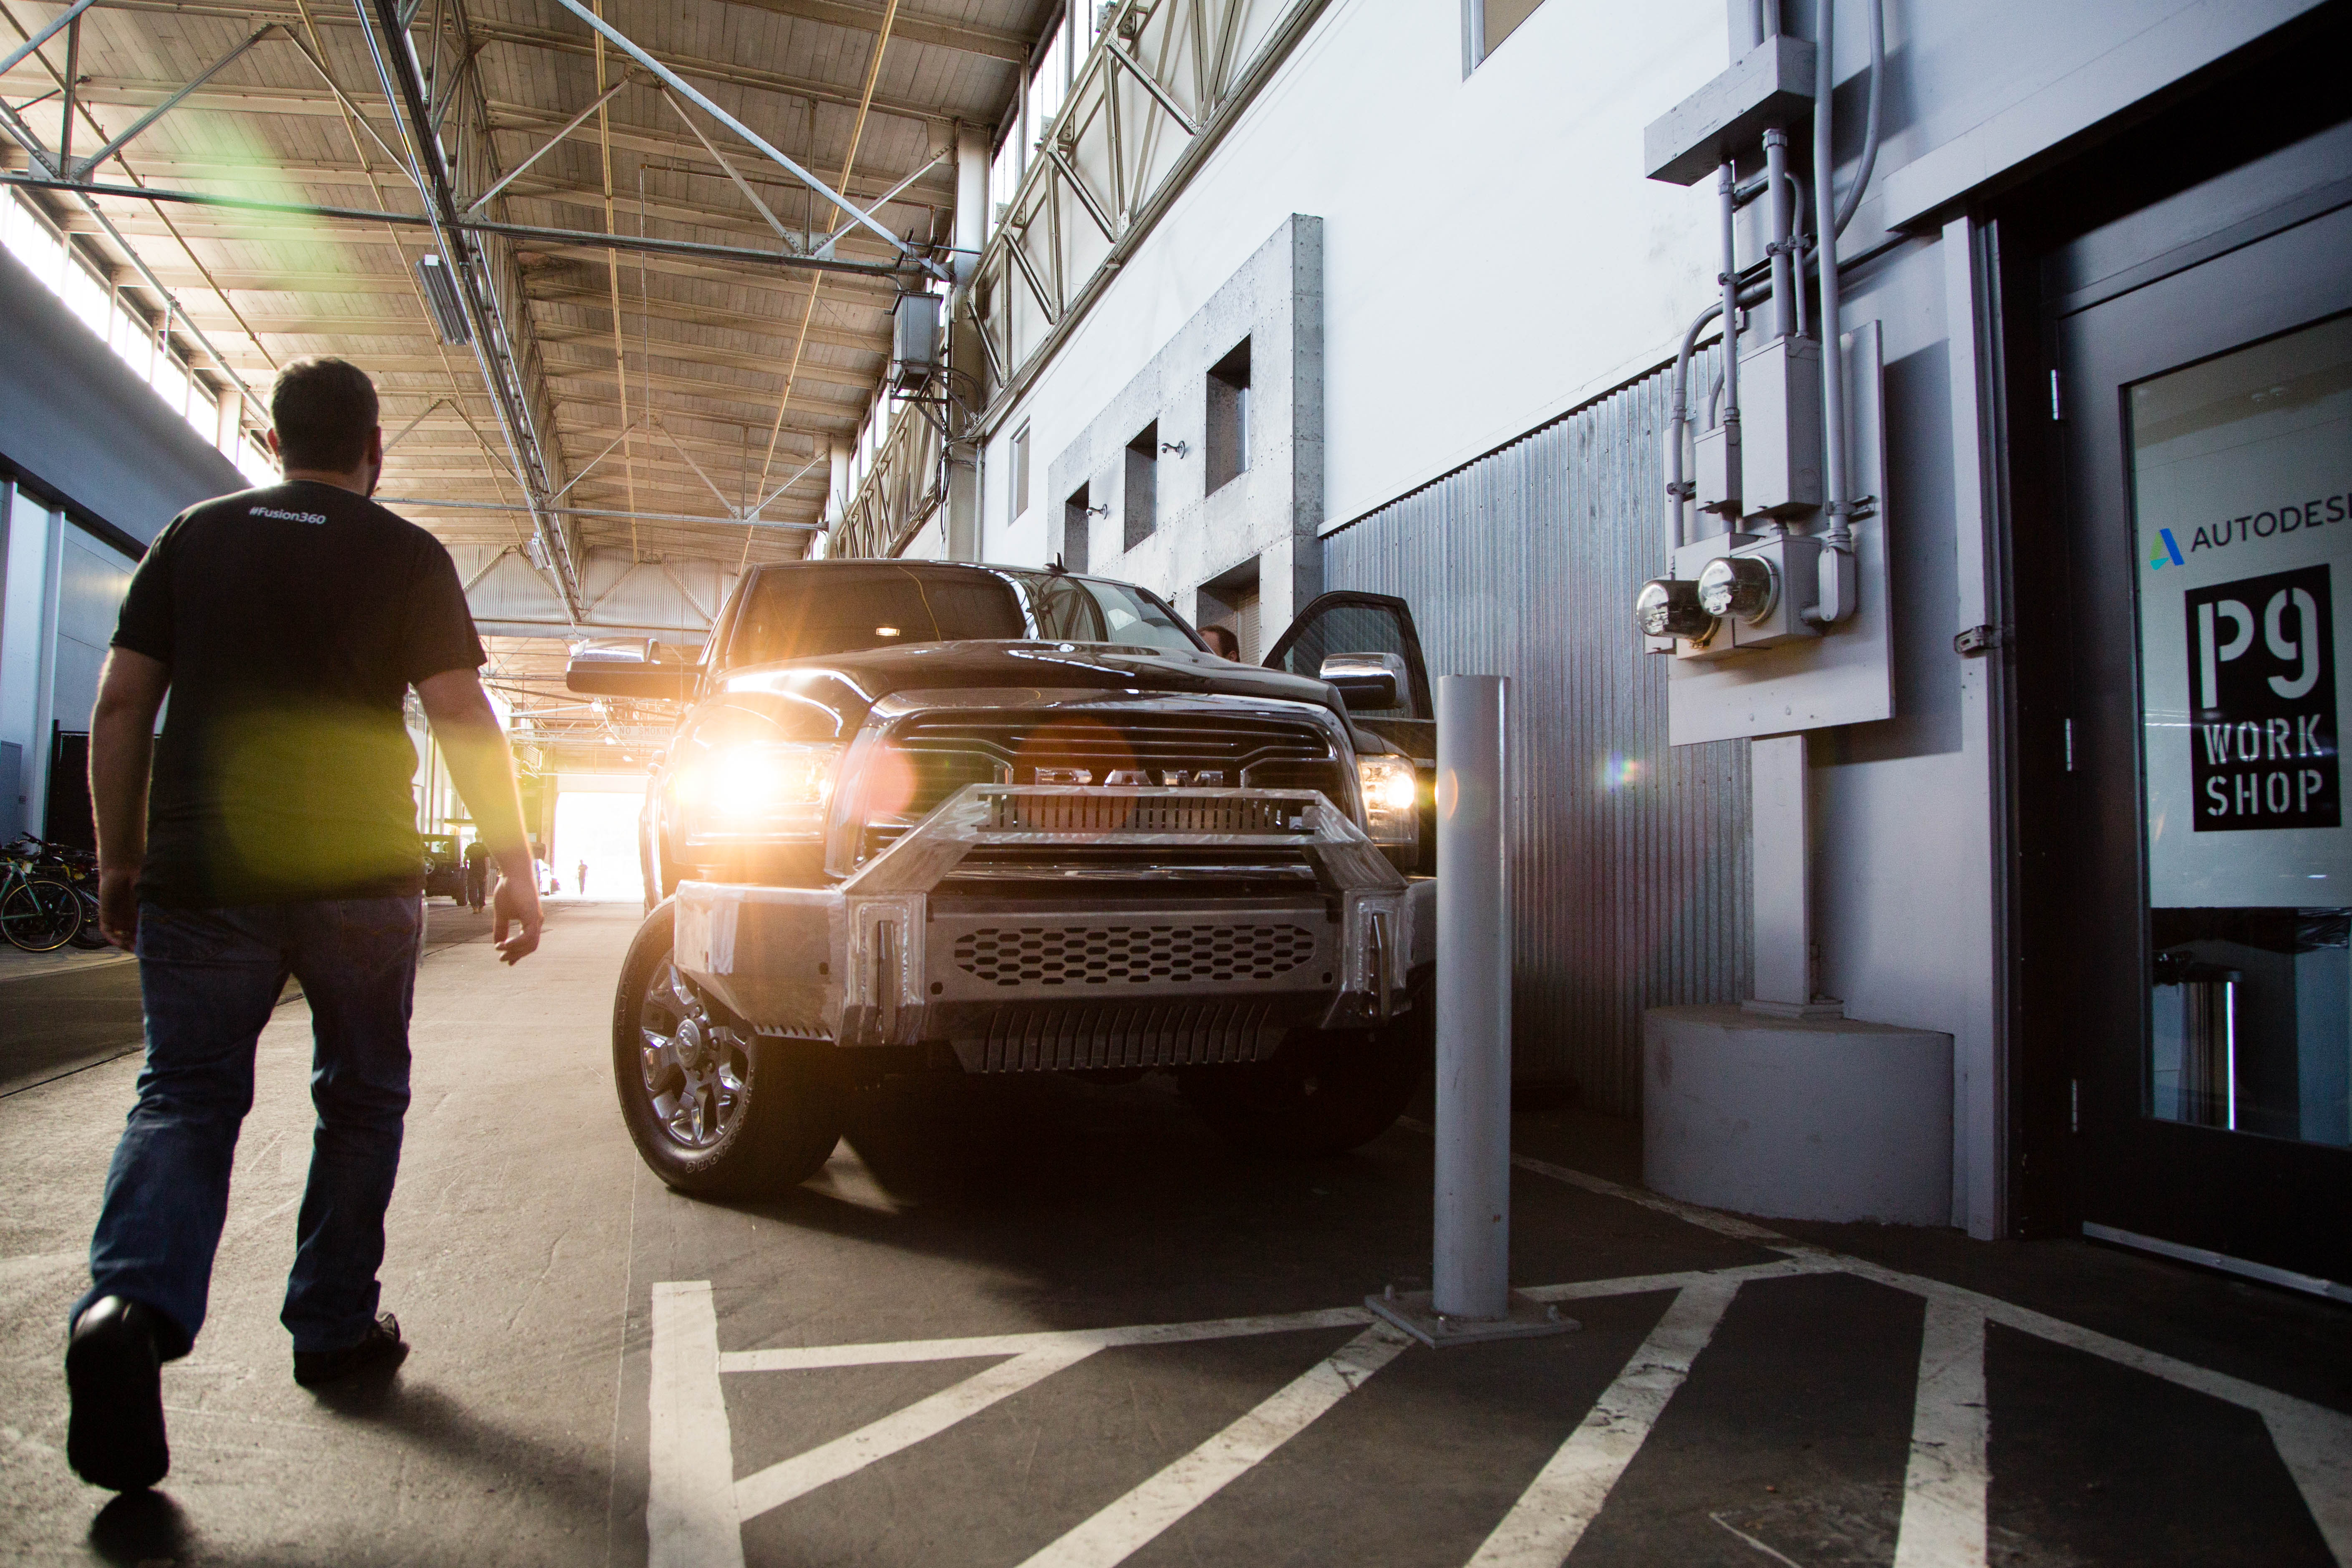
As many of you know, we at Autodesk pride ourselves in creating tools that allow our customers to make anything. We have a facility in San Francisco called Pier 9 that helps us collaborate and learn about the manufacturing process. In celebration of our sheet metal release for Fusion 360 we held a contest to design a new bumper for a truck. The winner was flown to San Francisco, where we manufactured the bumper at Pier 9. Let’s take a look at our process, what we learned, and what we are going to do about it.
Design for Manufacturing

- Winning Design
- Part of the criteria that was used in picking a winner was manufacturability. The winner, Eric Tremblay, spent a tremendous amount of time designing the bumper so that it could be built and then mounted on the truck. The result was a steel sub frame that bolted to the current mounting points and an overlay aluminum shell.
- Assembly of Parts
- After we picked Eric as the winner, the bumper was redesigned to make it easier for mounting the steel sub frame. A steel tub was added for strength and chamfers were added to make the parts easier to put together. New plates were then added to allow quick access for the aluminum shell to be bolted in place.
- Manufacturing Equipment
- Once the design was set for how it would be assembled, we wanted to make sure all the pieces could be made with the equipment available. Changes were made to the design to accommodate the dies we had for the press brake, which meant a change in the bend radius. Since this would be a one off, we did not want to make a custom fixture, so tabs and notches were added for alignment.
- Cardboard Prototype
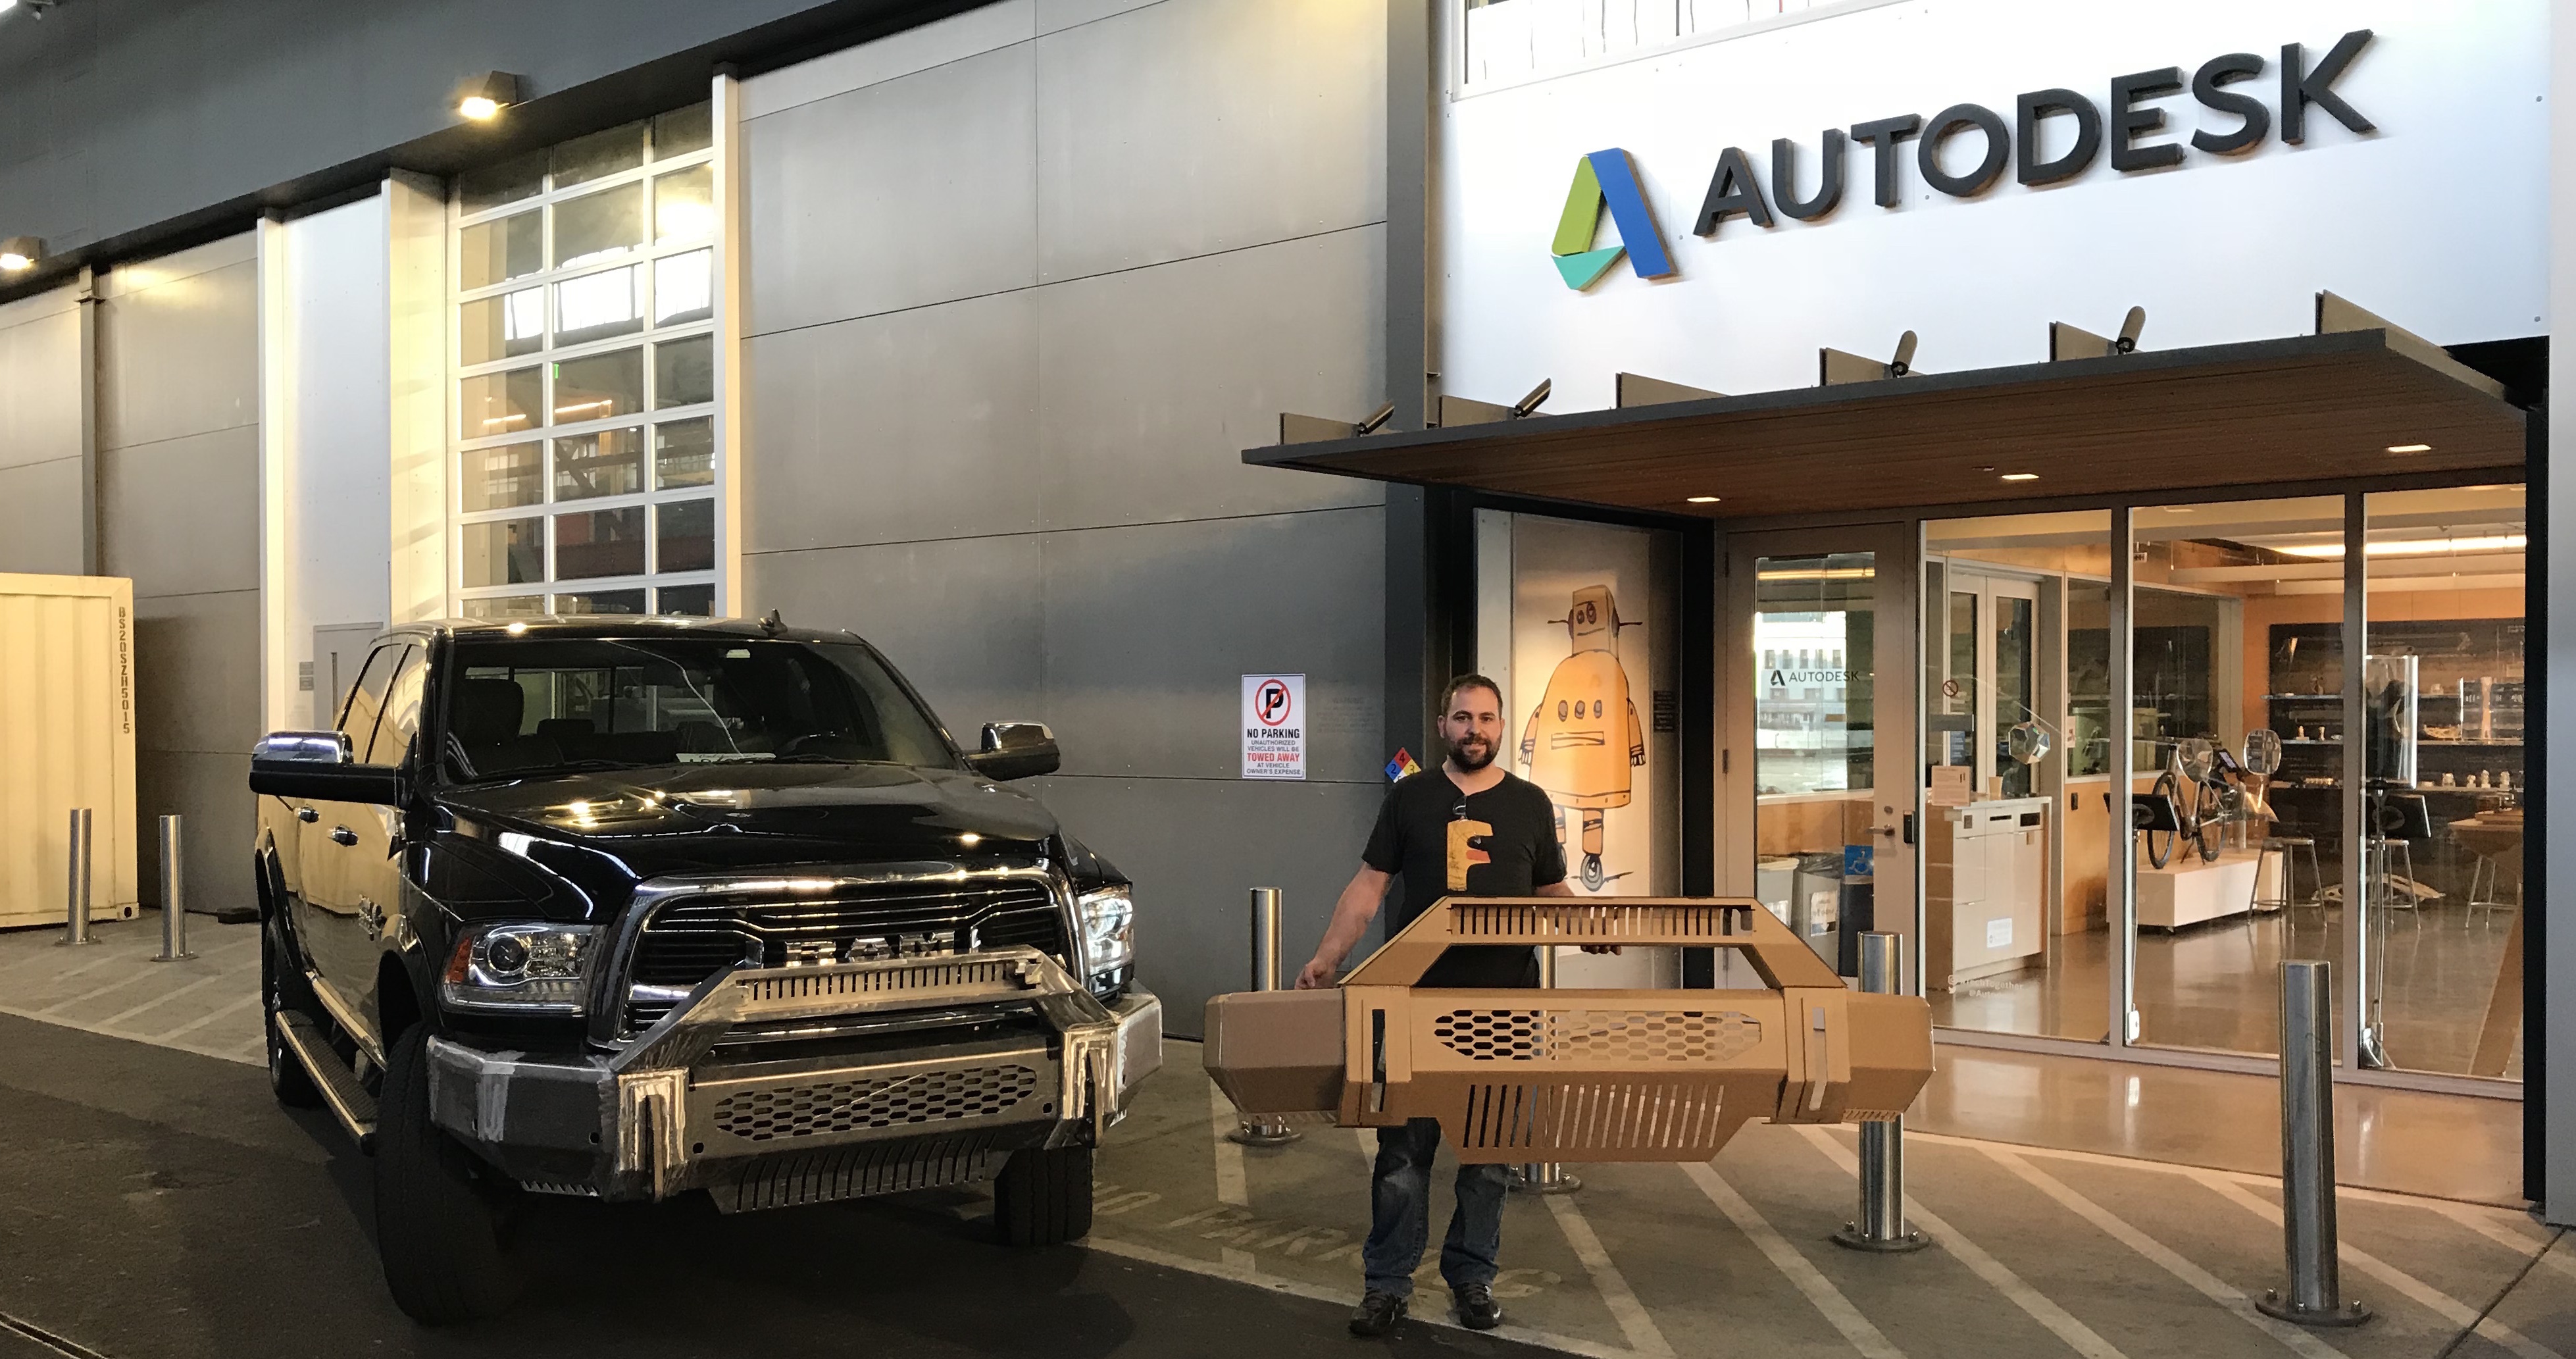
- Our model started from a 3D scan. If we were to be successful in manufacturing a bumper in just two days we wanted to do all that we could before cutting metal. The Fusion 360 community is amazing, in fact, it seems like more of a family. A part of the family is Bill Dieter, a customer local to our Portland office. He was kind enough to cut a prototype out of cardboard for us using his Zund CNC. The cardboard was taped and glued together before being placed on the truck. We found some critical collisions and size change that were easily missed in our model.
- Final Design
- In an effort to maintain the original look and feel of the design true to the look, most changes had to do with sizes of parts, how they were to be assembled, and orientation.
What we learned
This experience was a great for us. As it allowed us to go step-by-step in the process of taking a design from concept to production. There were gaps that were exposed and areas that we are excelling at.
- Communication – Having a common data platform that we could use to share data and send to various machines saved us a lot of time. The fact that we had people in Canada, Oregon and California without any data loss when updating designs was truly awesome. One area where we ended up using a flash drive was sharing a file with the water jet. There was an issue with email logins that caused us to resort to this, however we ended up getting the issue resolved for the second cut.
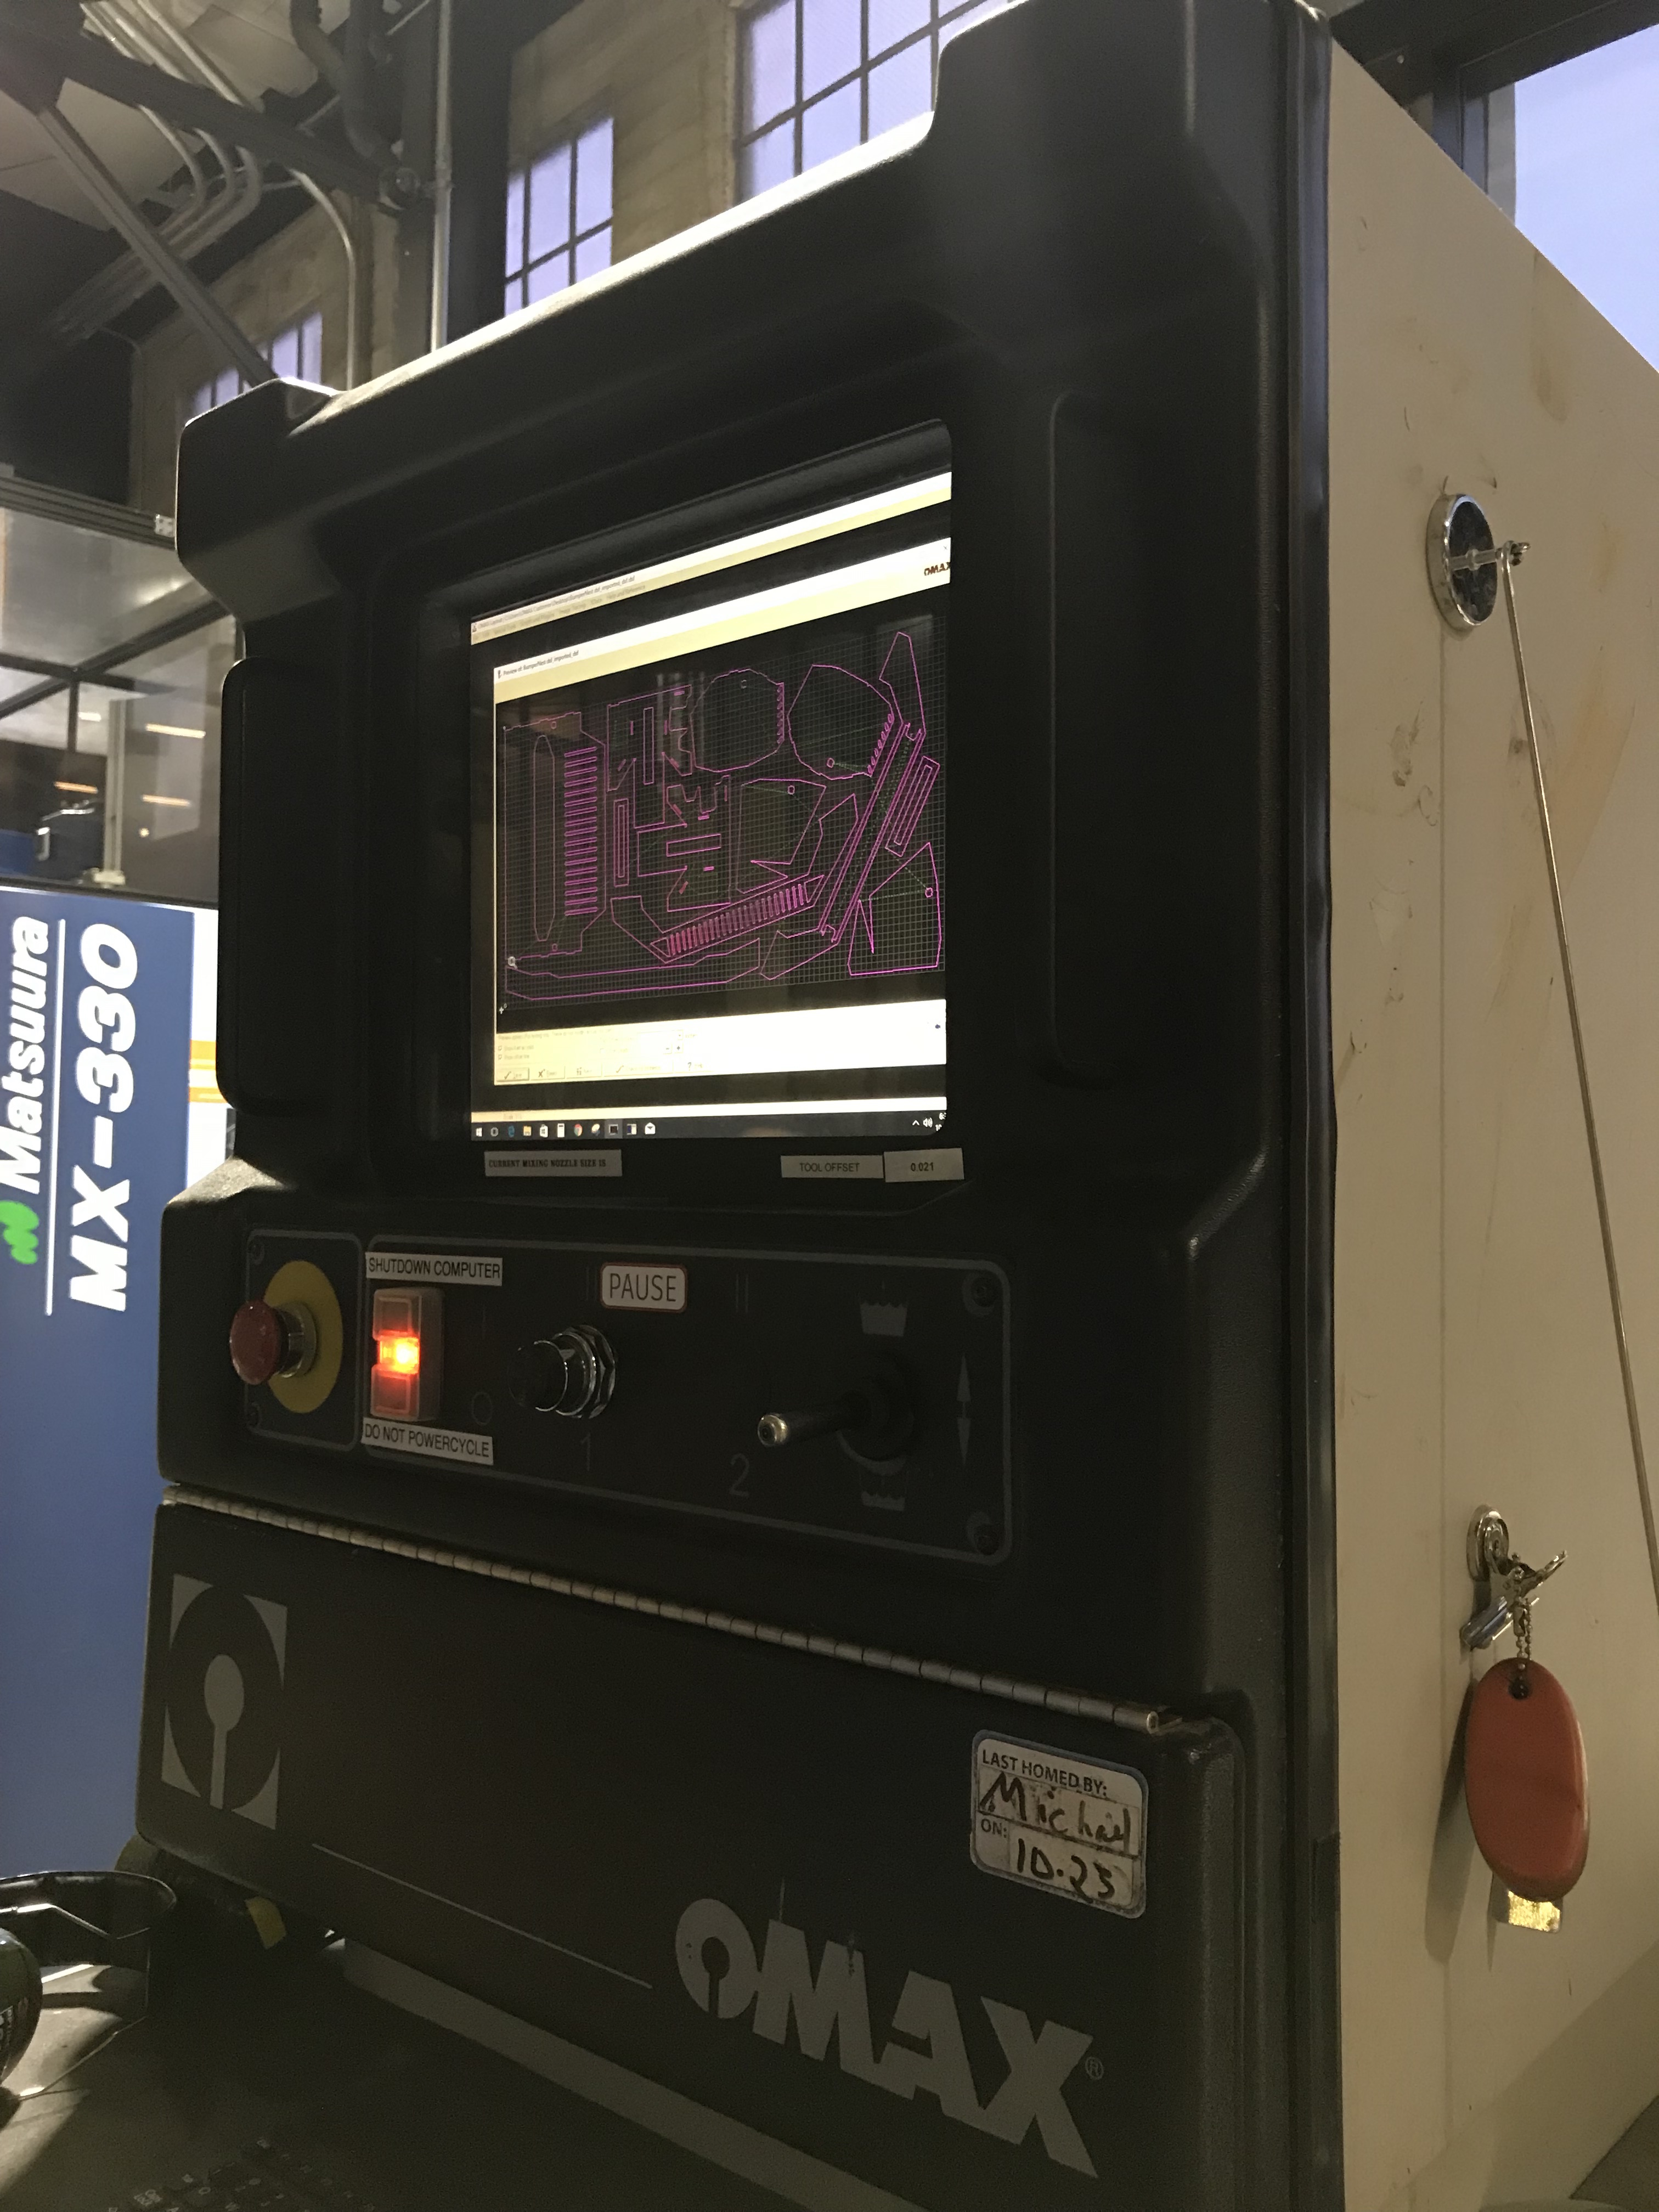
- Nesting – Comments about nest were heard by all when preparing for the cut. Nesting is a very common step in the manufacturing process and a gap we currently have. We ended up spending hours manually nesting the parts, when it could have been minutes, utilizing an automated tool like our TruNest technology. We ended up making a few last minute tweaks causing us to manually nest a second time, which could have been avoided.
- Utilize the tools – The OMax that we have at the pier has 5 axis capabilities, allowing for chamfering of tabs and etching of bend lines, along with A side’s. All little things that would have saved us time in assembly and bending.
What we are planning to do about it
The steps we took in redesigning the bumper are best practices among top manufacturing companies. That said, they can take a bit of time and not everyone knows what to do next. Figuring out ways in which we can help customers incorporate manufacturing into their design will now only save time, but frustrations in rework. Continuing to build our data experience, including browser access is essential for us to keep up with customer expectations. Although we had to export a file only once, the goal is to have a seamless experience.
Automated nesting has been a part of our manufacturing strategy since the planning stage. The feedback has solidified our earlier research in importance and required architectural work is in progress to keep us on track. Before you start cutting, it is important to know what are the capabilities of the tools you are about to us,e and are you utilizing all of them. In-product tips and tools could go a long way to ensure that our customers are getting their money’s worth out of the machines. We have come a long way in completing the vision of helping our customers make anything. Filling the gaps and continuing to improve the experience are what we plan to keep doing. Below are some images from our manufacturing process.
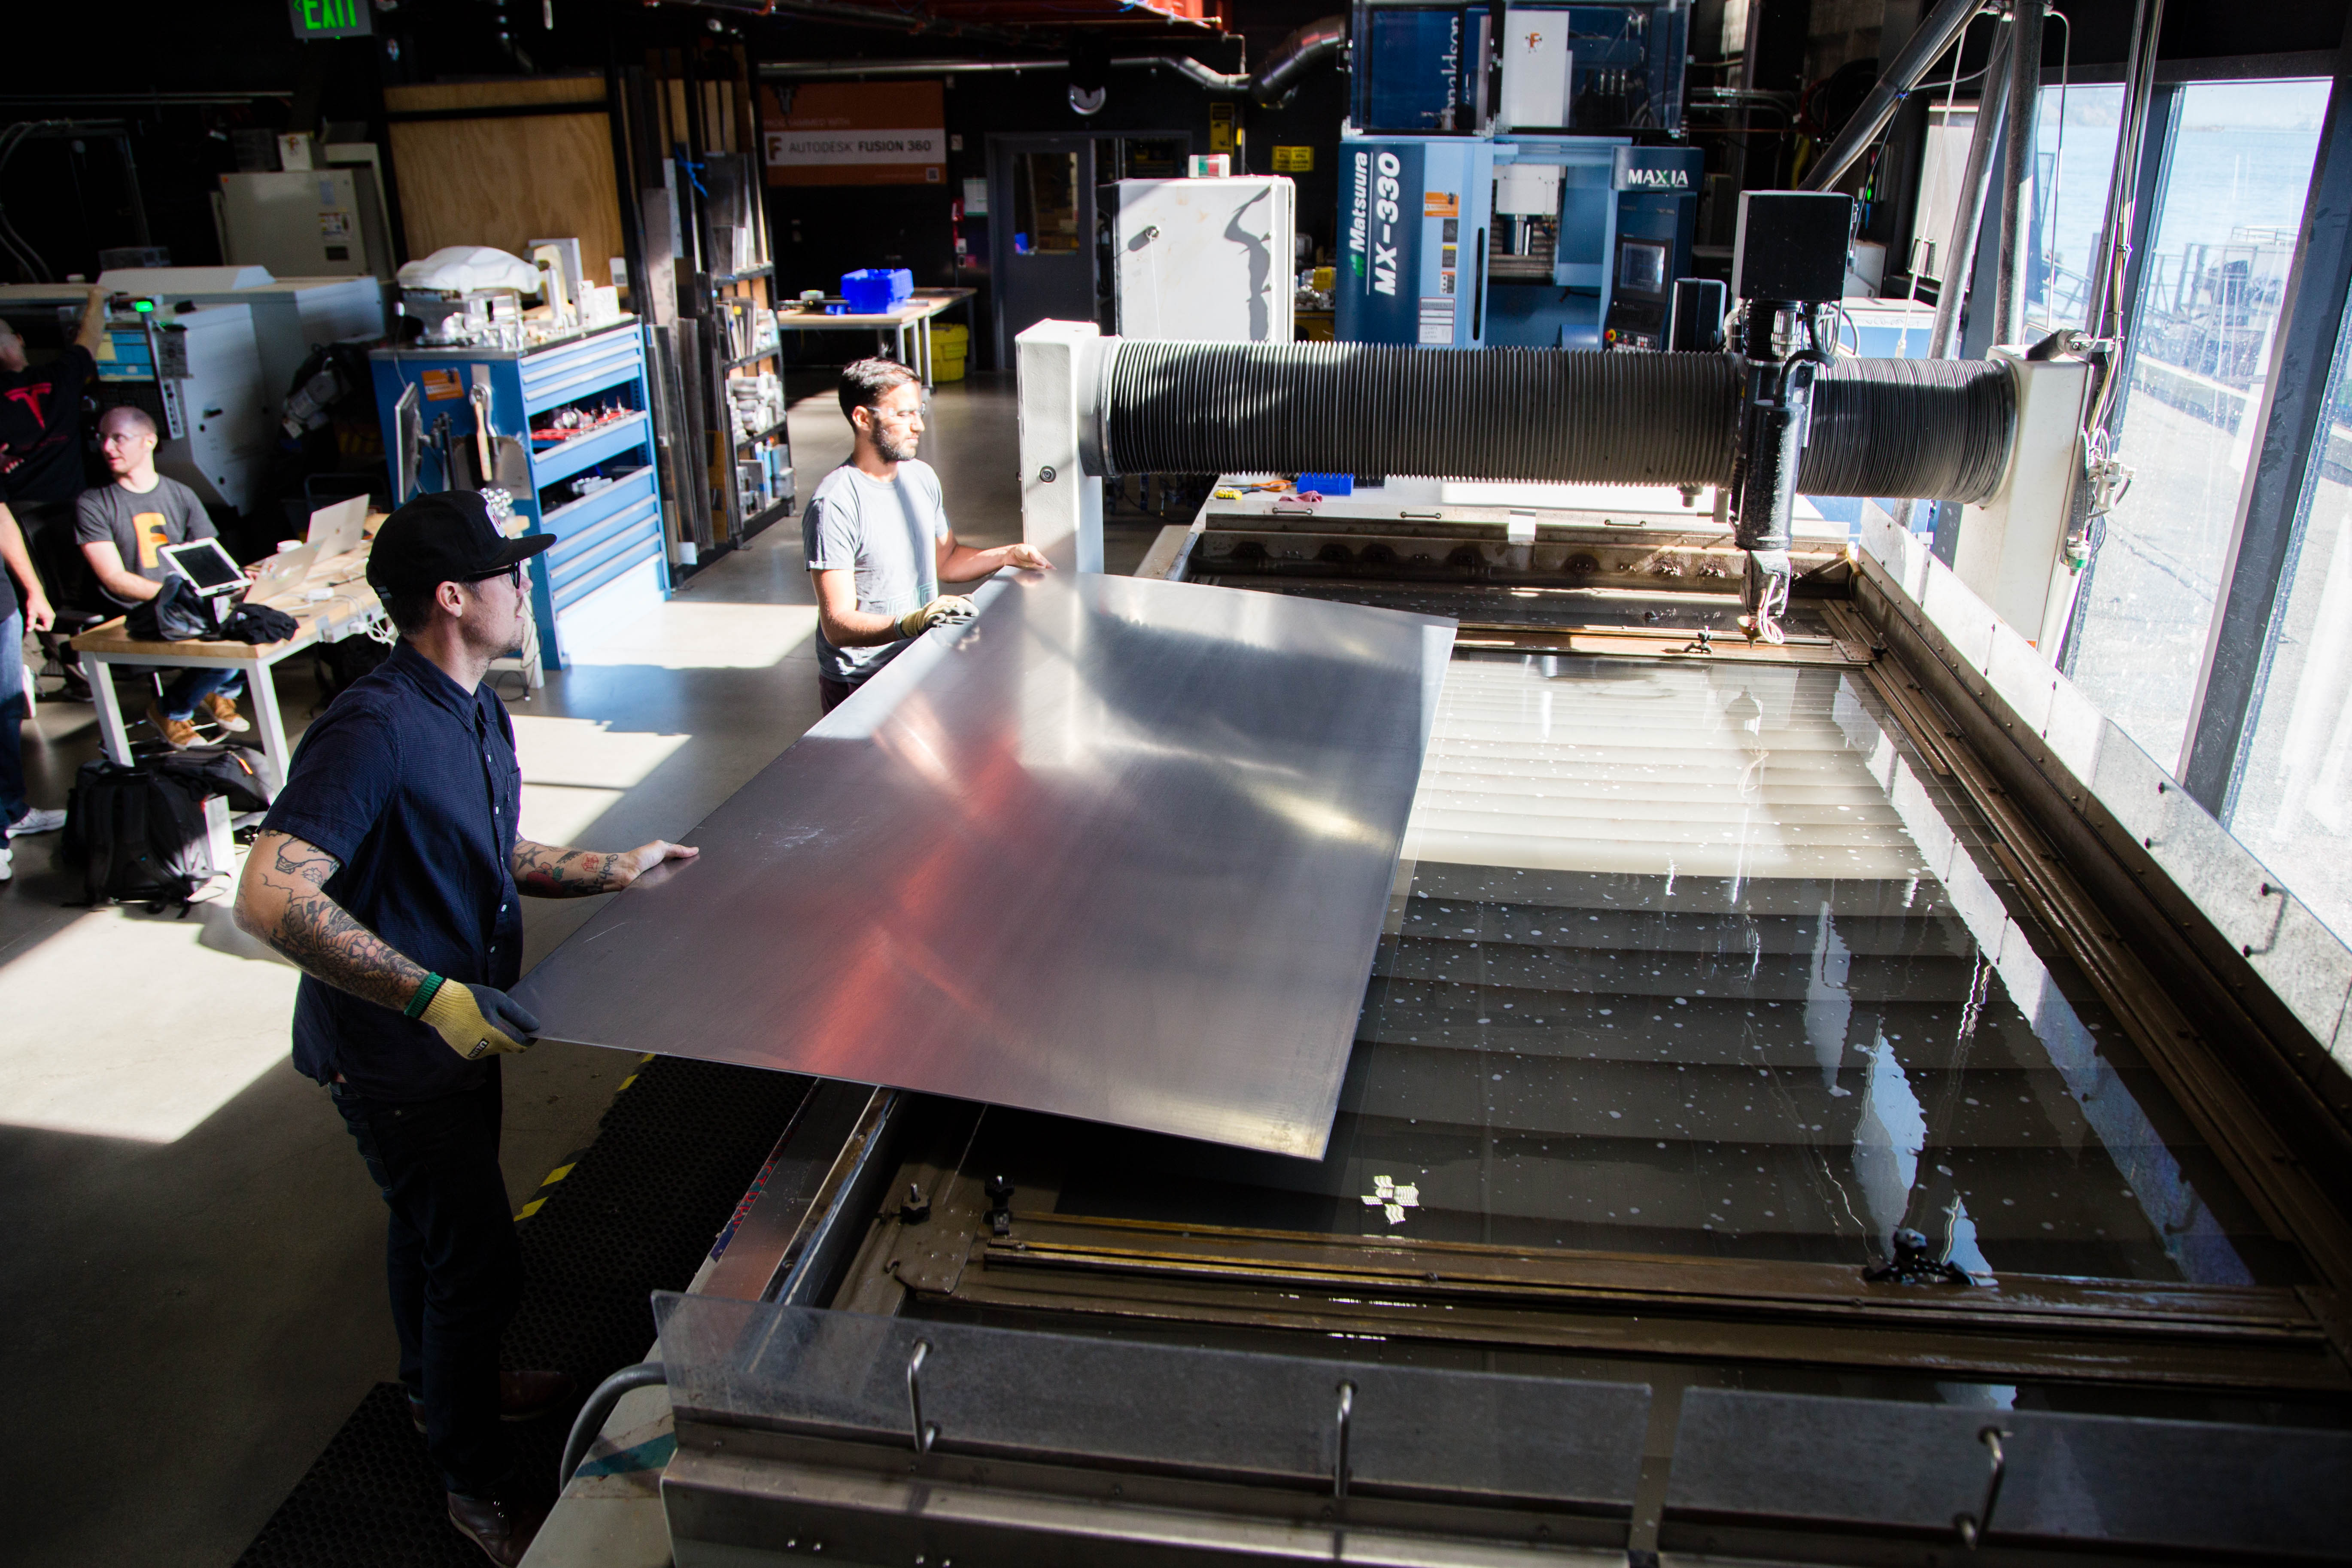
Raw Material
Nesting
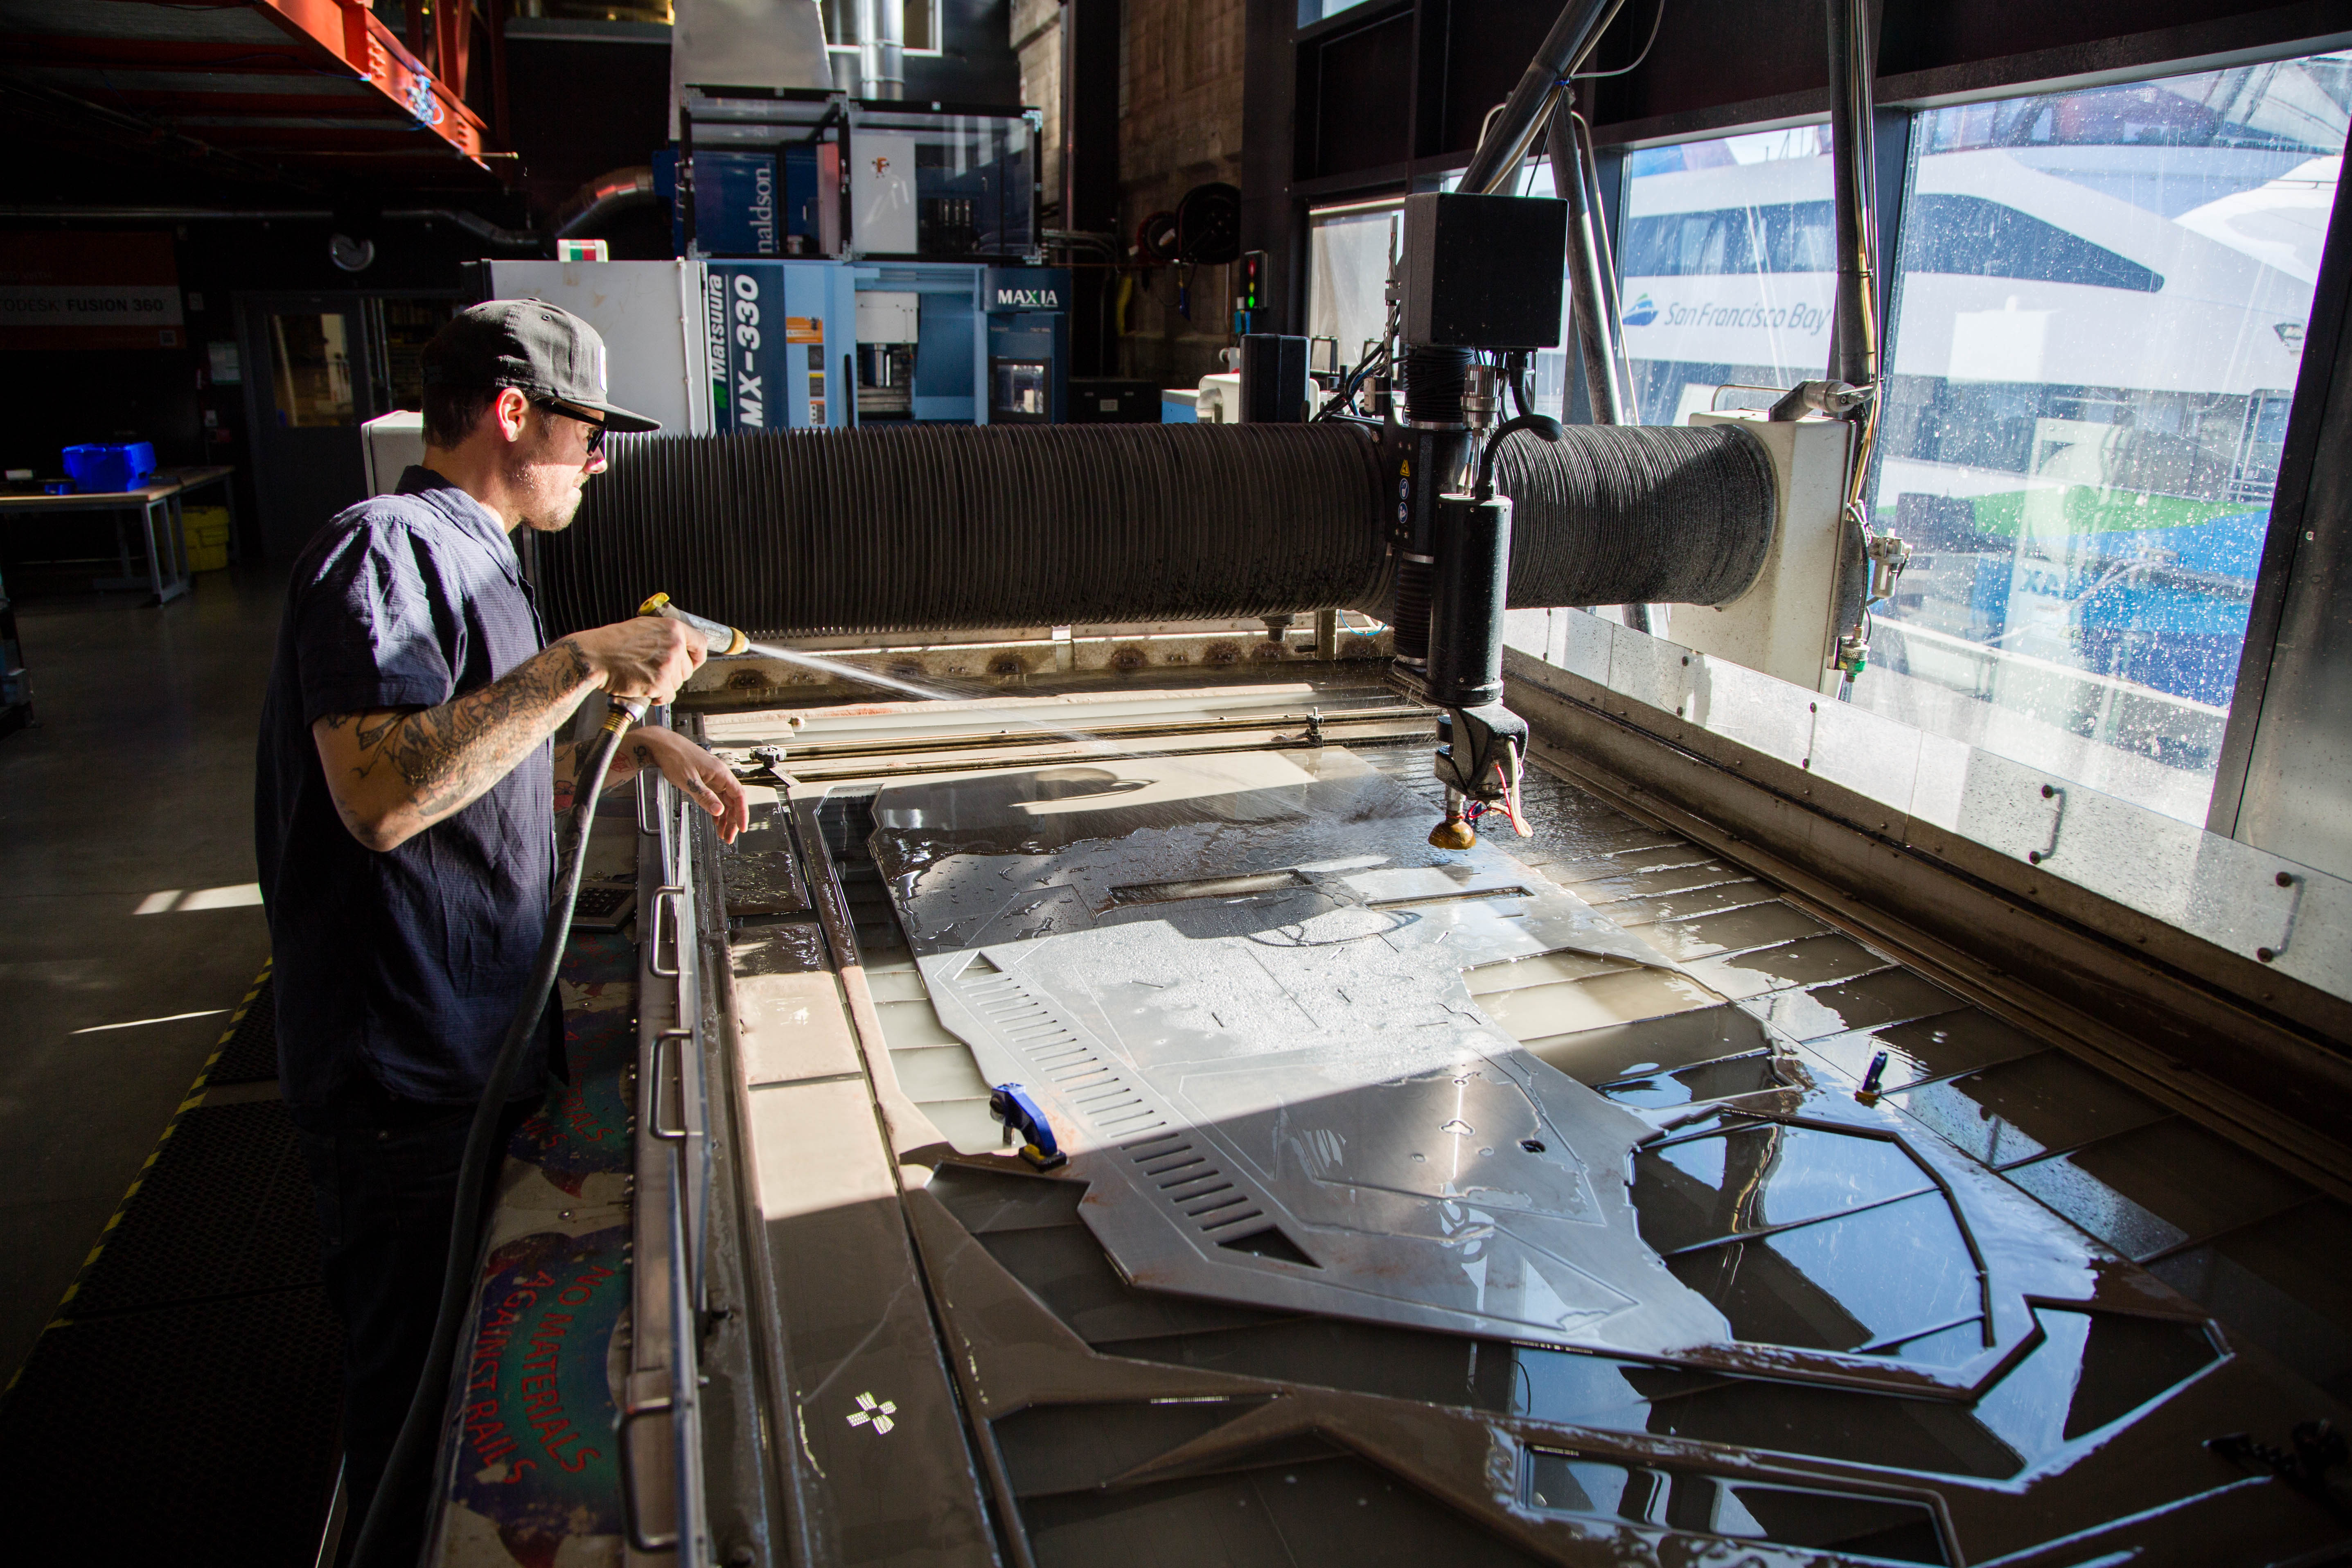
Cutting using water jet
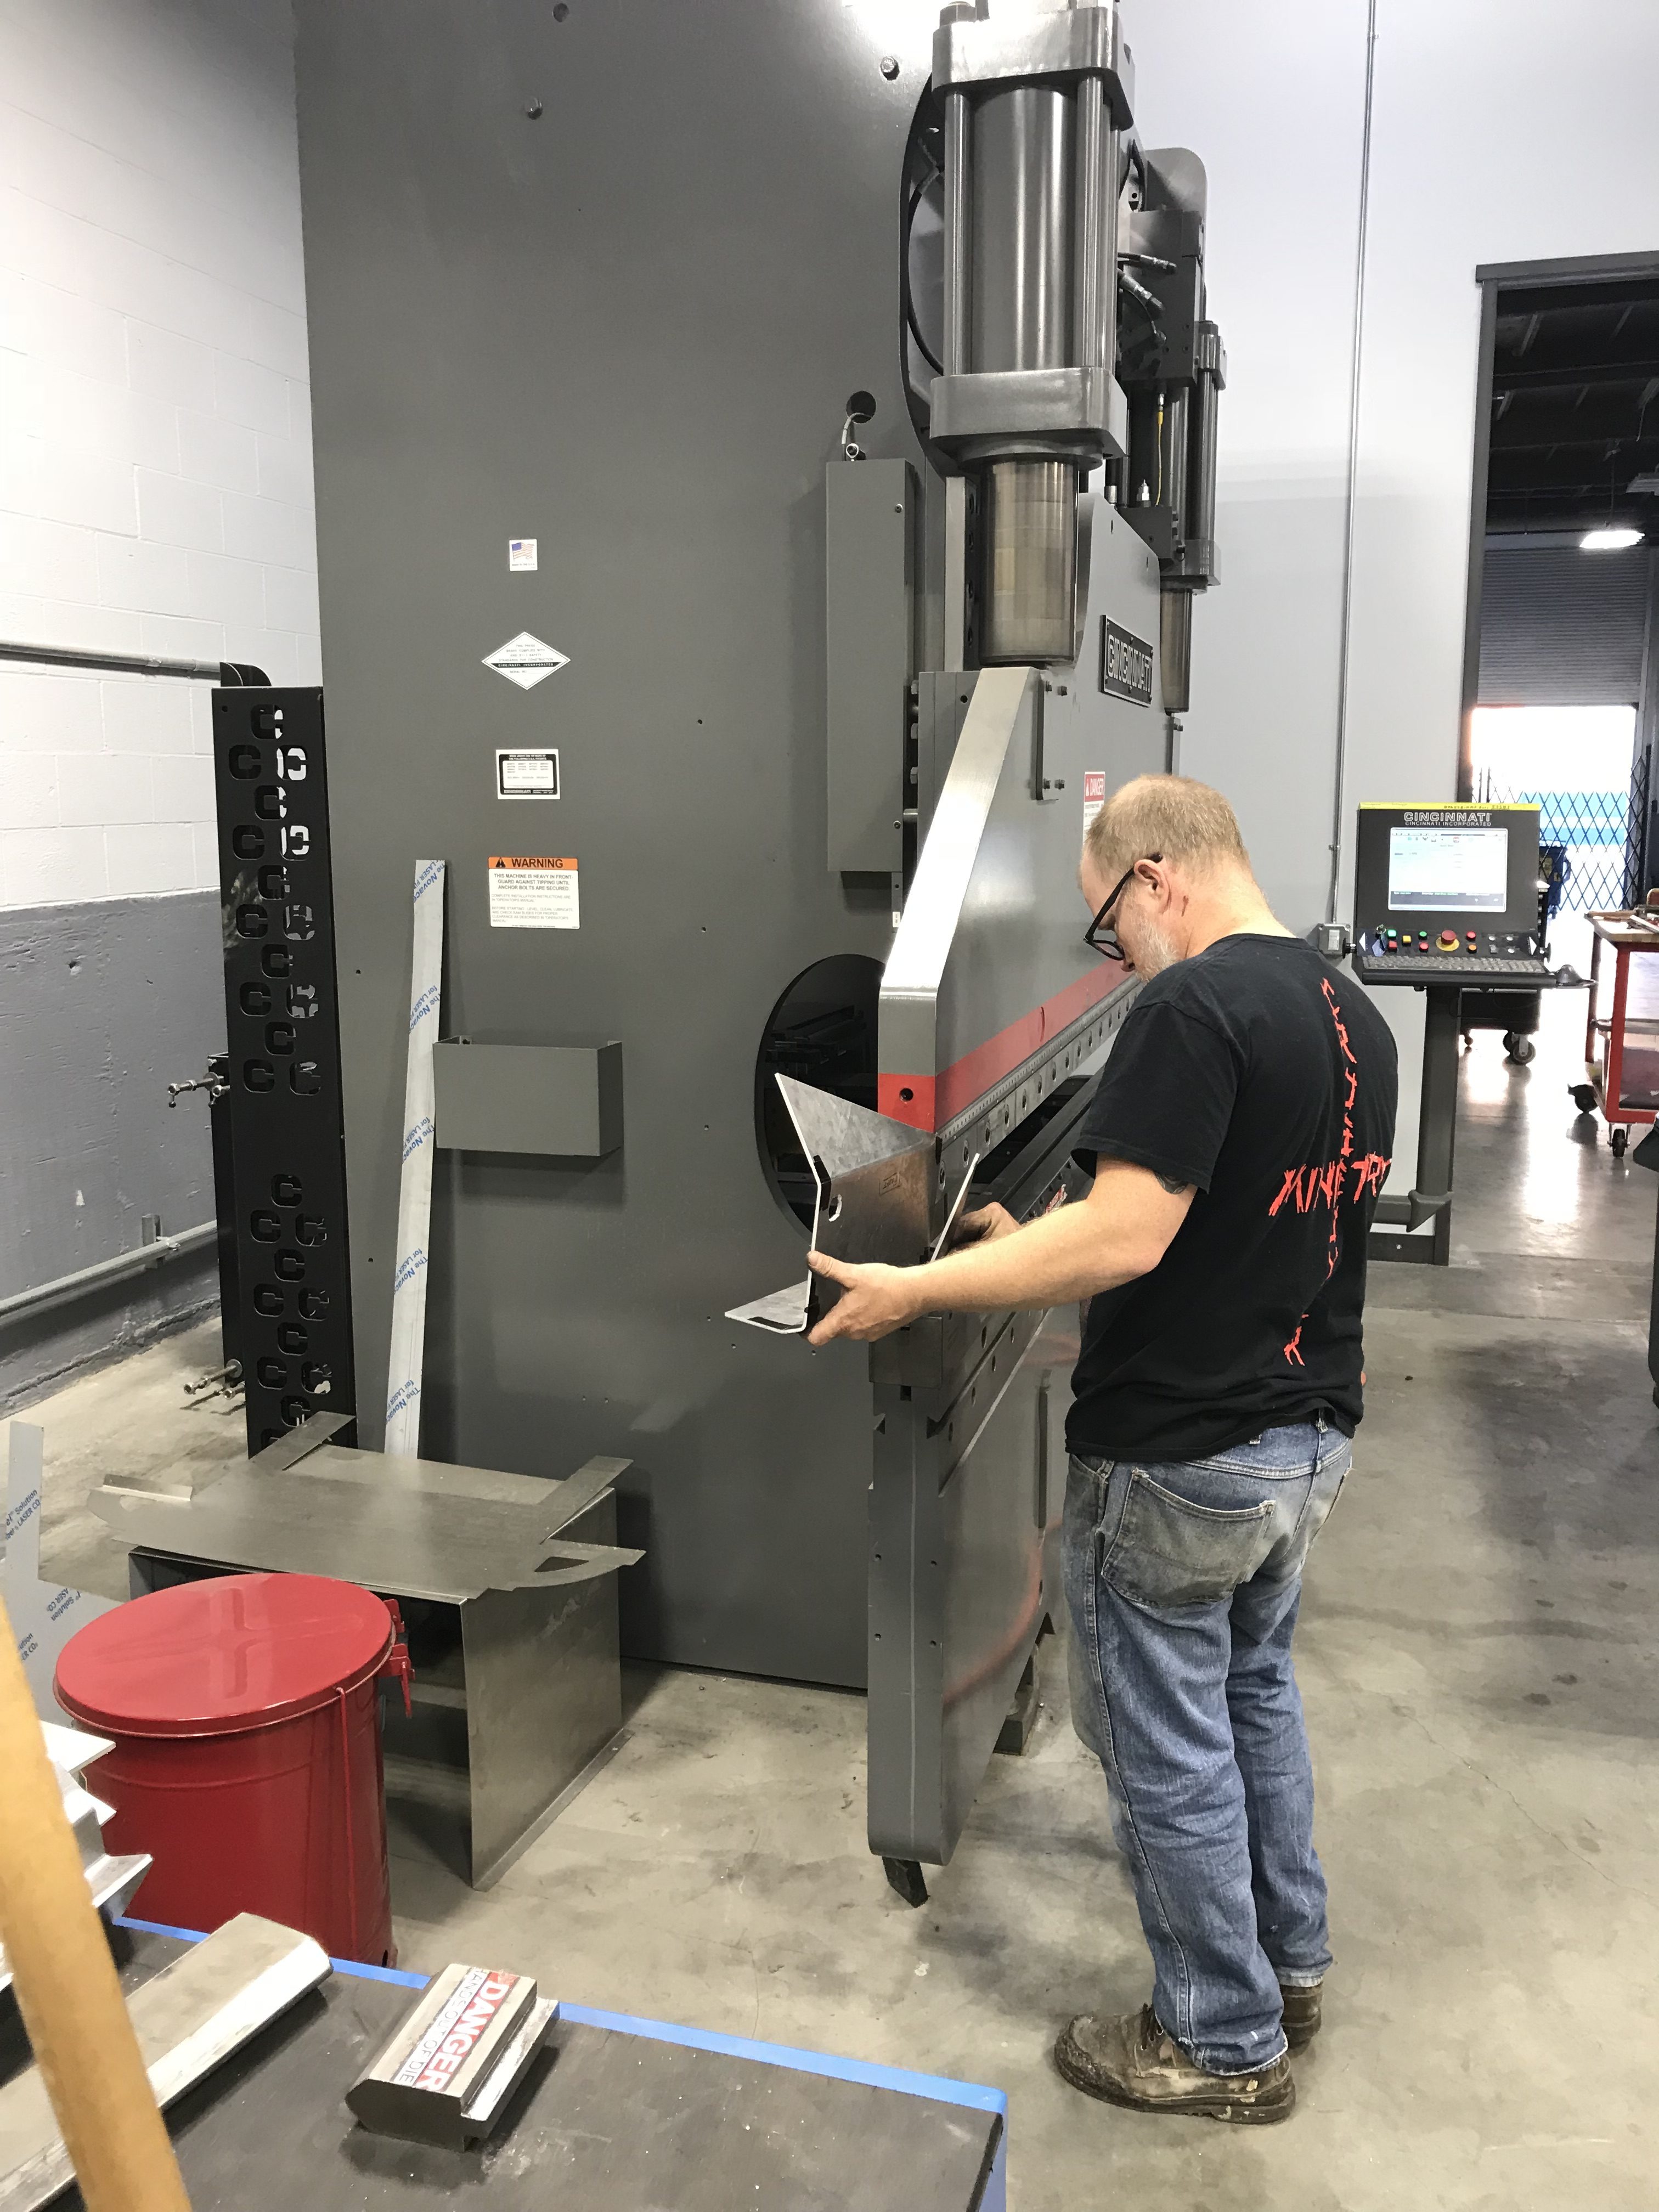
Bending
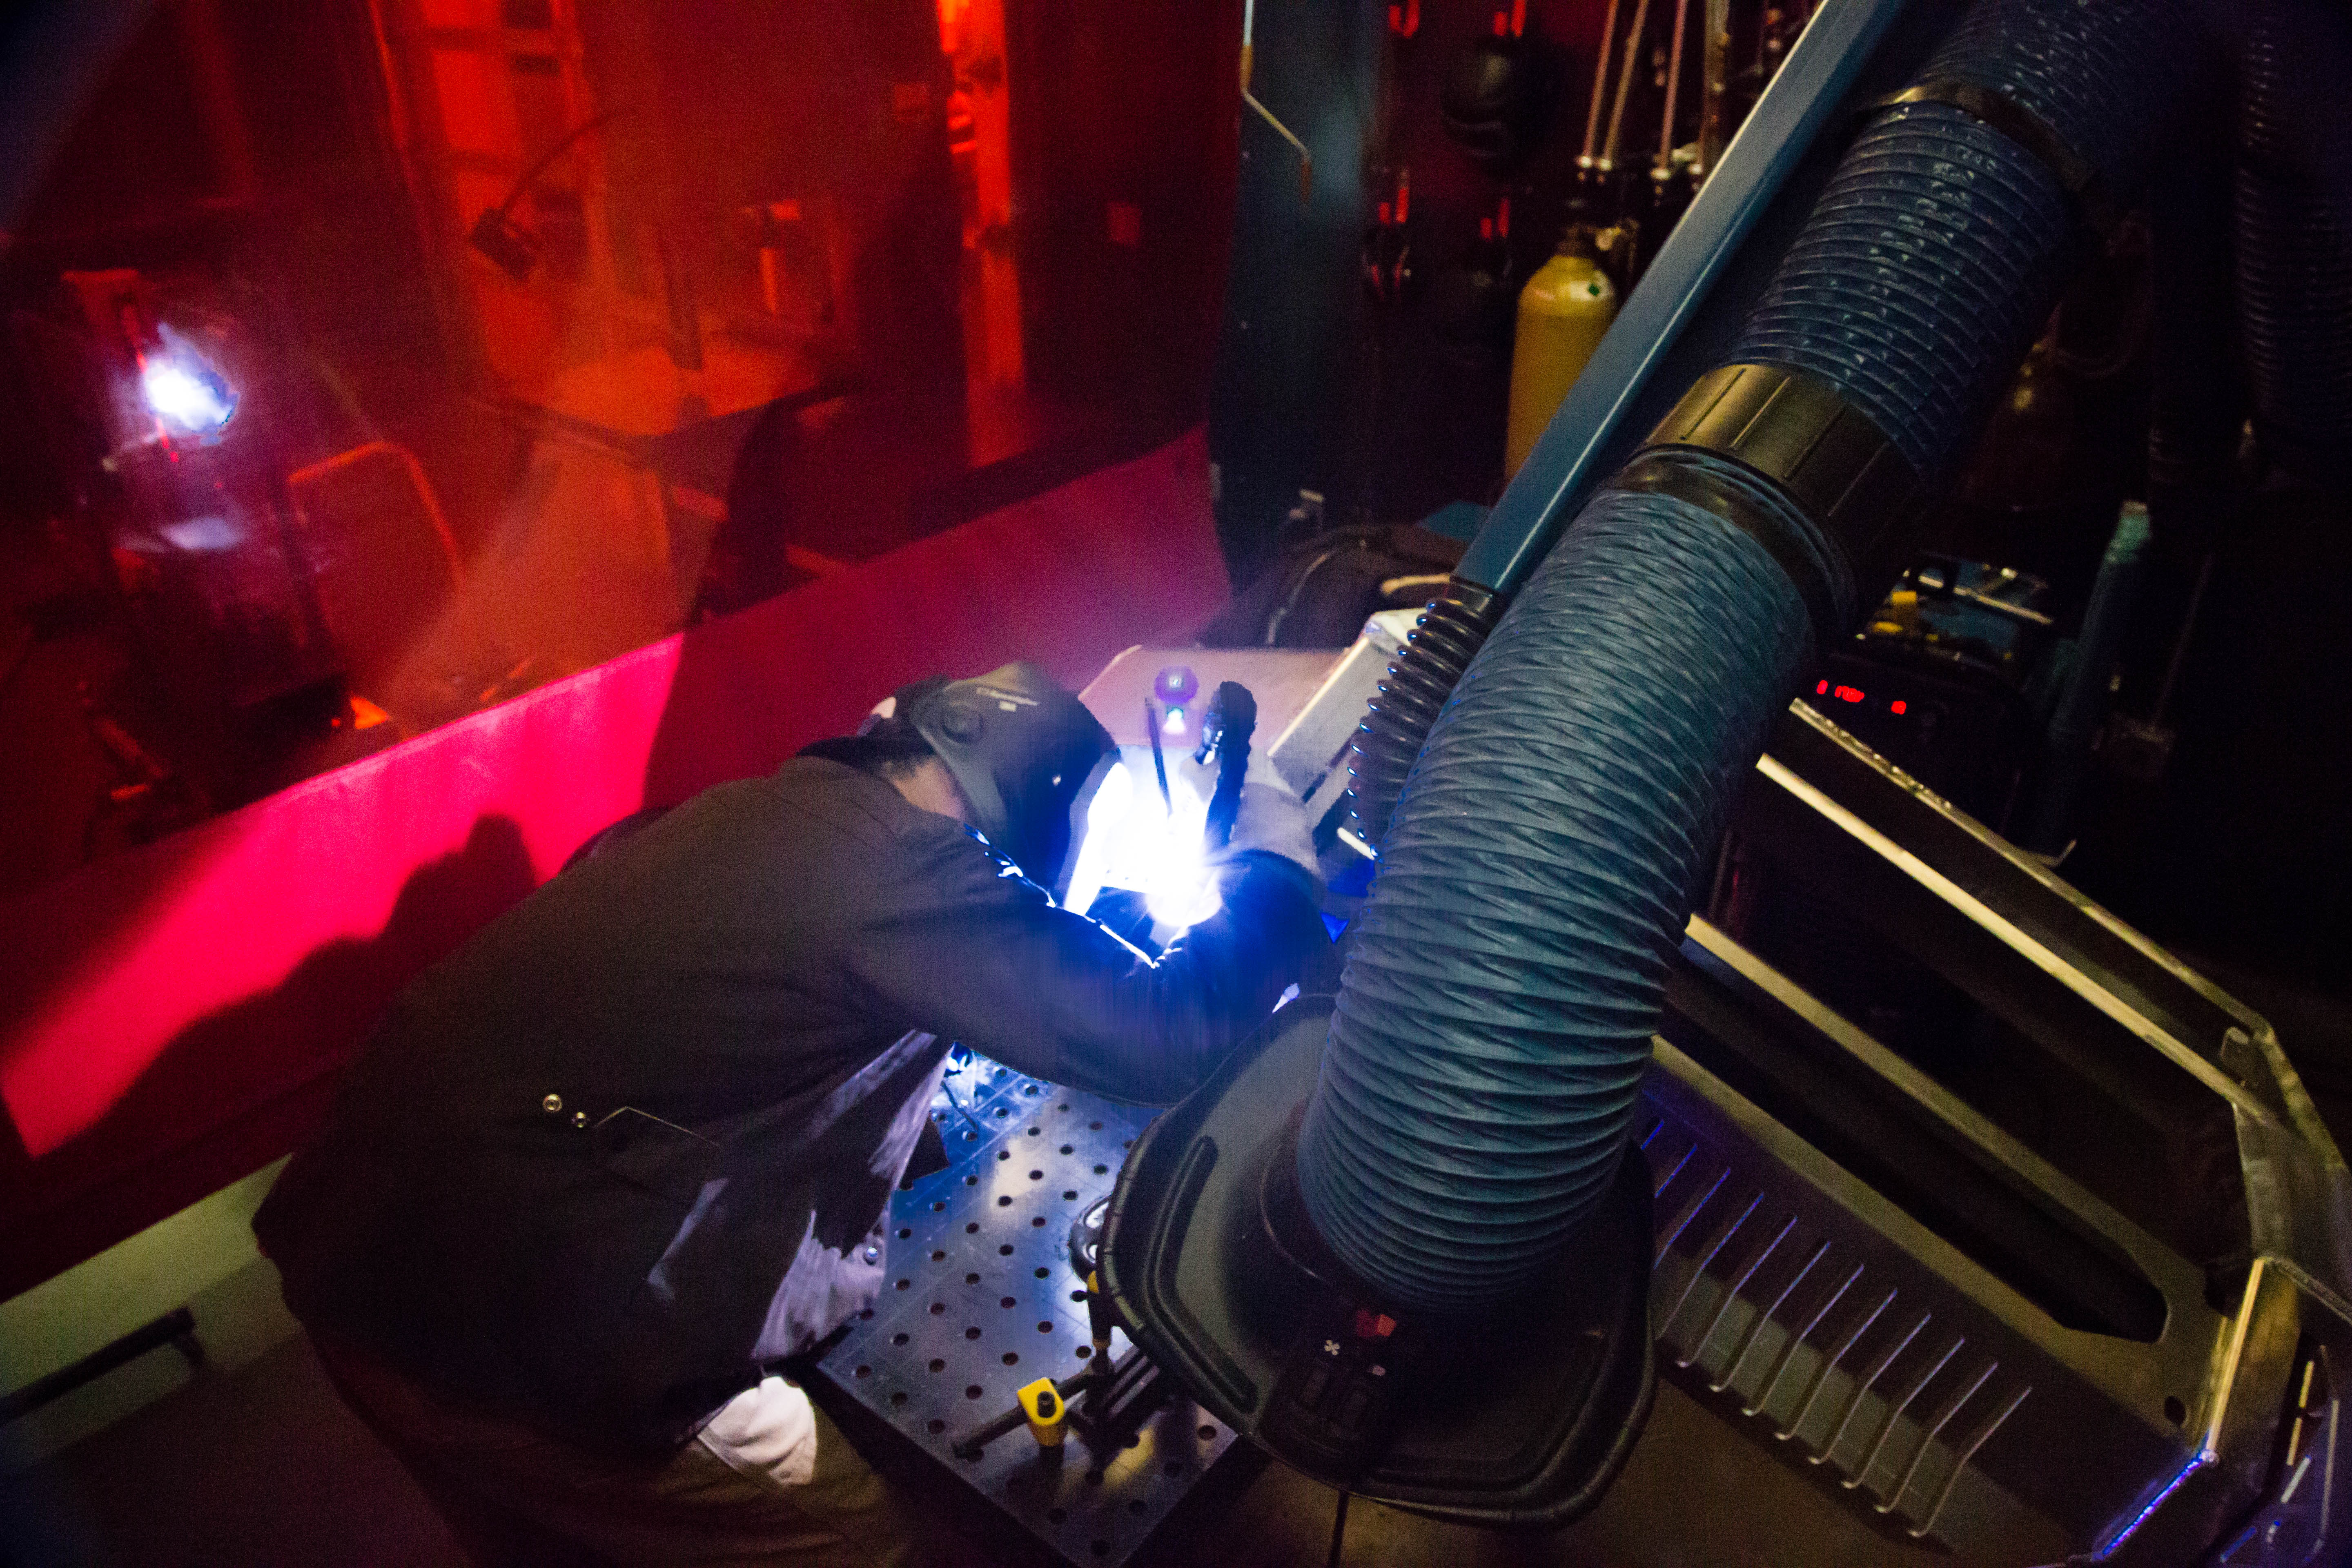
Welding
It was an absolute joy to have one of our Fusion 360 customers along side us as we went through the process of manufacturing the bumper together. Check out this article that was written about Eric and his experience by his local newspaper.
Stay tuned for our next challenge
