Boundary Fill, a tool you should be using. If you are coming to Fusion 360 from a tool like Solid works, this is a workflow speed up. In addition, if you are doing Surface Modeling, this tool will get you to Solids faster and in less steps.
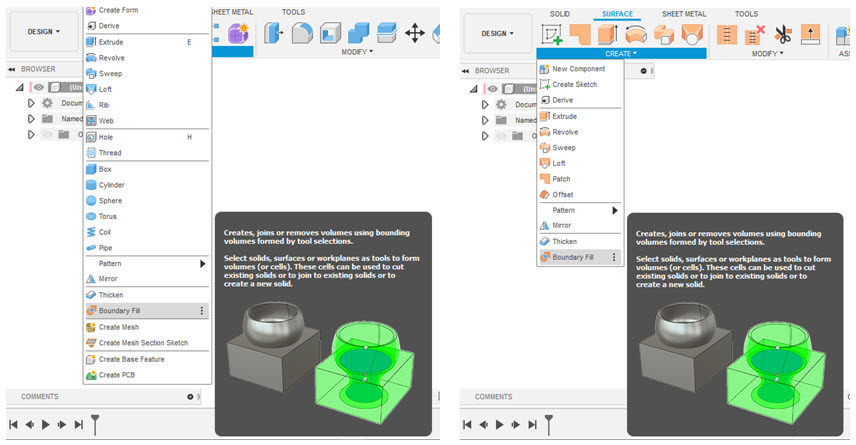
First, the tool is available in both the Solid Tab and the Surface Tab in the Design Environment. Lower end of the Create Drop Down Menu.
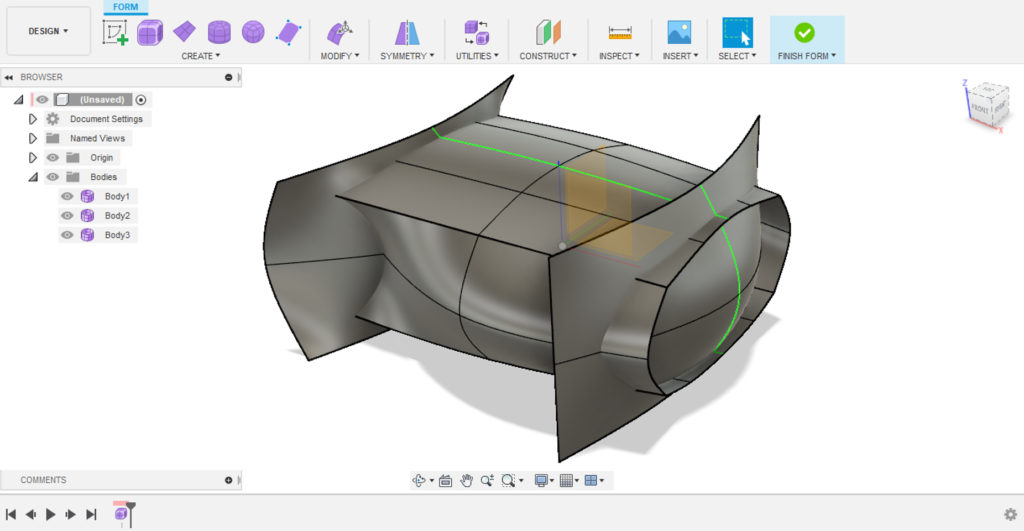
OK, let’s get rolling. I started with a quick build in a Sculpt/Form Session and constructed an “overbuilt” surface form. If you have modeled with almost any surface modeler, this will make sense. Could you do this in Fusion in the Surface tools? You bet, and if specific parametric dimensions are important it is a great tool. I wanted to explore a form super fast and Sculpt/Form was the ticket. Remember, there are three bodies here, that will yeild 3 surface bodeis when I finish Form.
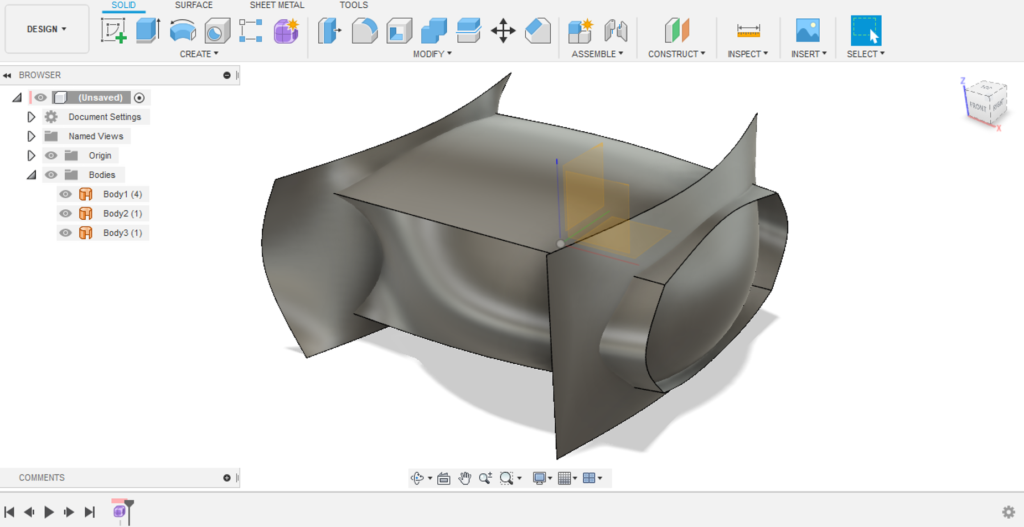
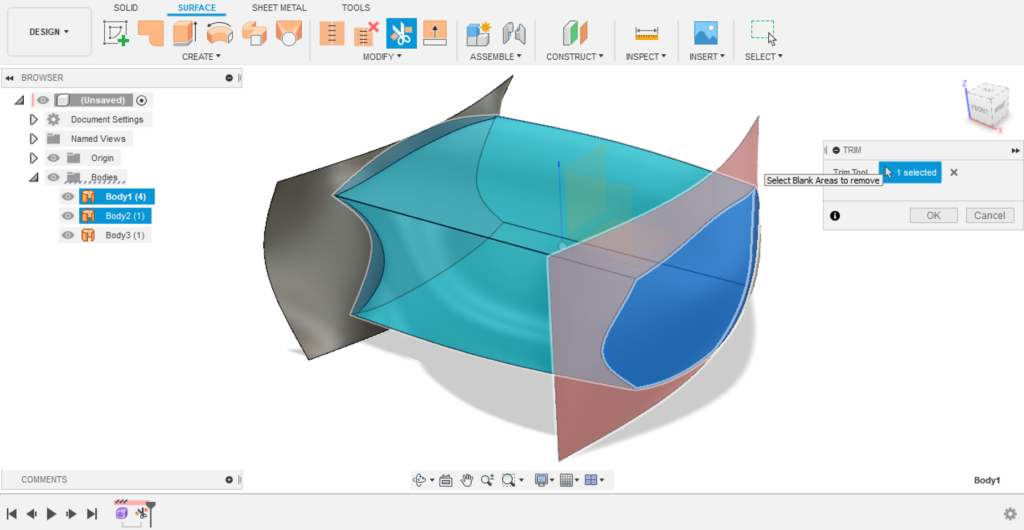
From this point, many of you can “see” where you could go to make this a solid body. Trimming all the overbuilt surfaces to leave three bodies that are butt-edged. They can be stitched and a solid would be produced. This is several steps and the surfaces are also transferred to the solid body (meaning post final stich, they are not available). Still, a perfectly logical way to work with Surfaces in Fusion.
A faster way is to use the Boundary Fill Tool. Again, under the Create Drop Down.
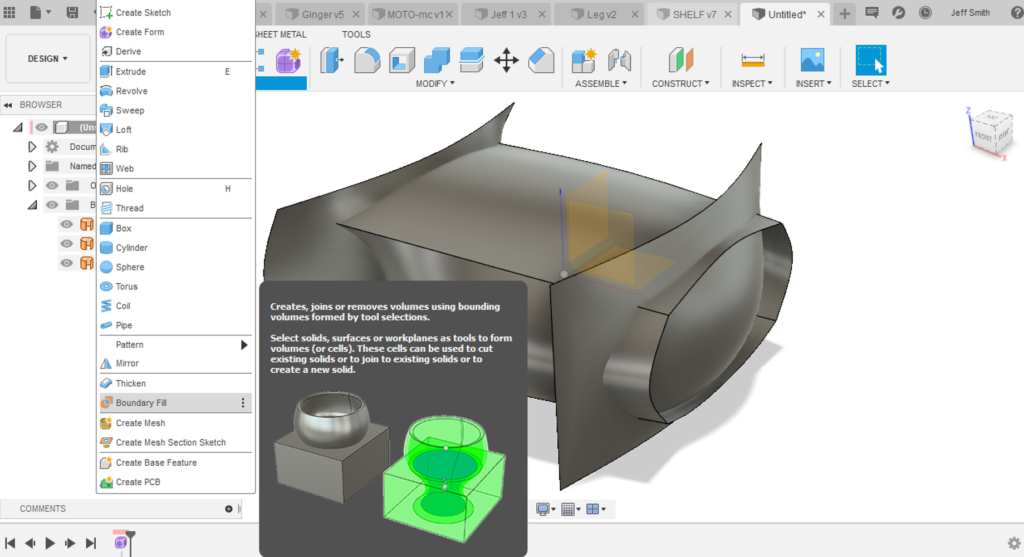
With the Tool open, I select the three surface bodies as the “Tools”.
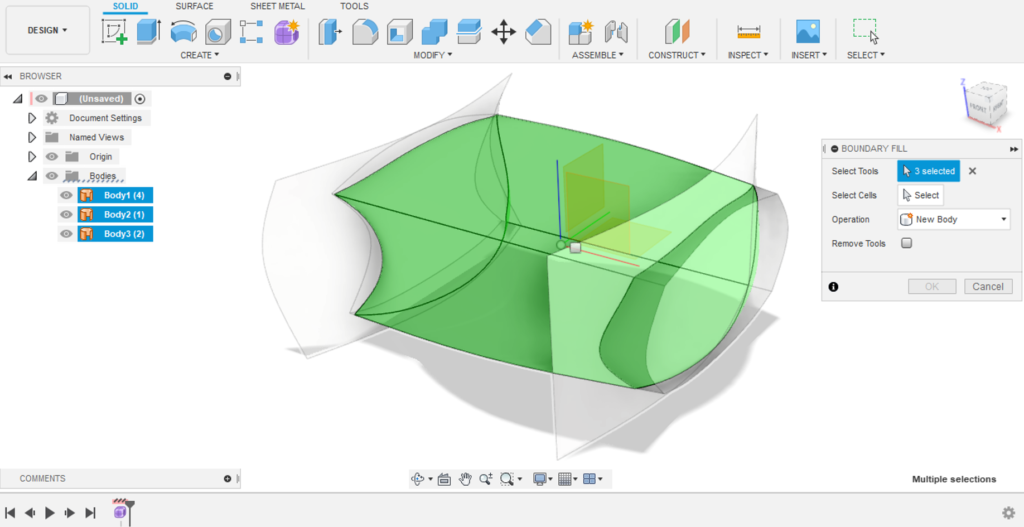
You can see that Fusion has already identified the air tight body that is a result of the three tools. All I have to do now is select the resultant “Cell”. Side note, you could do a multi cell creation as well. This is why you need to select the cell(s).
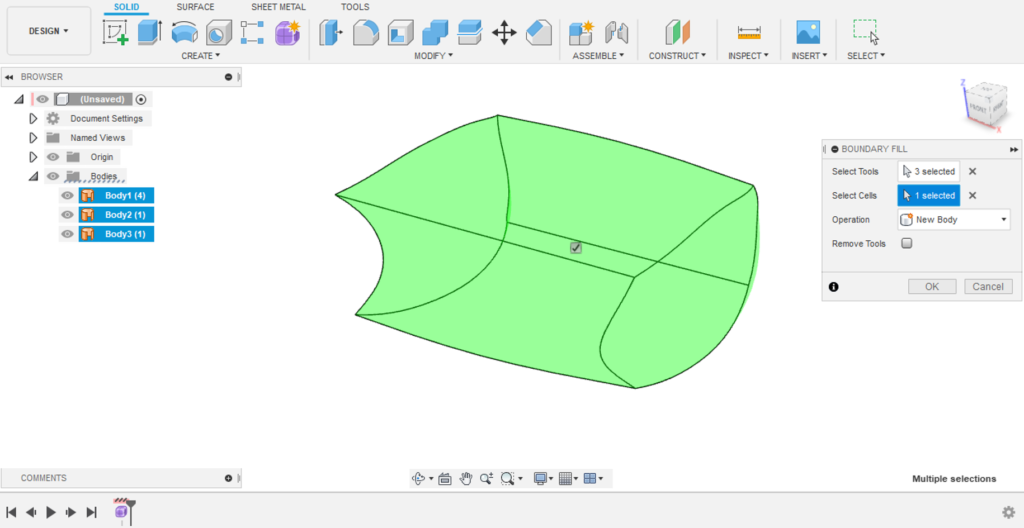
Bingo! Solid body minus three trims and at least one Stitch. In addition, note in the Bodies folder that all three surfaces are still available (just hidden).
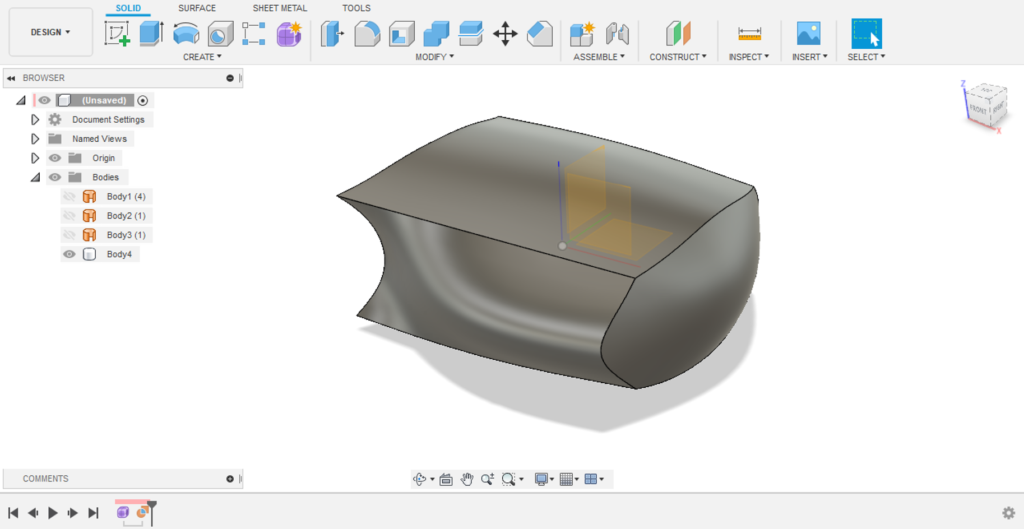
As always, I hope you enjoyed this quick tip. In addition, I hope you use the time saving tool that is the Boundary Fill.
If you would like to learn more about me, have a look at my Instagram page.
https://www.instagram.com/blaster701/
Back to work on some new blog post tips!
Jeff
