Last week you learned how to “Make it Look Good” with Captain Colin’s brilliant post on applying and editing materials in Fusion 360. Now with that out of the way we can really have some fun with the new Rendering workspace in the latest May update.
Lets just get started
Where’s the new rendering workspace you ask? Head over to the Model or Patch icon and hover over it to get a flyout that lets you select Render.
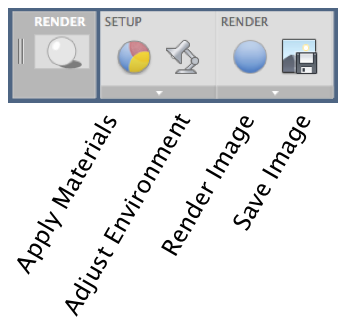
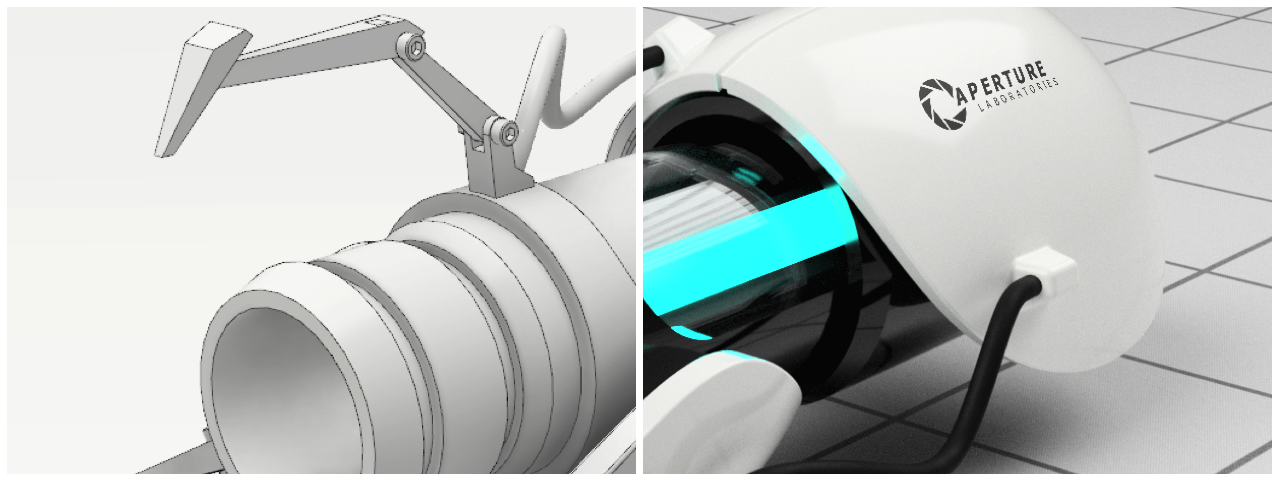
Once in the rendering workspace, you will see the background and model change a little as it is optimized for visualization. You will also notice the toolbar has tools to control materials, environment and quality of rendering.
You may first want to apply materials to your design with the workflow you learned from Captain Colin in his “Make it Look Good” post last week.
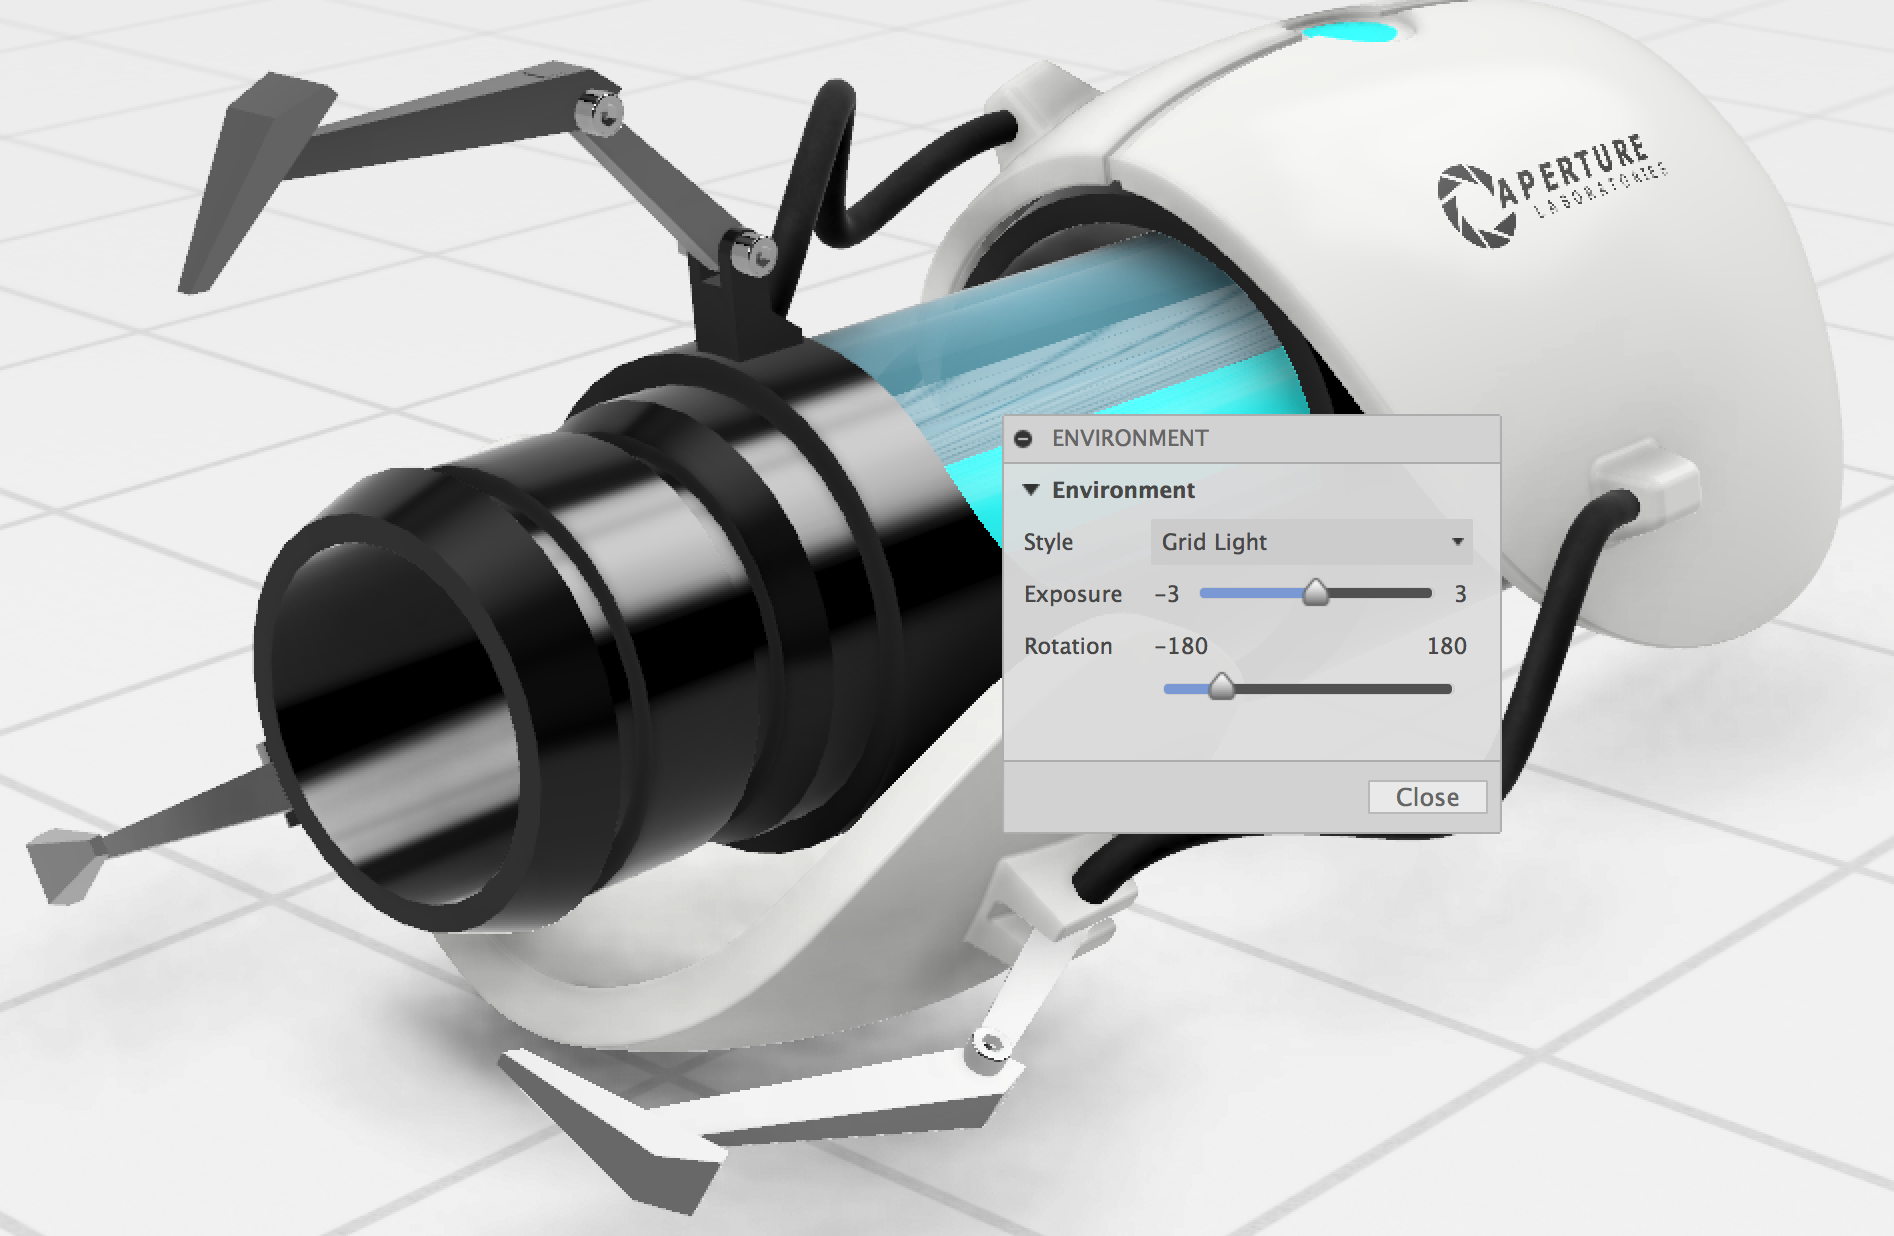
Once you are happy with your material selection, change the Environment Style with a choice of 8 different styles and the ability to rotate the light source to control where highlights show up on your design.
Almost finished!!
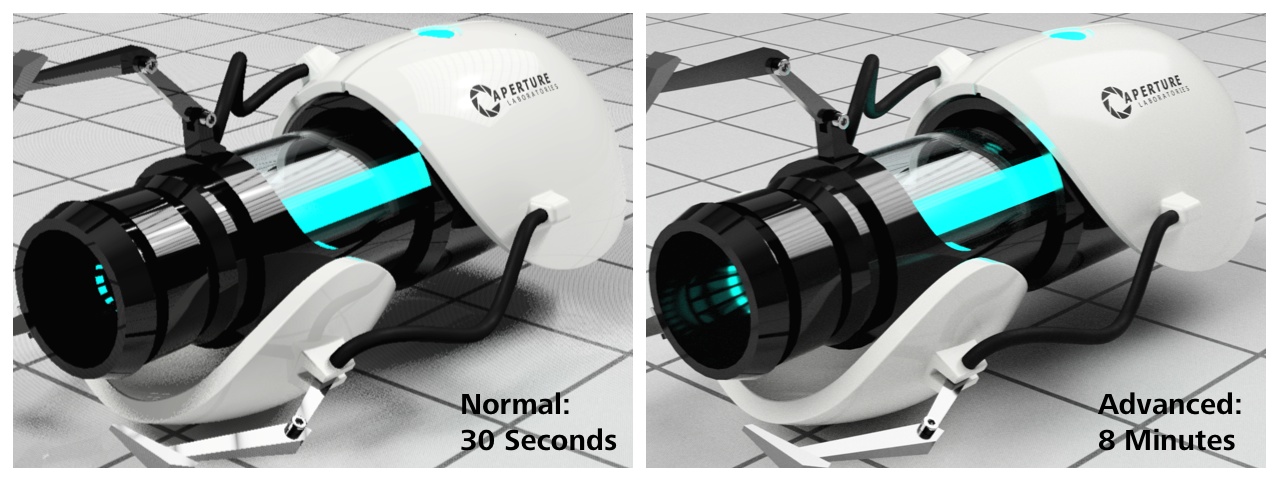
You can now select Render and choose between Quick, Normal and Advanced. Personally I only use Normal and Advanced when I am rendering. I will usually do a quick render with Normal to see how thighs look then make adjustments to materials and environment before I render with Advanced. Rendering time can vary depending on assembly size, reflectivity and transparency of parts and a few other variables.
Once its at the quality you want, select Capture Image to save an image of what you see on the screen.
For a more detailed tutorial check out the following video and enjoy!!!


