Want to learn about the render workspace in Fusion 360? Look no further. This guide will walk you through all you need to know to get started!
Renders allow you to see what your product would look like in a more detailed realistic way. These renders can be an excellent resource for product marketing, conceptualization, and visualization.
To switch over to the render workspace, simply click on the work environment you are in and select Render.
You will immediately notice a drastic difference in how your model appears. To understand how to use this space, let’s look at the commands.
Appearance
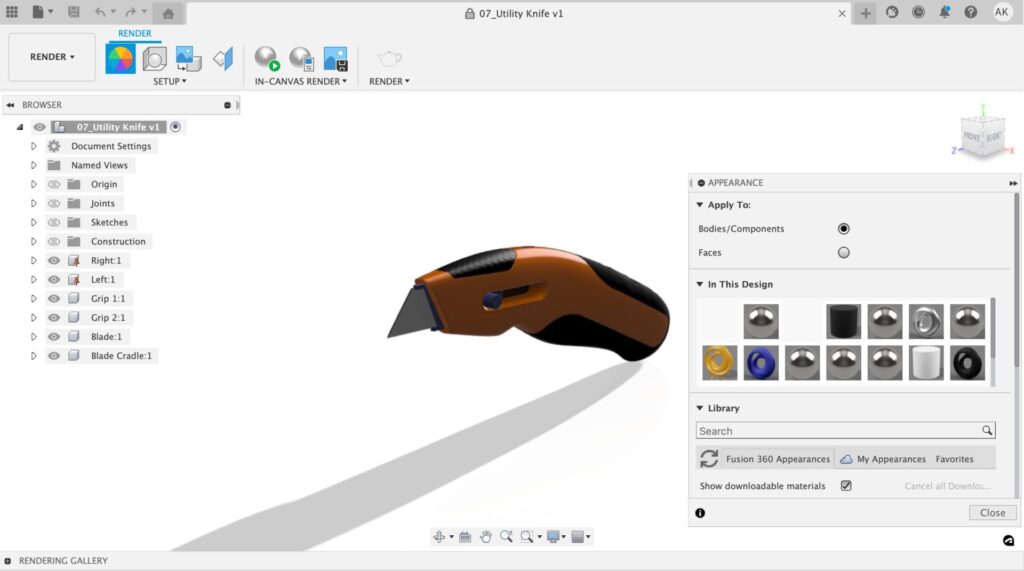
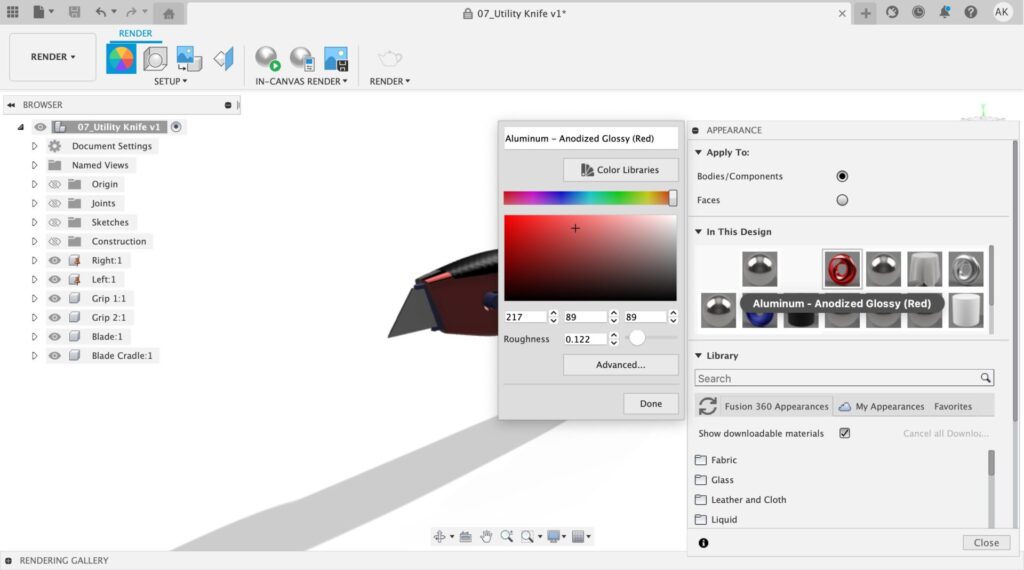
The Appearance command is where you can modify what materials your model is comprised of. Aside from choosing between options like leather, liquid, metal, plastic, wood, stone, and more, you can also adjust the color, texture, and feel of your material within this menu.
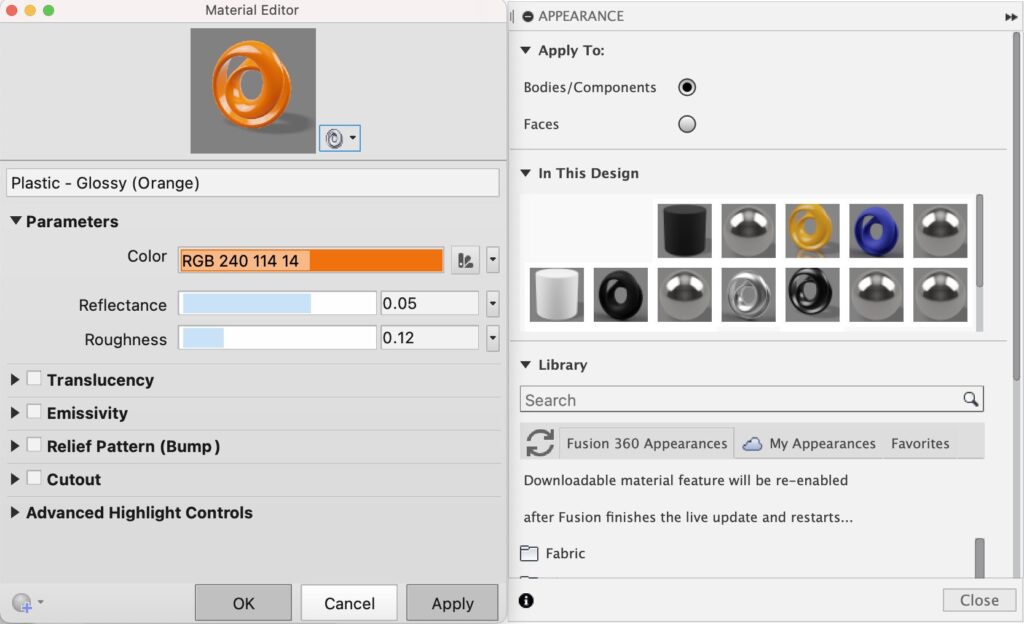
Understanding the Advanced settings dialog
- Reflectance: How much light reflects from the surface.
- Roughness: How rough the surface is, which affects how shiny the surface appears.
- Translucency: Controls how much you can see through the material.
- Emissivity: Changes your material into a light source.
- Relief Pattern (Bump): This shows the applied bump map.
- Advanced Highlight Controls:
- Color: changes the color of the highlight. Most of the time, you will leave this white for a realistic look.
- Shape: Change between smooth highlights (Long Falloff) and sharper highlights (Short Falloff)
How to assign materials
Assigning a material is easy! To assign a material, select the material you would like to use and then click and drag the material onto the body. If you wish to replace multiple bodies, pre-select the bodies in the browser and then drag the material on one of the selected bodies. If you want to replace a material on a face, select Faces within the Apply To settings of appearance, click, and drag.
Tips and tricks
How to replace an appearance material
Need to change materials at the last minute? No worries. With this feature, you can easily change all instances of certain texture with a different texture of your choice! To do this, select the new material you want and then drop it on an existing material in the In This Design section of the appearance dialog. This will ensure all of the objects that have the old material applied are replaced.
How to build your own custom materials library

Finally, you created the perfect custom material that suits all your needs. Save this material for later by right-clicking it and selecting Copy to My Appearances. This will store the appearance on your cloud and allow you to access it later on from whatever device you’re accessing your account!
Learn more about Materials and Appearances here.
Scene Settings
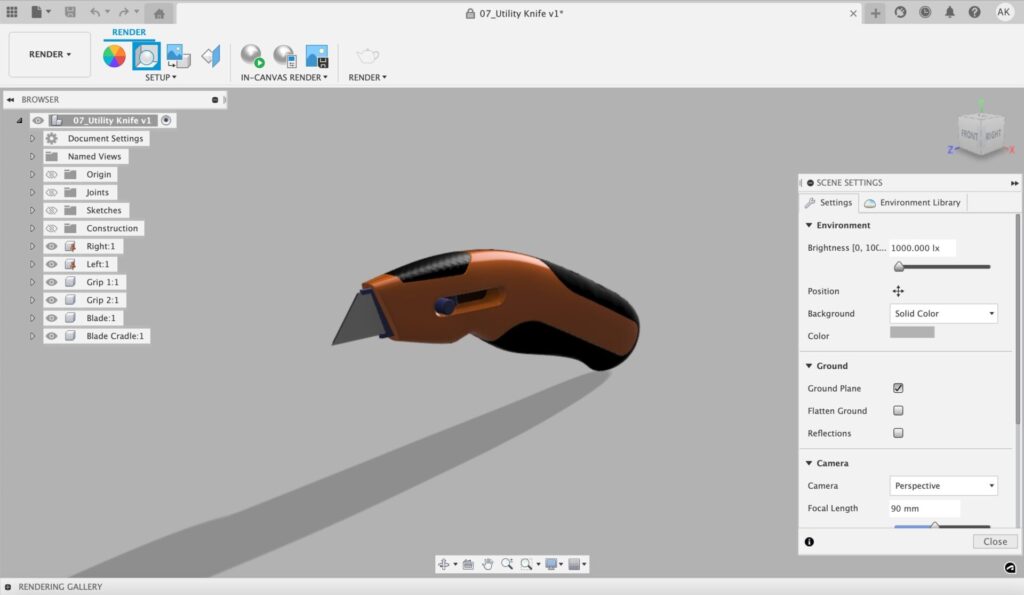
Scene settings give you the flexibility to create the backdrop of your dreams to showcase your model. Within this dialog, you will find controls to hone your environment, ground, and camera. Let’s investigate each component of the scene settings dialog.
Environment Settings
First off, we have Environment, which consists of three basic settings: Brightness, Position, and Background.
- Brightness adjusts the brightness of the environment. This will not affect the brightness of your background if a solid color is selected.
- Position moves the location of the environment within the scene. This reflects in lighting, shadows, and relationship to the ground.
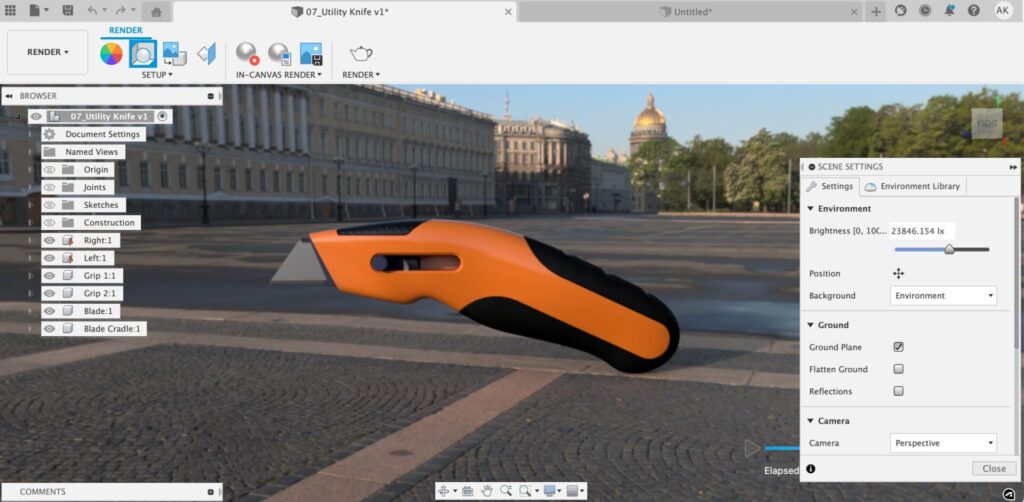
- Background allows you to toggle between showing a solid color or the environment chosen within the environment library.
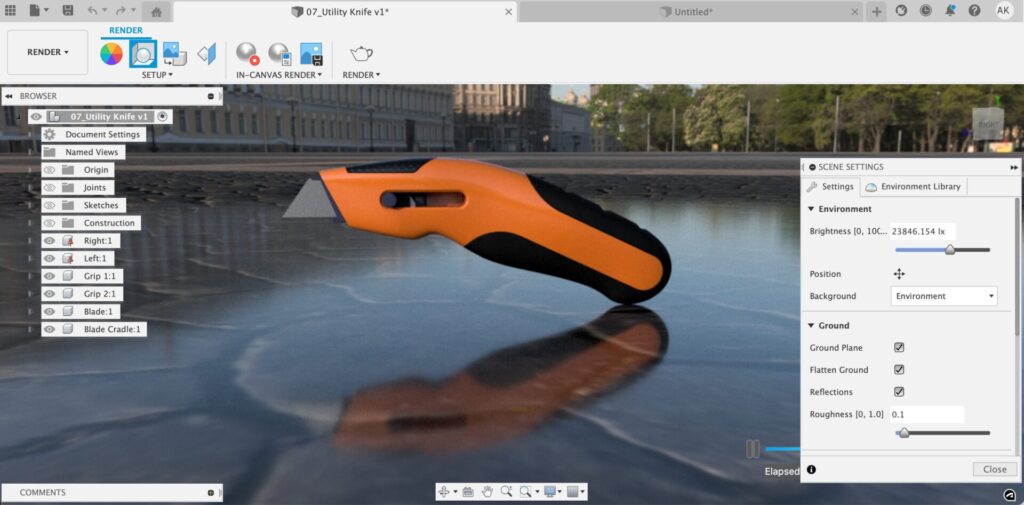
Ground Settings
After selecting your preferred Environment settings, you can now move down to the Ground settings. Ground allows you to create a surface for your model to rest on, to ground your model select ground plane. The flatten ground command stretches out your ground plane, this can help make your model appear as though it is resting on a surface, be careful however, this command is not always the best option in grounding your model. Reflection serves to reflect your CAD model off of the ground plane.
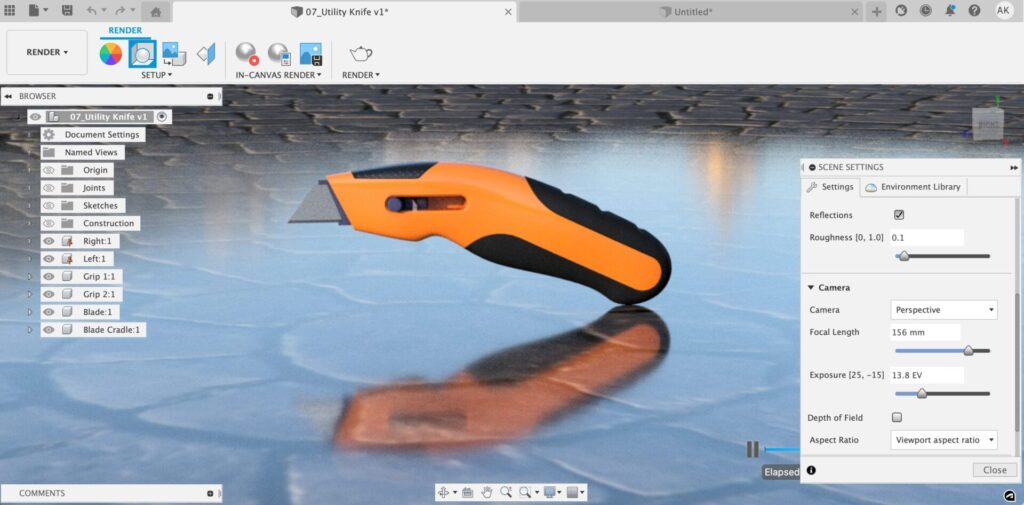
Camera Settings
As you move down the settings dialog, you will see the Camera settings. These settings work very similarly to how a physical camera operates. Within this section of the dialog, you can select between camera types and adjust your focal length, exposure, and aspect ratio. You can also create a depth of field to focus on one part of your image while blurring the rest.
Tips and Tricks
How to attach a custom environment
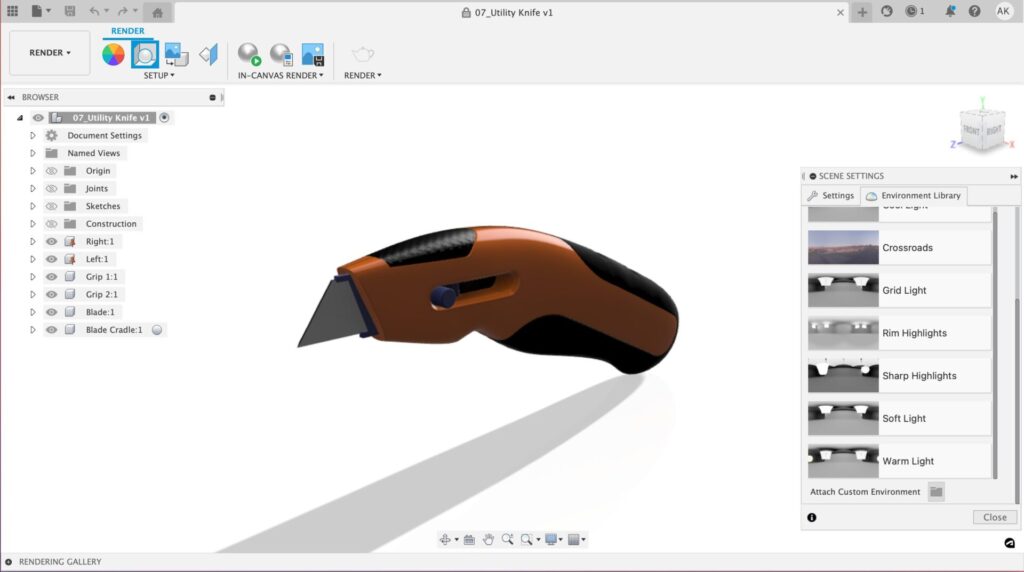
To attach a custom environment first go to the environment library within the scene settings dialog. Next scroll down to the bottom of the dialog and select “attach custom environment”. From here you can upload the HDR image of your choice. Once you are finished, go back to the settings tab and make sure everything is to your liking.
Learn More about Scene Settings here.
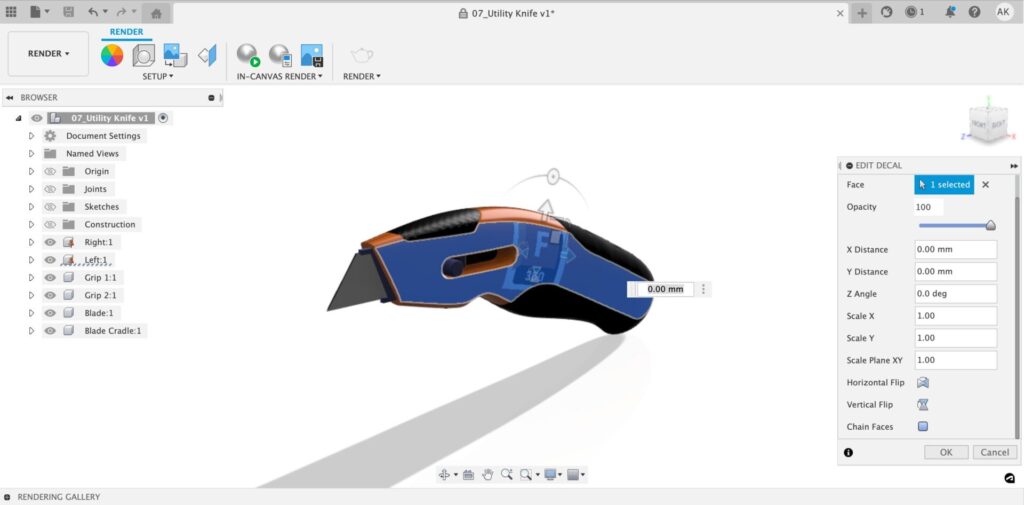
Decal
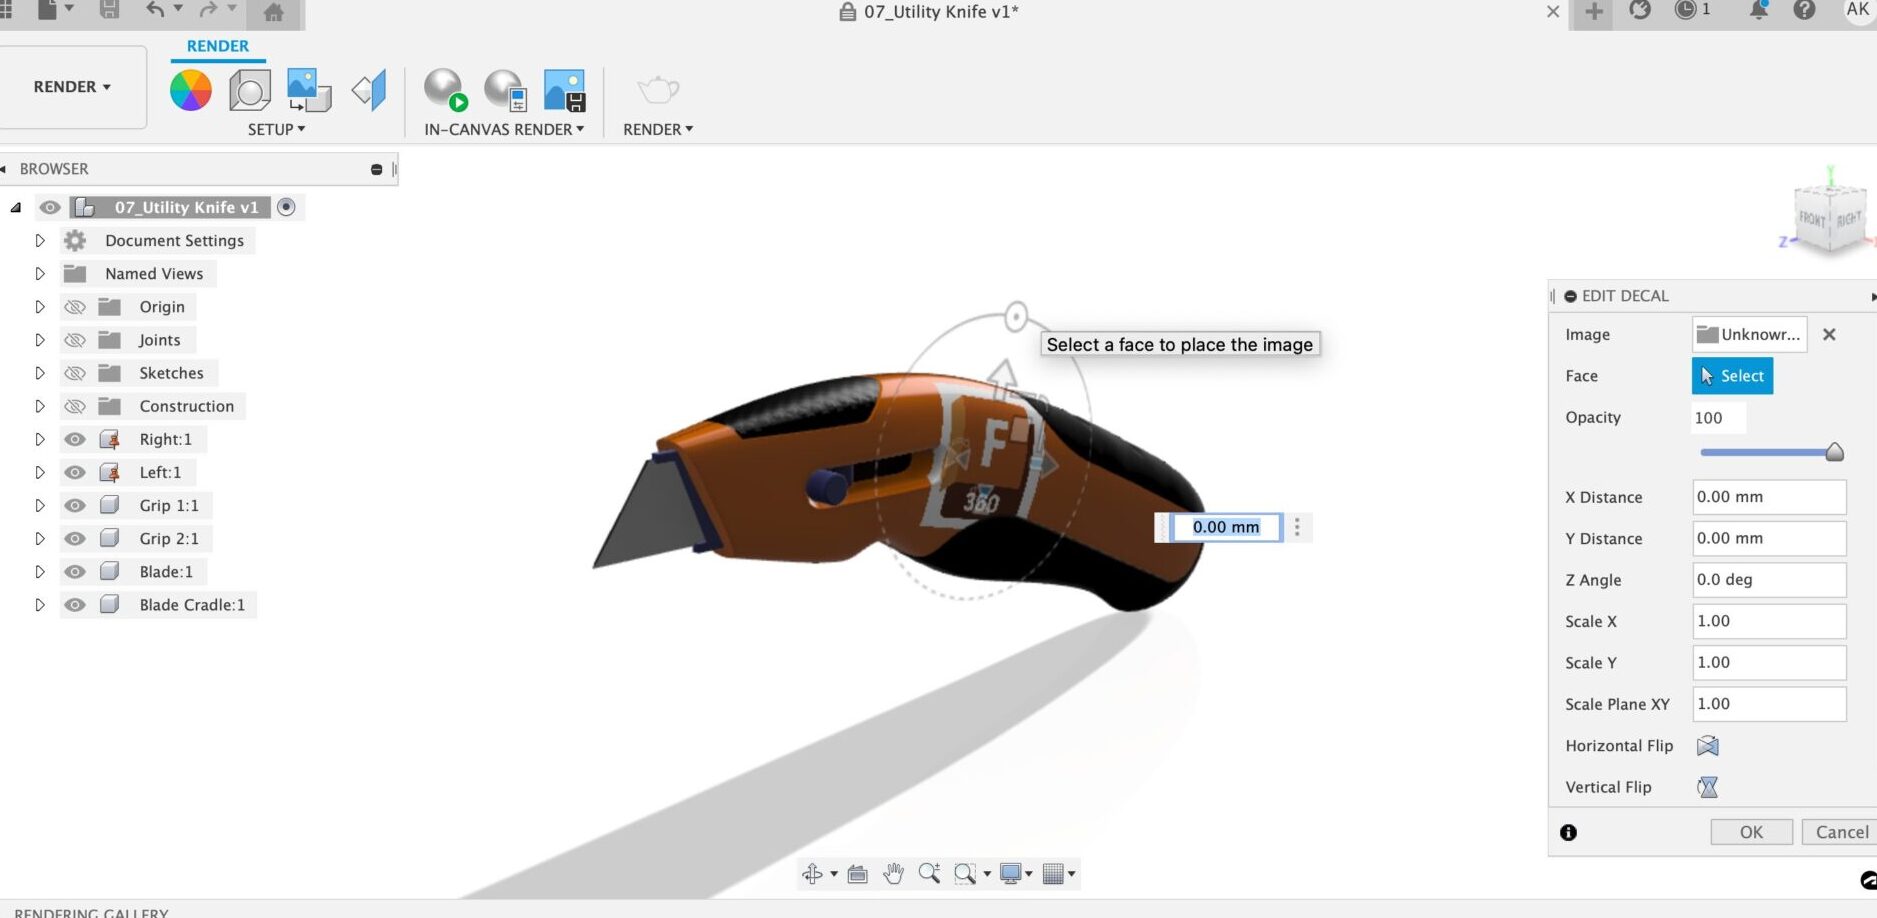
Want to insert a decal? Simply head over to the decal icon located in the tool bar and select your image. Once you select your image select the face you would like to place your image on. From here you will be able to adjust the location, size, opacity, and position of your decal!
Tips and Tricks
How to control if your image spans multiple faces
Texture Map Controls
Within the Texture Map Controls dialog, you can control how your texture lays on your model. Once you select a projection type, you can access a variety of controls to make sure your projection is perfect.
Know your basic projection types
- Automatic: Maps image onto objects using model topology.
- Box: Maps image onto box-like objects. The texture repeats on each side.
- Cylindrical: Maps image onto a cylindrical object; horizontal edges wrap together but not the top and bottom edges. The image height scales along the cylinder axis. You also have an option to select between capped or uncapped cylinder map.
- Planar: Maps the image onto the object as a projection. The image is not distorted on faces normal to the projection, but is distorted on non-normal faces. The image is not scaled to the object. This mapping is commonly used for 2D planar faces.
- Spherical: Maps image onto a spherical object. The top edge of the map compresses to a point at the “north and south poles” of the sphere.
- 3D Texture: Used to realistically map wood grain textures on a design. This option is only available for Wood (Solid) appearances.
Learn more about adjusting Texture Mapping here.
In Canvas Render and Render
In-Canvas Render and Render commands both render your image over a set amount of time and give you the opportunity to download your render. They serve to get you an amazing final image you can be proud of.
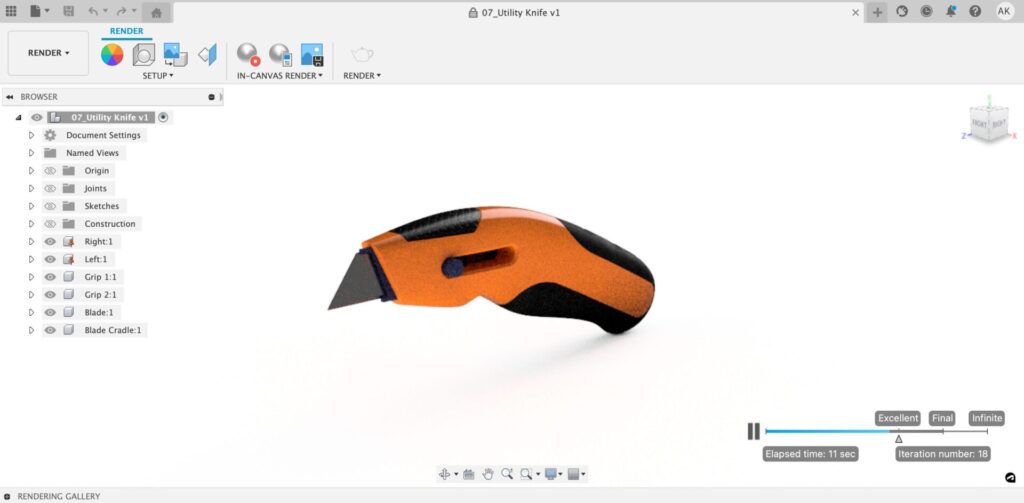
In-Canvas Render
What differentiates In-Canvas Render is the ability to render directly within the Fusion 360 canvas. To use In Canvas render, there are three commands you need to familiarize yourself with:
- In-canvas render: Toggle in-canvas rendering on or off.
- In-canvas render settings: Set the in-canvas rendering mode and resolution.
- Capture image: Captures the current canvas image.
Once you get the hang of these, you will be able to quickly generate a quality render whenever you want!
Render
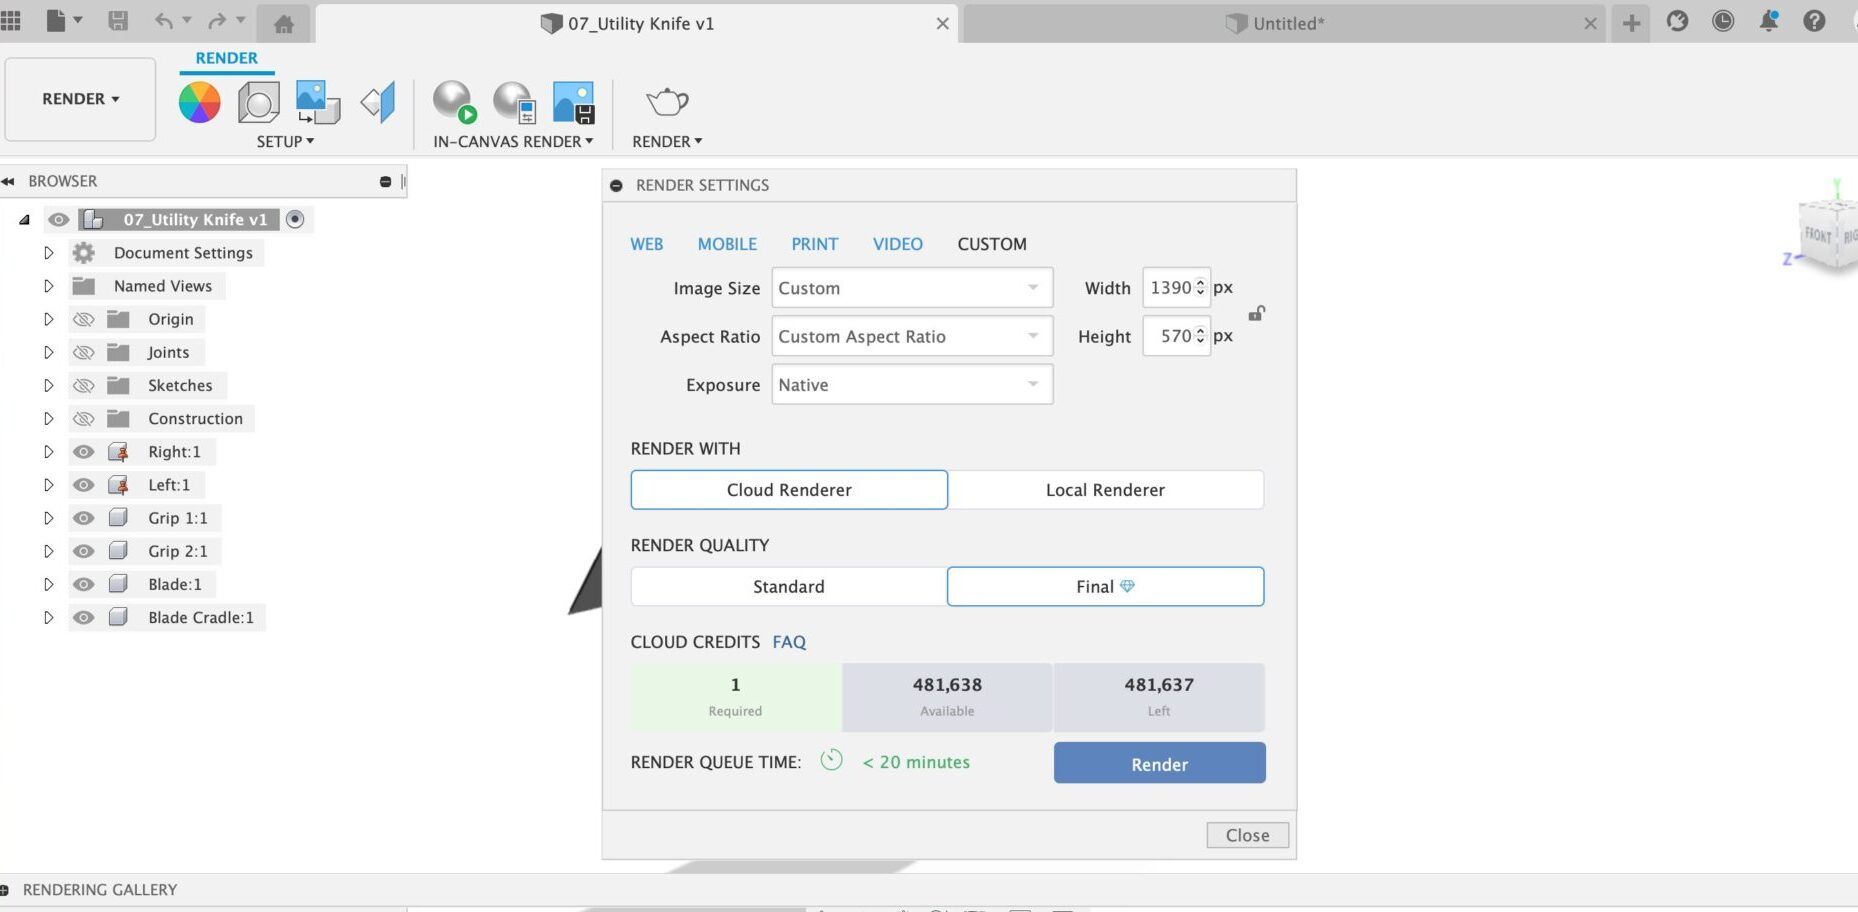
Render gives you greater flexibility in what you do with the final render generated. Once you select the Render icon, you’ll be brought to a settings dialog where you can choose between a cloud renderer or a local renderer. Cloud rendering lets you configure your rendering settings and then send it to process in the cloud. Local rendering enables you to configure your rendering settings and perform the rendering on your machine. While your render is completing, you have the flexibility to move around the workspace and complete other tasks.
When your final render is ready, check out the Rendering Gallery, where you can:
- Re-render using new settings: Enables you to re-render with a new aspect ratio and rendering size.
- Render As Turn Table: Enables you to create a turntable animation of your model. This is the same as when rendering as a turntable from My Renderings in Autodesk® Rendering.
- Adjust Exposure: Opens a slider for exposure adjustment. This is similar to adjusting tone mapping in Fusion.
- Download Image: Downloads an image of the current view to your computer
Learn more about the Render command here.
Want to learn more?
Check out these tutorials to learn more:
- Advanced Rendering in Fusion 360: Photorealistic Visual Storytelling
- Lights, Camera, Render! Take Your Fusion 360 Rendering to the Next Level.
- It’s All in the Details: T-Splines Modeling and Photorealistic Rendering in Fusion 360
Ready to put your rendering skills to the test? Try Fusion 360 today.
