Manual Inspection
Inspection is an essential building block for quality control and continuous improvement. Whether you are trying to get it right the first time or want to improve a process that is already working, measurement can play its part. “You cannot manage what you cannot measure” is a famous maxim attributed and misattributed to many well-known figures. A lesser-known maxim, “Don’t expect what you don’t inspect,” better describes the link between industrial metrology and manufacturing. Industrial metrology is the application of measurement in manufacturing processes. Personally, I prefer this description the other way around, “You can expect what you inspect.” It’s more positive, and I like the simplicity. I also think it’s a better summary of how industrial metrology helps control and improve manufacturing operations.

The Next Step in Fusion 360 Inspection
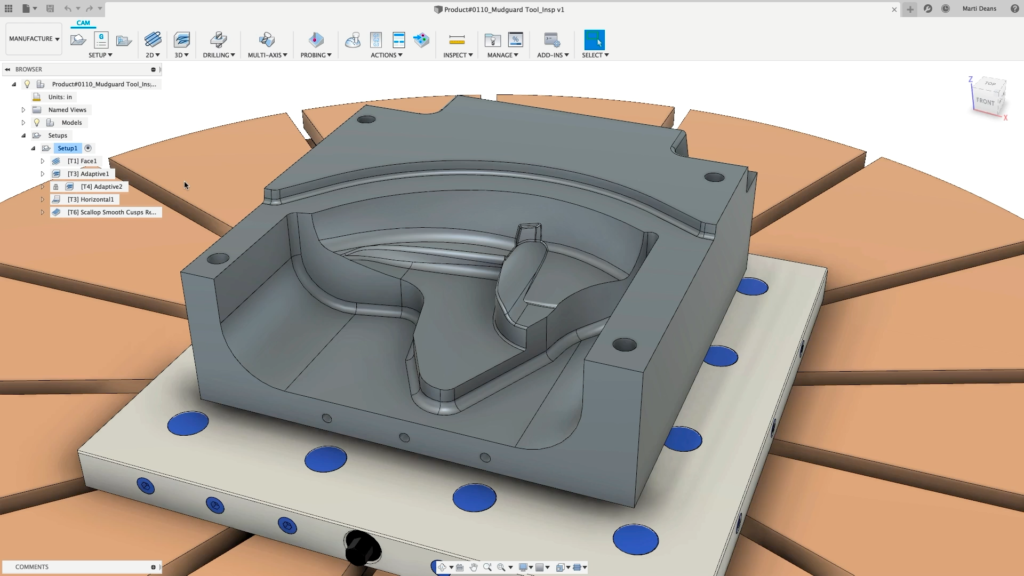
Fusion 360 already supports measurements by machine tool probing for part setting and verification or inspection. This is very important to our vision of Fusion 360 as a manufacturing solution, and you can see in this month’s “What’s New” we are continuing to make improvements. Probing is a form of in-process inspection. It helps improve productivity and can provide great opportunities for automation. It is expensive, though, and it’s only suitable for measuring parts or workpieces while they are on the machine. What if you need to check a critical dimension, and the part is not set up or came from a supplier? Sometimes the simplest tools are the best!
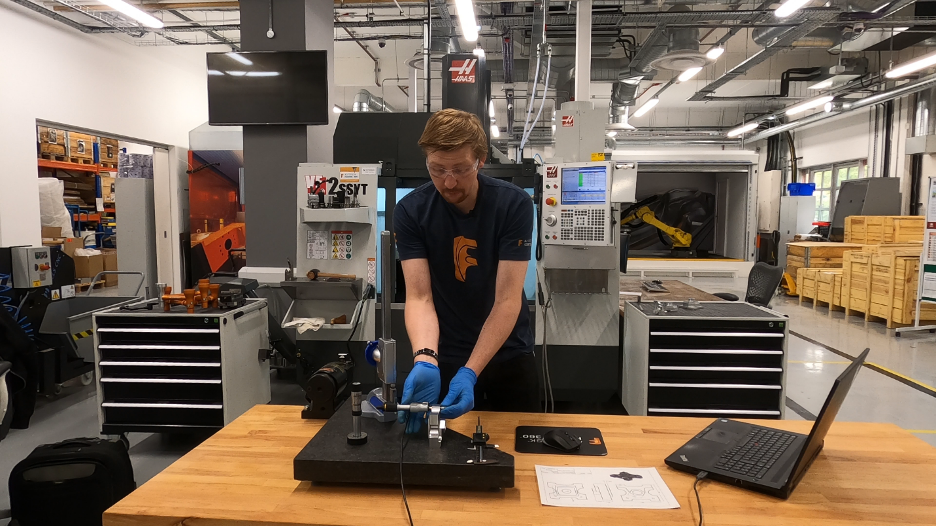
We are excited to announce the preview of a new concept called Manual Inspection. This is designed to help you manage inspection activities using manual measuring instruments such as calipers, micrometers, and height gages.
Single Source of Truth
The new Manual Inspection feature allows you to create an inspection plan directly in Fusion 360. You can be confident that the nominal dimensions are accurate because you can pick the features directly from the Fusion 360 model. You also can set tolerances directly in Fusion 360. Design revisions are easier to manage because if the model changes, the dimensions update to reflect the latest version—no more piles of scrap paper with critical dimensions written on them.
Simplify and Reduce Errors
You can record measurement results directly in Fusion 360. If you connect your digital measuring instrument (USB and Bluetooth are both relatively common in high-end equipment), the measurement results will be sent directly to Fusion 360. If you have simpler traditional measuring equipment, you can simply type in the values with the keyboard. Fusion 360 stores the measurement results and calculates the deviations between nominal and measured values and records any errors (deviations beyond the tolerance limits.) You should be able to take a break from mental arithmetic or making calculations by hand!
Records and Reports
Fusion stores all the measurement results and allows you to create a graphical inspection report. You can create an inspection report quickly and share it easily. The graphical report is quick to create and easy to read and understand. We are confident that, compared with a simple table of figures, most people will prefer the graphical presentation and find the results easier to visualize. This should also help simplify and reduce your paper trail!

Getting Started
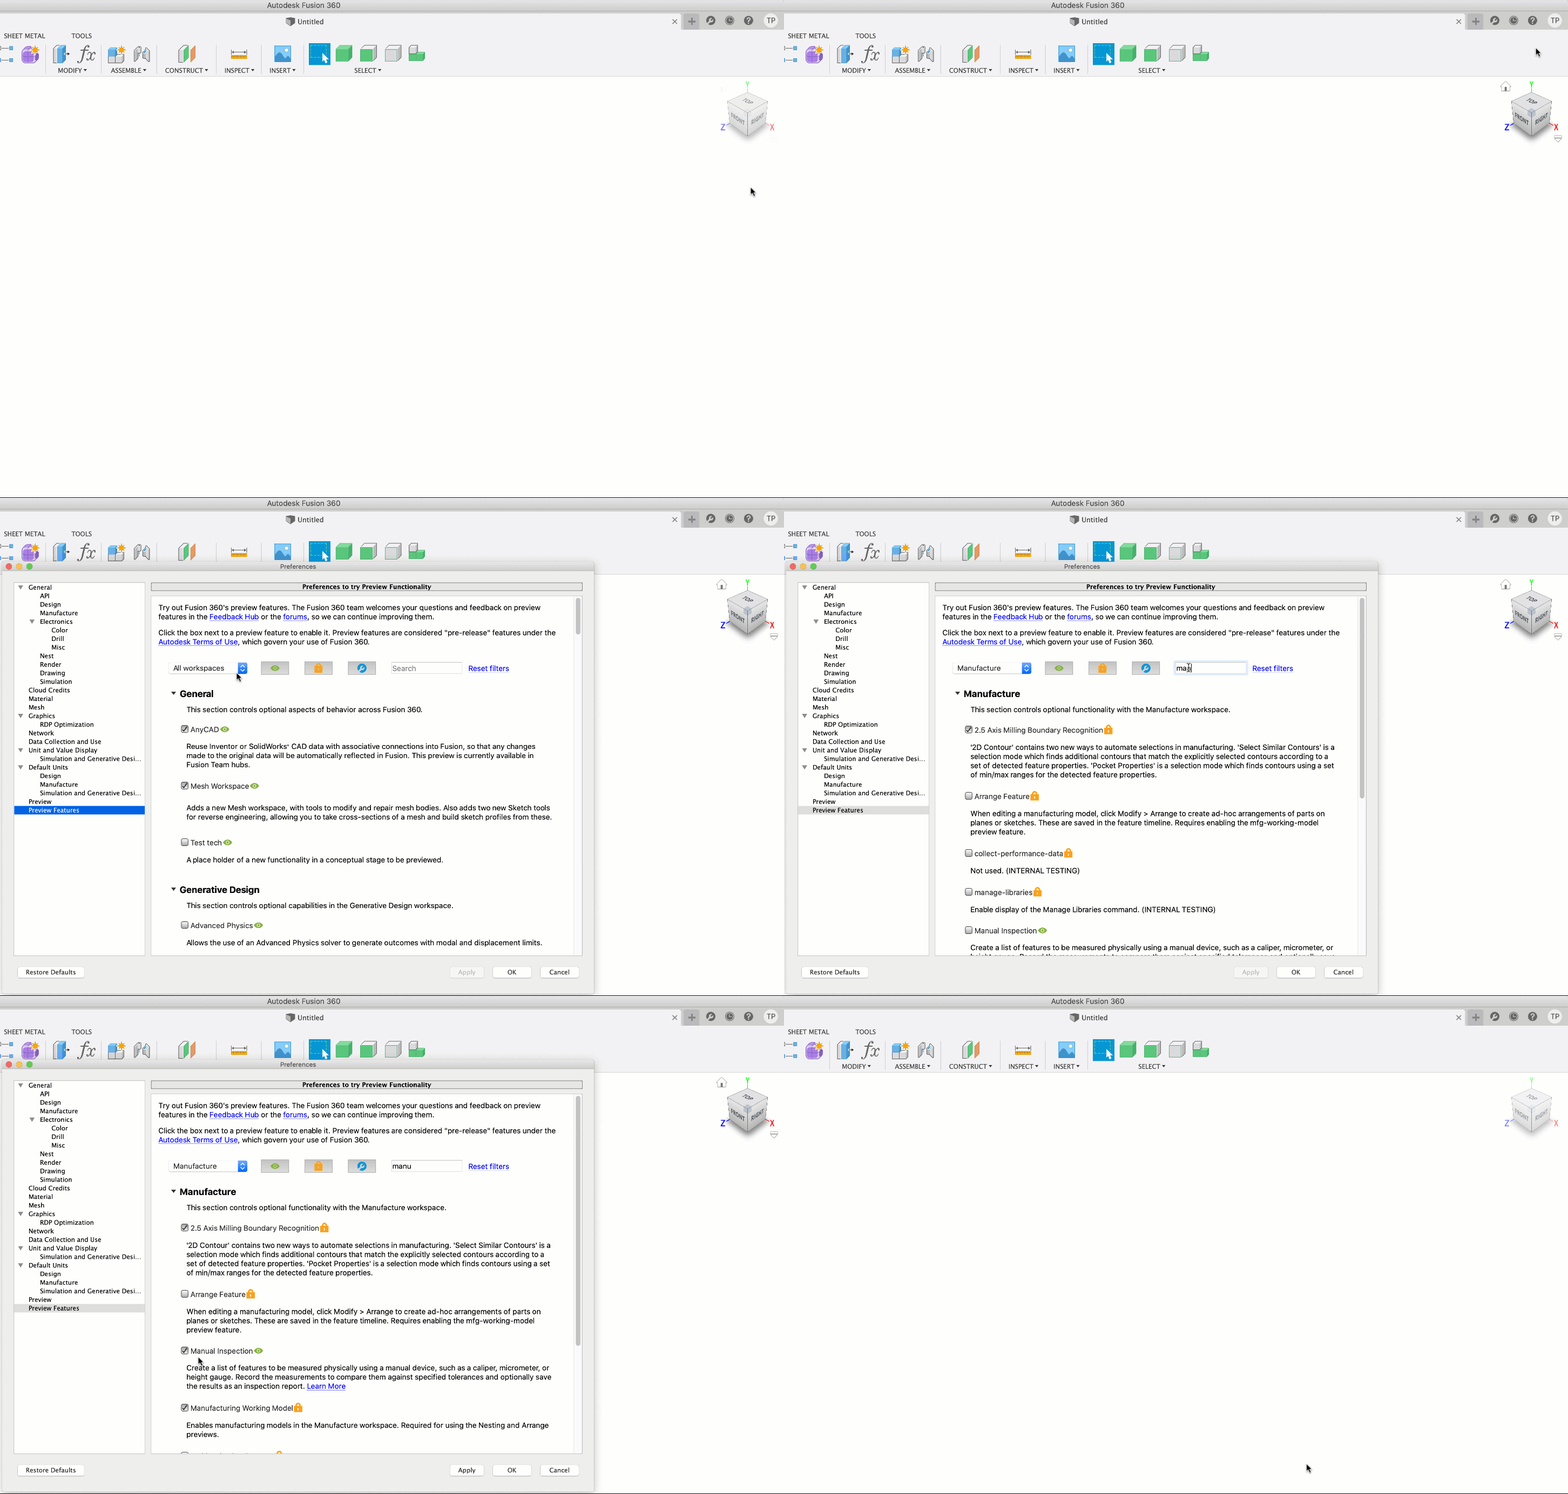
Manual Inspection is a Preview Feature. To try it, go to Preferences > Preview Features and check the box next to ‘Manual Inspection’ to start using the functionality.


Get Involved
This video will help you to get started.
Tell us what you think. Try it and use the forum to give us feedback.
