& Construction

Integrated BIM tools, including Revit, AutoCAD, and Civil 3D
& Manufacturing

Professional CAD/CAM tools built on Inventor and AutoCAD

Integrated BIM tools, including Revit, AutoCAD, and Civil 3D

Professional CAD/CAM tools built on Inventor and AutoCAD
Autodesk Support
Mar 3, 2025
Products and versions covered
How to create a surface from TIN triangles displayed as 3D faces and the boundary in Civil 3D.
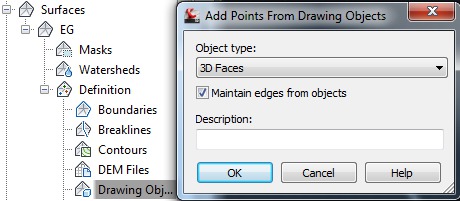
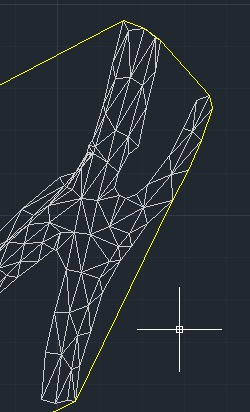
To create a surface from 3D Faces and a boundary outlining the 3D faces:


Note:
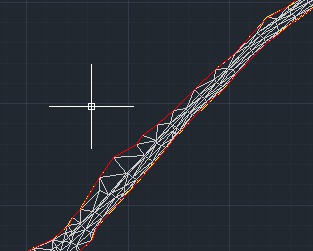
For inner boundaries, a good practice is to create hatches. Then right mouse click the hatches and select "Create Hatch Boundary". Finally delete the hatch and review and correct the inner boundary polyline where needed.
Was this information helpful?
The Assistant can help you find answers or contact an agent.
What level of support do you have?
Different subscription plans provide distinct categories of support. Find out the level of support for your plan.
How to buy
Privacy | Do not sell or share my personal information | Cookie preferences | Report noncompliance | Terms of use | Legal | © 2025 Autodesk Inc. All rights reserved