How to create a 4th axis rotary toolpath in Autodesk Fusion

Autodesk Support

Nov 1, 2024


Products and versions covered


Issue:

User's have asked how to create a 4th axis rotary toolpath in Fusion.

Solution:

To create a 4th axis rotary toolpath, do the following:

Note: Manufacturing extensions will be required to access the functionality.

To create the setup for 4th axis work, see: Fusion Friday (ep102): May the 4th axis be with you. How to set up Fusion 360 for 4th axis work. - YouTube
  1. From the Multi-Axis group, select Rotary toolpath.
  2. Select the tool.
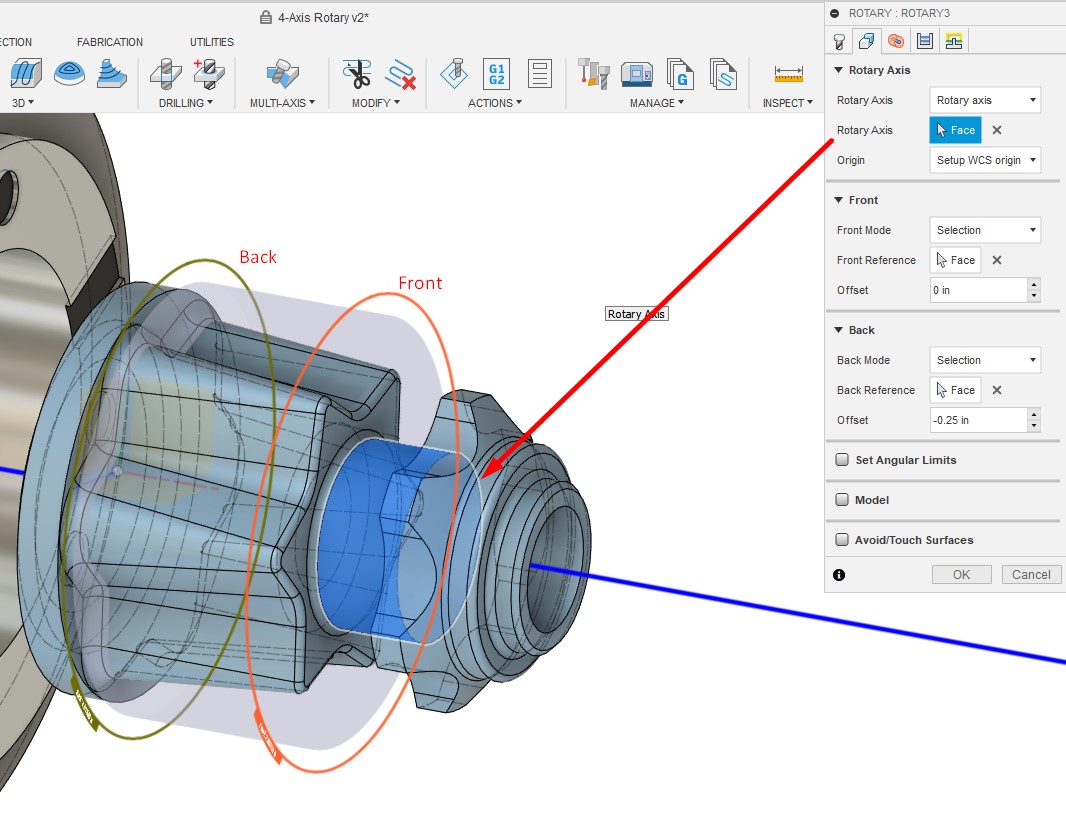
  3. Select the Geometry tab, This where the rotary axis and the start / end of the rotary toolpath are defined.
Note: Switch the Front and Back selections to start from the other end of the toolpath.
rotary fusion
  1. Select the Passes tab.
  2. Set the required stepover.
  3. Set the toolpath style; choose from Spiral, Line, or Circular.
rotary toolpath style
  1. Click OK.
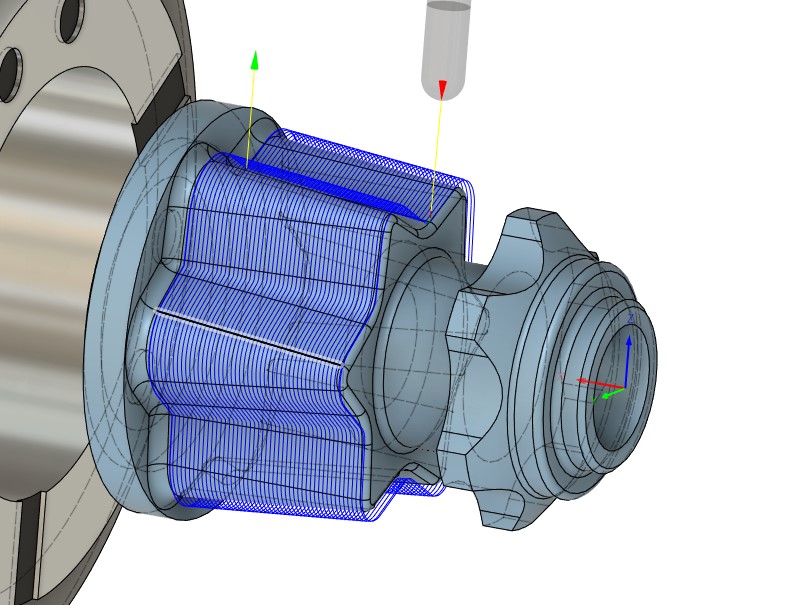
Rotary toolpath in 4-axis


Products:

Fusion;


Was this information helpful?


Need help? Ask the Autodesk Assistant!

The Assistant can help you find answers or contact an agent.


What level of support do you have?

Different subscription plans provide distinct categories of support. Find out the level of support for your plan.

View levels of support