
Need help? Ask the Autodesk Assistant!
The Assistant can help you find answers or contact an agent.
What level of support do you have?
Different subscription plans provide distinct categories of support. Find out the level of support for your plan.
Autodesk Support
May 11, 2021
|
In this lesson, you will begin by writing part of a VB.NET application that uses the Autodesk Inventor API to hide selected components.
|
Provide Feedback: Please provide feedback about this Inventor Training or this lesson via email: myfirstplugin@autodesk.com Lesson Downloads
|
Steps to Create Your First Plug-in
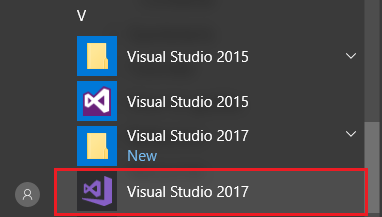
1. Launch the Visual Studio 2017 Community:
Open Visual Studio 2017 Community using the Windows Start button, select Start and then scroll down to letter V, where it’s listed as Visual Studio 2017 as shown below.
2. Open a class library project:
Inside Visual Studio 2017 Community, on the File menu, click Open Project. Navigate to the subfolder of the supporting material you downloaded at the top of this guide called lesson1_VisualStudio2017 and open the VB.NET project contained within it by selecting the project file MyFirstInventorPlugin_Lesson1.sln.
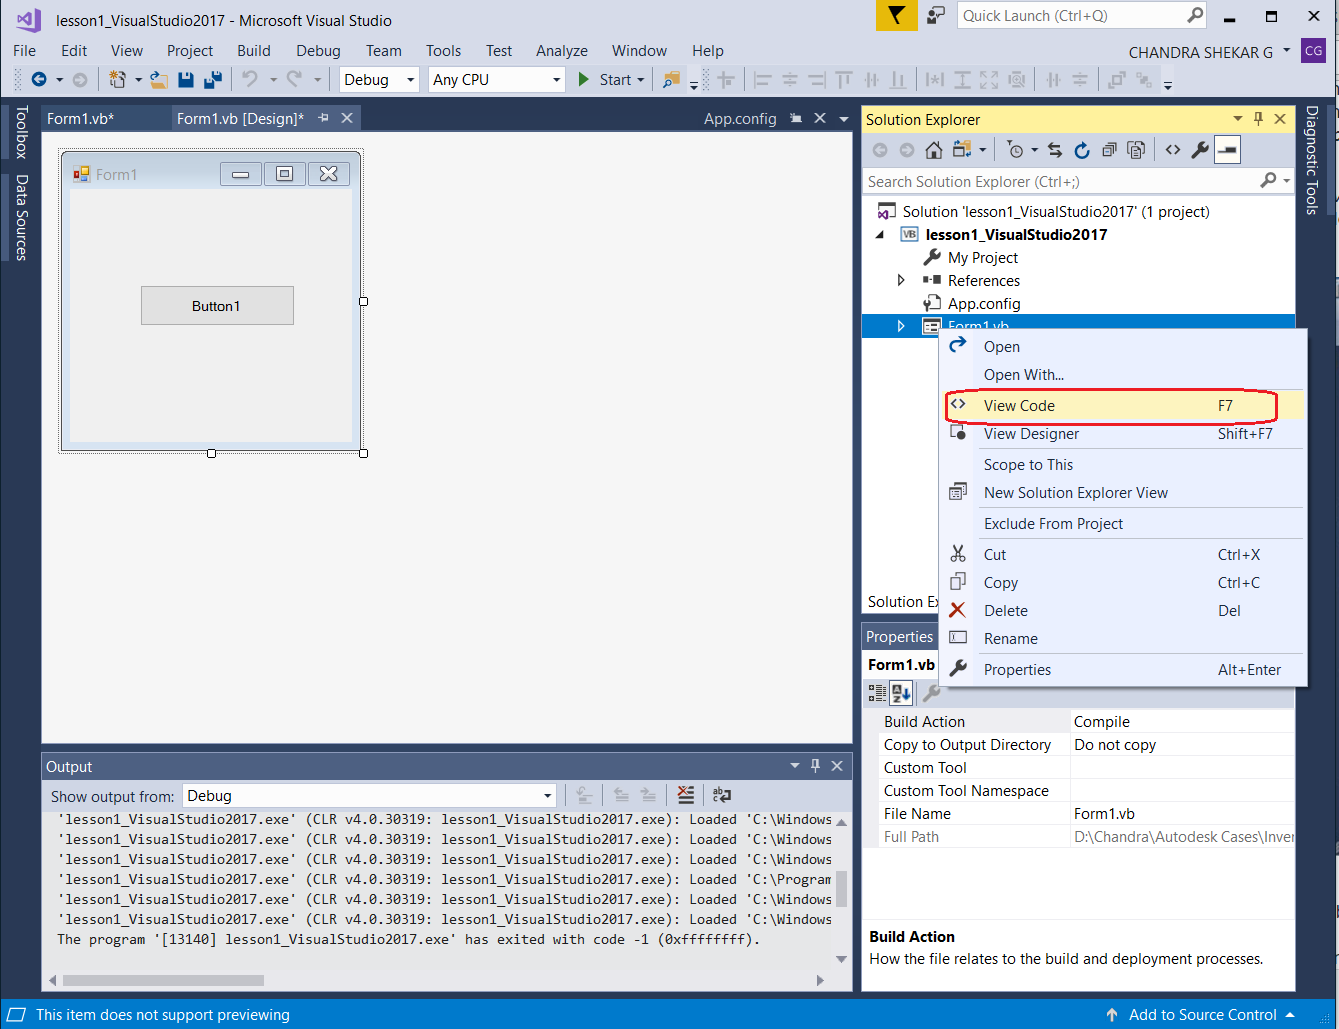
3. Open the code:
In the open project you will see a form with one button (if you don’t see the Form, click on Form1.vb in the Solution Explorer frame in the upper right-hand side). Right click on Form1 in the Solution Explorer and select View Code or just double click on the Form.
4. Add the code:
In the code window, type the code below into the Sub Button1_Click. (This is what runs when the button is clicked.) You may need to scroll down towards the bottom of the code to find the place to add the below code, looking for the words ‘Add code for Lesson 1 here’. To get the full experience of developing with Visual Studio 2017 Community – including the use of features such as IntelliSense – we recommend you type the code from this guide rather than copying and pasting it. That said, if constrained for time you can also copy and paste into the Visual Studio 2017 Community code window, although this will reduce the experience you gain from working with the code directly.
If _invApp.Documents.Count = 0 Then
MsgBox("Need to open an Assembly document")
Return
End If
If _invApp.ActiveDocument.DocumentType <> _
DocumentTypeEnum.kAssemblyDocumentObject Then
MsgBox("Need to have an Assembly document active")
Return
End If
Dim asmDoc As AssemblyDocument
asmDoc = _invApp.ActiveDocument
If asmDoc.SelectSet.Count = 0 Then
MsgBox("Need to select a Part or Sub Assembly")
Return
End If
Dim selSet As SelectSet
selSet = asmDoc.SelectSet
Try
Dim compOcc As ComponentOccurrence
Dim obj As Object
For Each obj In selSet
compOcc = obj
Debug.Print(compOcc.Name)
compOcc.Visible = False
Next
Catch ex As Exception
MsgBox("Is the selected item a Component?")
MsgBox(ex.ToString())
Return
End Try
5. Save the file:
On the File menu, click Save All.
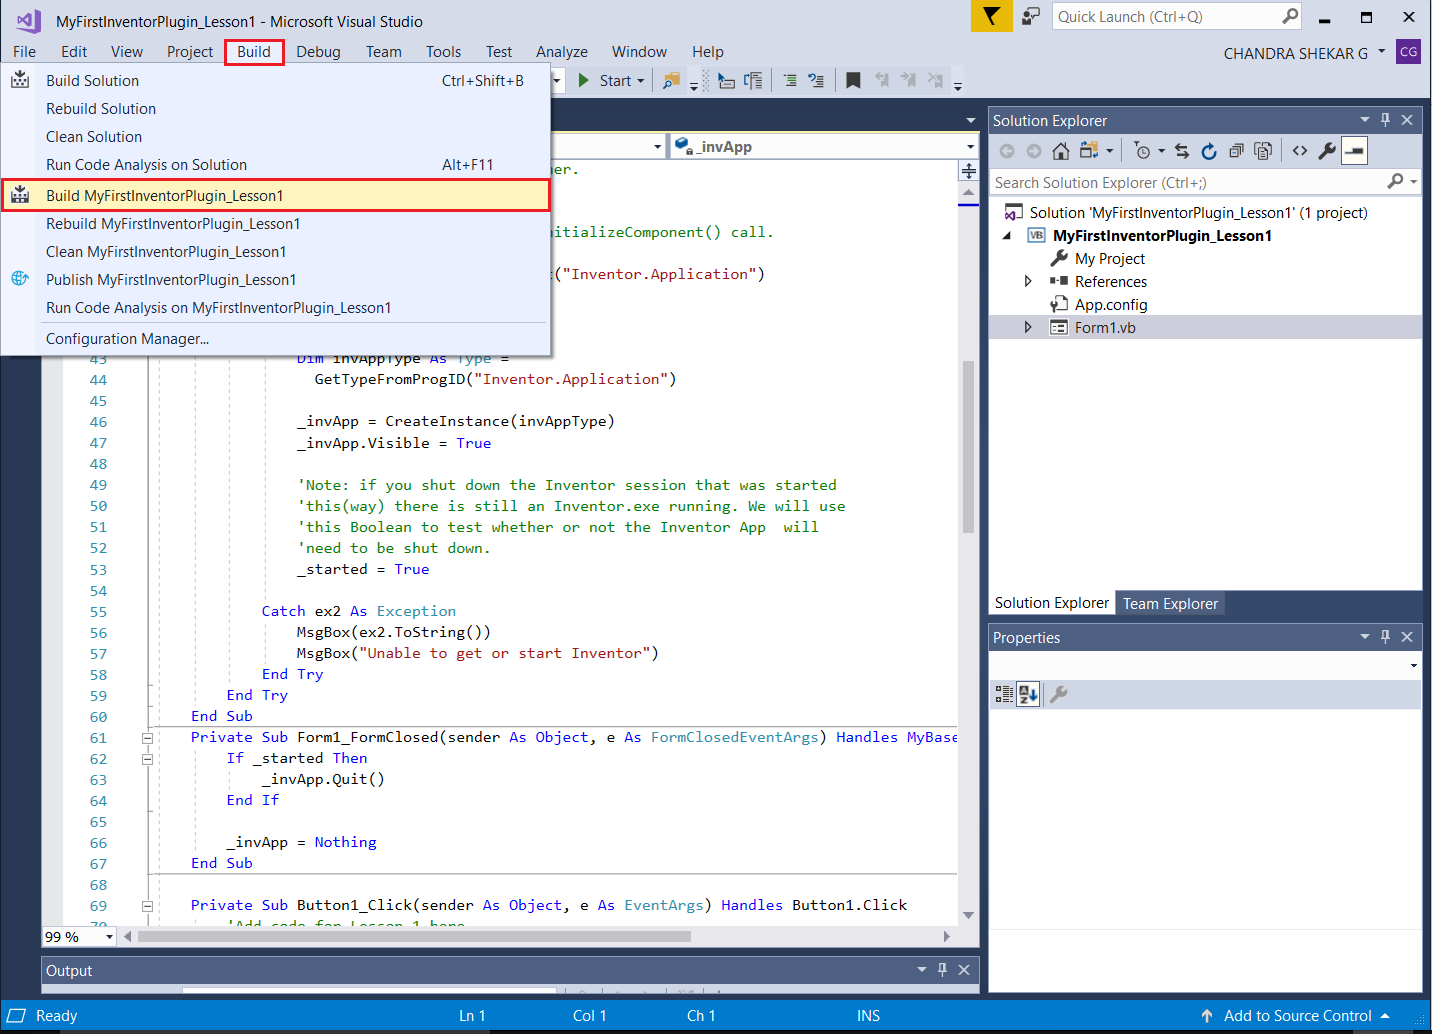
6. Build the project:
The code you have written is in human readable form. To make the code readable by a computer, you will need to translate it or “build” it.
Inside Visual Studio 2017 Community, in the Debug menu, click Build Solution to compile and build your plug-in. The “Build Success” message shows in status bar of the Visual Studio 2017 window if the code is successfully built.
That’s it! You have just written your first plug-in for Autodesk Inventor. Let’s run the plug-in to see what it does.
Running the Plug-in
1. Start Autodesk Inventor. (Note: When the plug-in is run it will start a new session of Inventor if one is not already open.)
2. Create or open an existing Inventor assembly:
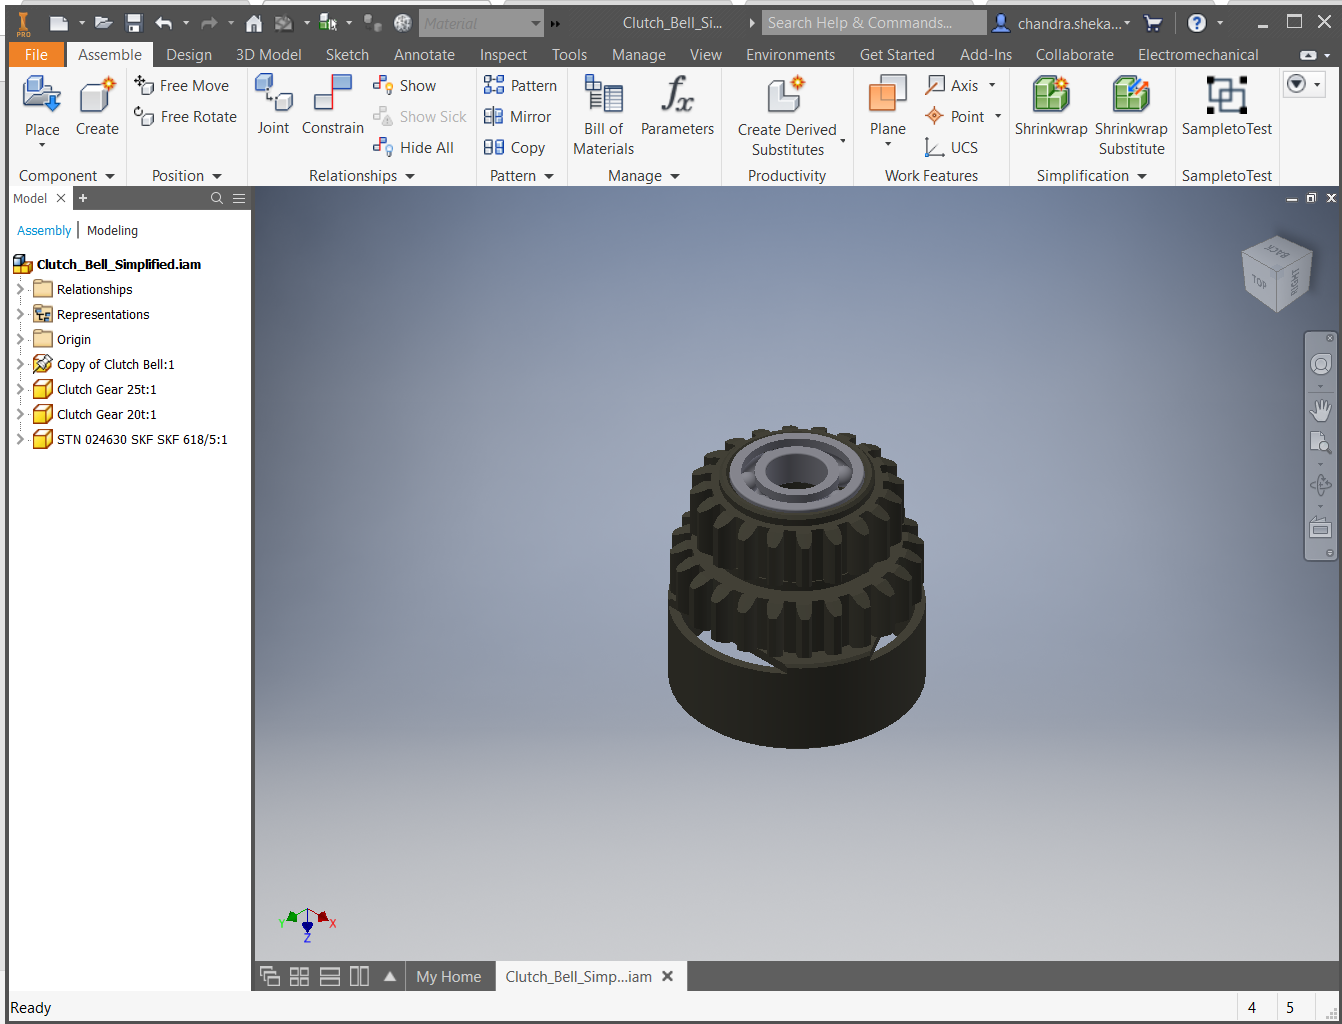
Either unzip the file Clutch_Bell_Simplified.zip, and open the Clutch_Bell_Simplified.iam assembly or within Inventor make sure you have an assembly of your choosing active. There are several types of document that can be created or worked with inside Inventor. The most commonly used document types are Part (.ipt), Assembly (.iam) and Drawing (.idw). Open a new assembly and place some parts using the standard Inventor user-interface.
3. Run your plug-in with Inventor and allow the plug-in to communicate with Inventor:
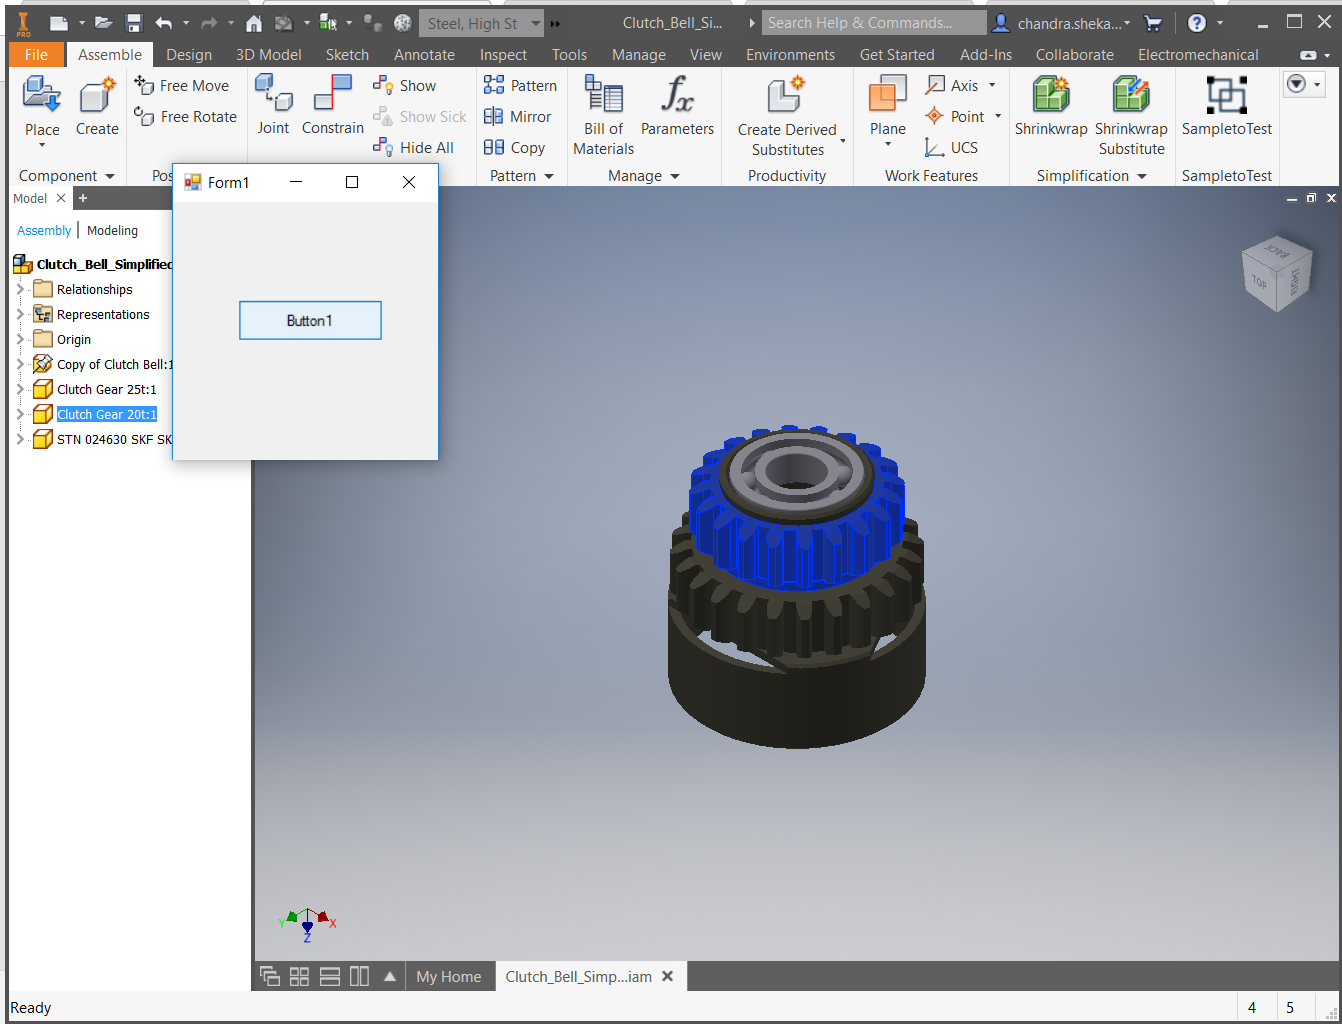
To make Visual Studio 2017 Community execute the code you have entered, select Start Debugging on the Debug menu (you can use the F5 key or click on the green arrow – which looks like a “play” button – on the Debugging toolbar). This will cause your form to be displayed. You may need to minimize Visual studio 2017 Community to see both the form and Inventor.
![]()
4. Work with the plug-in:
Select one or more (by using the Ctrl key) components in the assembly that is active inside Inventor and then click Button1 on the form to execute your code and hide the selected components.
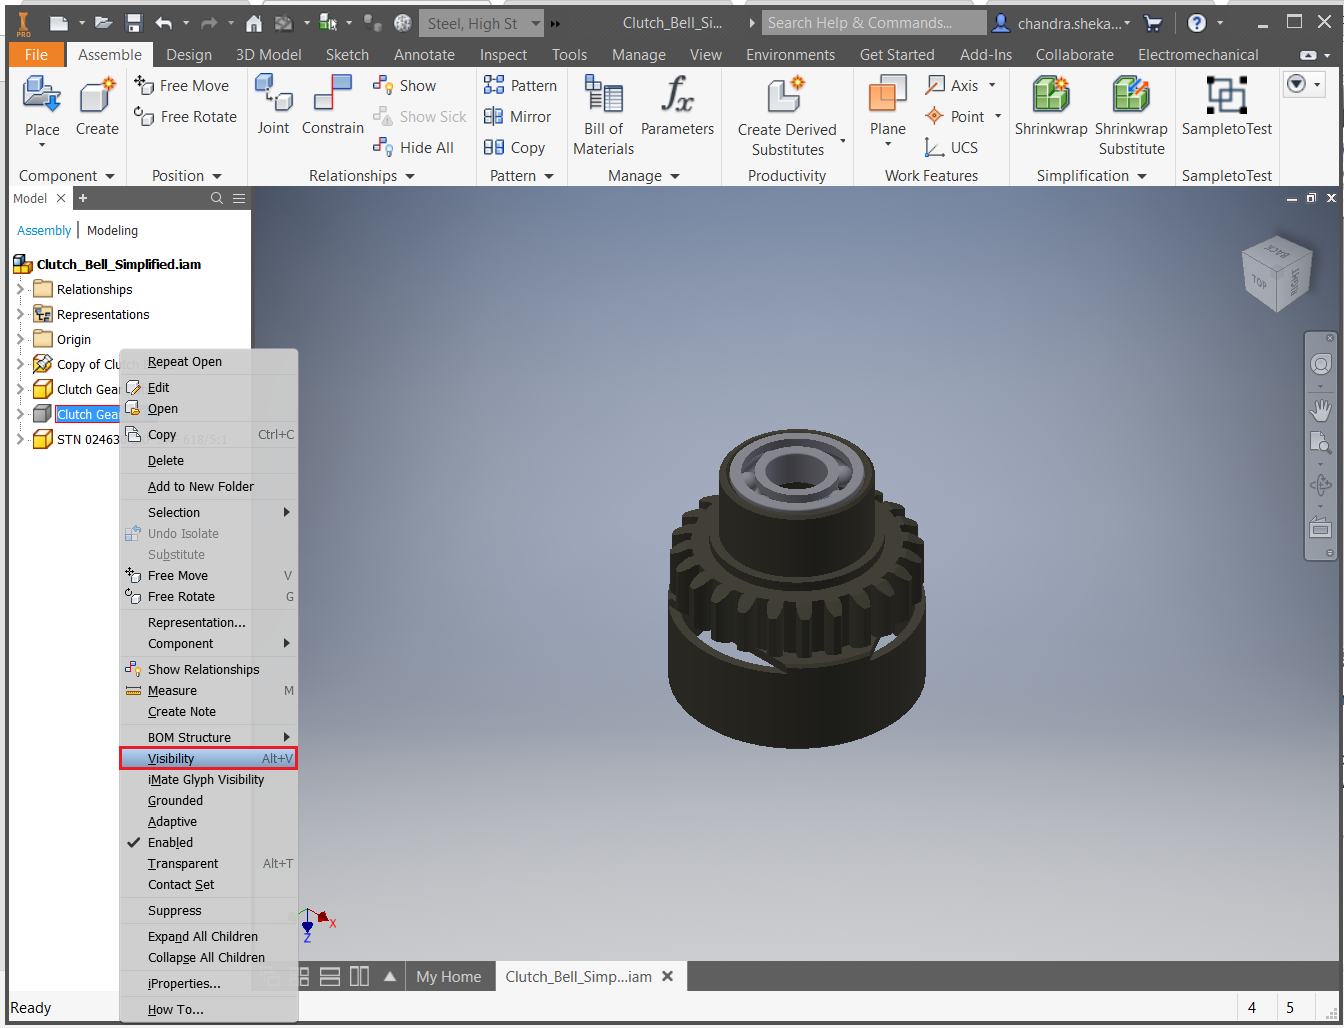
5. To re-display the invisible components use the Inventor Assembly browser (you can identify them via their component icons, which should now be grayed out). In the browser, right-click on the invisible components and pick Visibility, making them visible once again.
Congratulations! You have just written your first plug-in for Autodesk Inventor. You will be reviewing the code in detail in Lesson 3.
Before you move on to the next lessons, let us go back to some of the things we skipped over earlier, starting with basic concepts about programming, and the benefits it can bring to your day-to-day work.
Introduction to Programming
The VB.NET code you have just executed that hides the selected components is only 30 lines long and more than half of the code that you entered into the project is doing error checking. The code that actually does the work can be narrowed down to these few lines of code:
Dim asmDoc As AssemblyDocument
asmDoc = _invApp.ActiveDocument
Dim selSet As SelectSet
selSet = asmDoc.SelectSet
Dim compOcc As ComponentOccurrence
Dim obj As Object
For Each obj In selSet
compOcc = obj
compOcc.Visible = False
Next
As you can see, a small amount of code can go a long way to simplify working with Inventor. Software programming allows you to capture the logic of a particular manual procedure once and then reap the benefits over and over again, every time you want to perform this functionality.
What is Programming?
A simple answer to this question is: Computer programming is the process of creating a sequence of instructions to tell the computer to do something. You can look at your program as a sequence of instructions. During the course of the upcoming lessons, you will look at the various lines and blocks of code in the context of being instructions for a computer.
If you were to explain what computers are to a young child, you might say: a computer is a tool that follows instructions you provide. Programming is one way of giving instructions to the computer. Internally, a computer sees these instructions encoded as a series of numbers (also called machine code). The human-readable instructions you saw at the beginning of this lesson are called source code and the computer converts these instructions into machine code which it can then read and execute. A sequence of such instructions (or code), written to perform a specific task, is called a program and a collection of such programs and related data is called software. Autodesk Inventor is one such software product.
Source code can be written in different languages, just as humans use different languages to communicate between ourselves. The language you will be using in this guide is called Visual Basic.NET (VB.NET).
What is an API?
API is the acronym for Application Programming Interface: the way a software programmer can communicate with a software product. For instance, the Inventor API is the way programmers can work with Inventor, and establishes what functionality a software programmer can use within Inventor.Such as the Inventor API allows you to write instructions for Inventor to execute one after the other.
![]()
Putting this slightly differently: commercial software companies, such as Autodesk, often distribute a set of libraries that you can use in your own program to interact with a particular software product, such as Autodesk Inventor, and extend its functionality. This set of libraries is known as the software product’s API.
The type of program you write to interact with a software product and extend its functionality will depend upon how the API has been designed and what has been exposed (through APIs) for you to work with.
What is a Plug-in?
A software plug-in is a type of program module (or file) that adds functionality to a software product, usually in the form of a command automating a task or some customization of the product’s behavior. When you talk about a plug-in for Inventor – and you will also hear the term AddIn or Application used for this product – we mean a module containing code that makes use of the Inventor API. The code can connect to Inventor to automate tasks, or be loaded by Inventor and used to adjust its behavior of Inventor under certain conditions, such as when a particular command is executed by the user of the plug-in.
For terminology purposes, an Inventor AddIn would also be considered a plug-in. An AddIn is a special kind of plug-in that automatically loads when Inventor is started, has high performance and appears to the user to be part of Inventor.
Was this information helpful?
The Assistant can help you find answers or contact an agent.
What level of support do you have?
Different subscription plans provide distinct categories of support. Find out the level of support for your plan.
How to buy
Privacy | Do not sell or share my personal information | Cookie preferences | Report noncompliance | Terms of use | Legal | © 2025 Autodesk Inc. All rights reserved