
This is part two of Civil 3D interface and functionality, which includes: Using basic functionality
Part one includes: Understanding the Civil 3D user interface
Part three includes: Additional resources
Using basic functionality
Here, you will learn how to use a few common features to carry out basic functions in Autodesk Civil 3D.
Exercise files:
Basic Functionality.dwg
Estimated time to complete topic:
15 minutes
Topic steps:
12
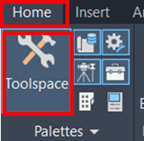
1. From the Home or View tab, in the Palettes panel, click Toolspace. The Prospector tab appears. If the Toolspace button is grayed out, click the Prospector button from the ribbon.


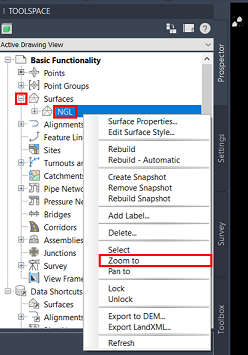
2. To zoom in using the context menus, in the Prospector tree, right click on a civil object such as an alignment or pipe. Right-click click Zoom To. This will zoom to the object location in the model.
3. Since Civil 3D is built on AutoCAD, all the functionality and navigation commands apply and can be used in the same manner such as pan, zoom, orbit etc. More about these basic functions here. The navigation bar can also be turned on under the view tab and will display as portrayed below.


4. These options can also be accessed when right clicking.

5. Object selection can be achieved by clicking on objects or drawing a window or box to highlight objects. A window selects everything that completely falls within the window, whereas a box selection selects anything it touches.
6. Window selection works from left to right. Draw a window at the top left corner of the surface. Upon drawing the window, nothing gets selected as the object is not completely within the window extents.
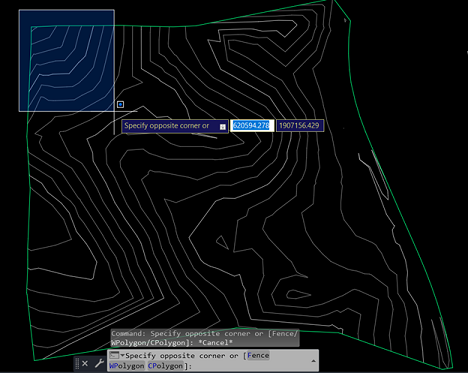
7. Box selection works from right to left. Draw a window at the top left corner of the surface. Upon drawing the box, the surface gets selected despite not being completely within the box extents. The box selects anything it touches.

8. Holding the left click button down and moving your cursor creates a lasso effect. The lasso can also be applied from left to right or right to left to get the same effect of window or box selection.


9. Object snaps are used to easily select points that are difficult to select by using the naked eye, such as the end point of a line, midpoints, intersections, etc. To specify an object snap at a prompt for a point, you can do one of the following:
Press SHIFT and right-click to display the Object Snap shortcut menu
Right-click and choose an object snap from the Snap Overrides submenu while drawing

Click an object snap button on the Object Snap toolbar
Enter the name of an object snap
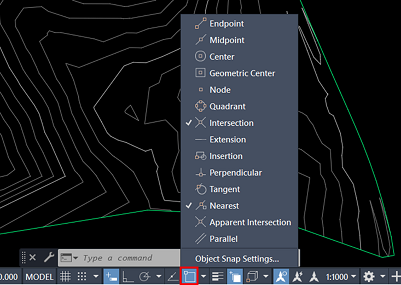
10. Object snaps can be toggled on/off using the F3 key and can be accessed on the bottom ribbon. Tip: If several running object snaps are turned on, more than one object snap may be eligible at a given location. You can press TAB to cycle through the possibilities before you specify the point.
11. All other AutoCAD commands can be accessed on the same ribbon above, with the option to toggle on/off additional functions using the customise button on the bottom right corner.

12. Other basic draw commands can be accessed in the home tab on the top ribbon. AutoCAD keyboard shortcuts can be found here.

Ready for more? Head to Civil 3D interface and functionality part three for: Additional resources
Or go back to the AEC Collection Quick Start Guide for Civil Engineers


