
Description
Skeletal modeling has been around for a while, but there are a lot of nuances within the methodology. This class will go from beginner to advanced looking at these nuances, as well as looking at a unique methodology for structural modeling and also how you can apply iLogic and Vault copy design to make this methodology vastly more efficient. We’ll cover how it was applied to the TMT (30-meter telescope) project—a new class of extremely large telescopes that will allow us to see deeper into space and observe cosmic objects with unprecedented sensitivity. With its 30-meter-diameter prime mirror, TMT will be three times as wide, with nine times more area, than the world's largest currently existing visible-light telescope. This will provide an unparalleled resolution, with TMT images more than 12 times sharper than those from the NASA Hubble Space Telescope. See also how this methodology could be applied to other projects.
Key Learnings
- Learn how to create a skeletal model.
- Learn how to create stable and repeatable changes to models.
- Learn how to create intelligent assemblies.
- Learn how to apply new methodology ideas to your projects.
Downloads
Tags
Industries | |
Topics |
People who like this class also liked
Instructional Demo
Fusion Lifecycle Software’s Evented Web Is Off the Hook

Instructional Demo
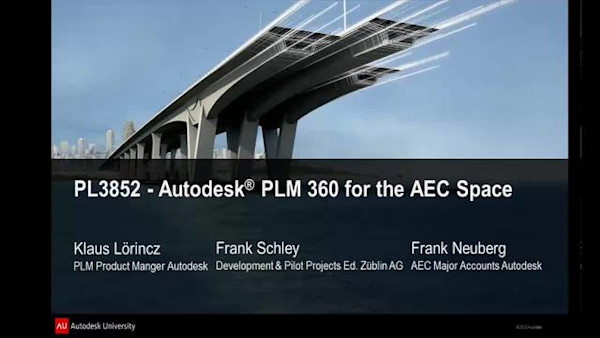
A Cohesive Approach to Data and Lifecycle Management over the Cloud

Instructional Demo
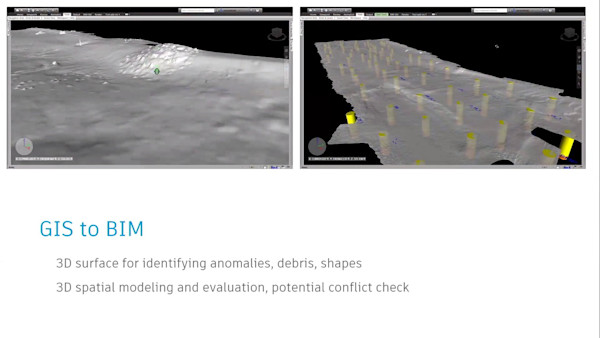
Connecting BIM and GIS: The New Reality of Environmental Projects
Industry Talk