Step-by-step Guide
InfoWorks WS Pro allows you to make changes to multiple objects with the goal of achieving a desired simulation result.
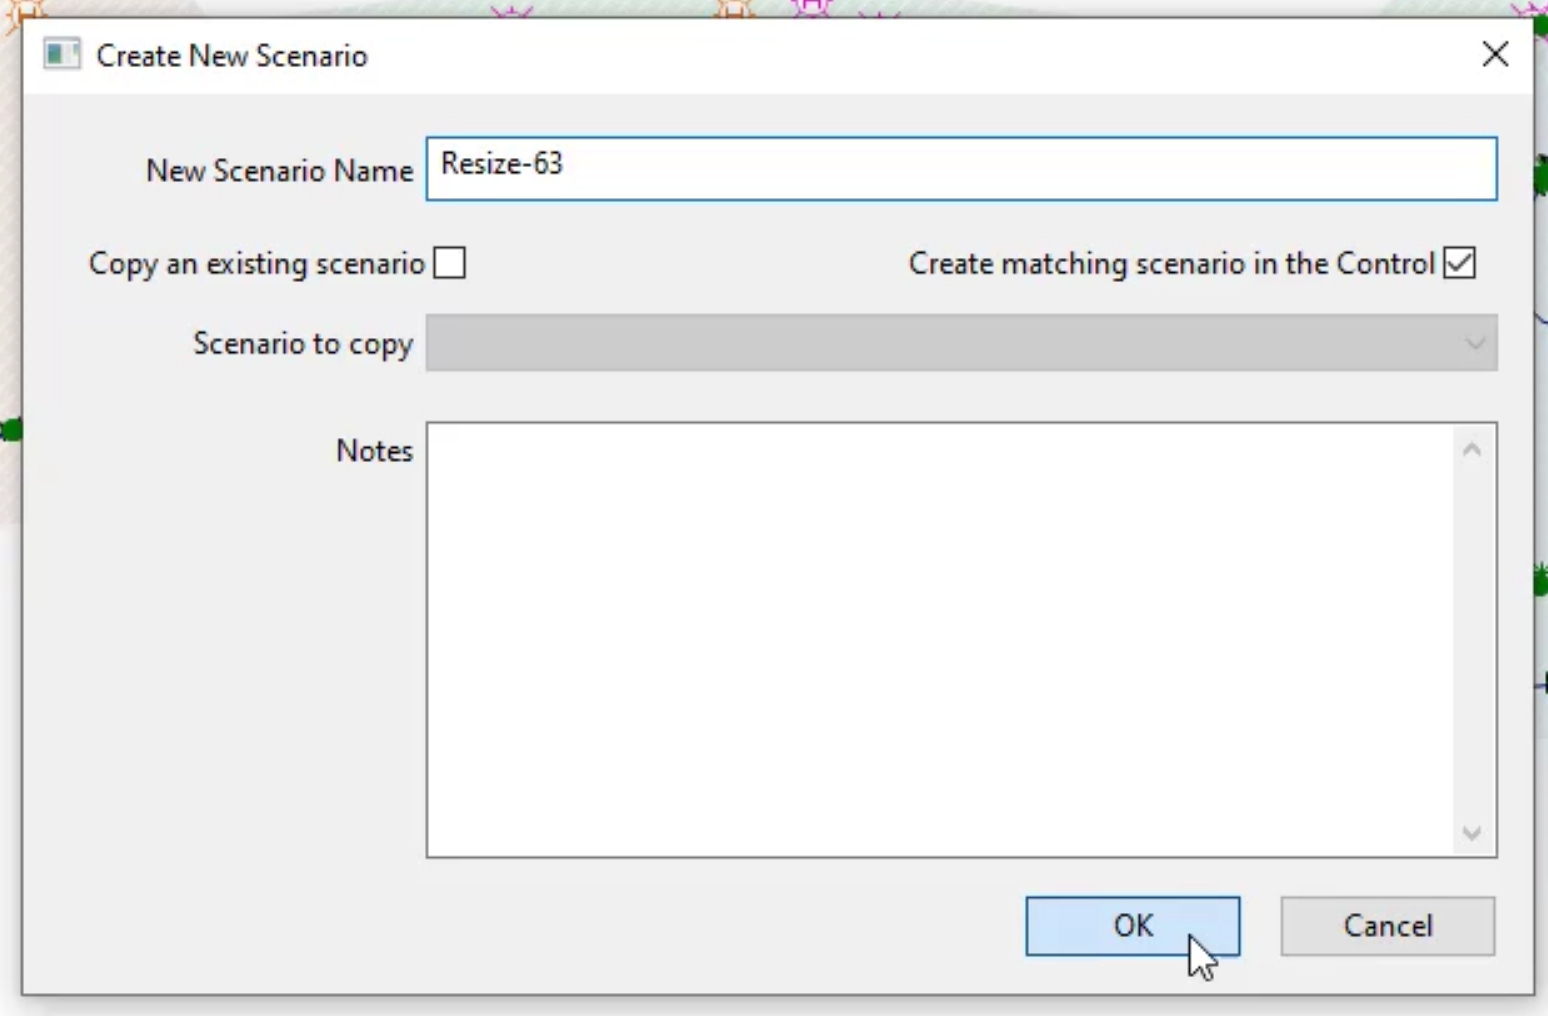
- In the Scenarios toolbar, click Create scenario.

- In the Create New Scenario dialog box, in the New Scenario Name field, enter “Resize-63”.
- Enable Create matching scenario in the Control.
- Click OK.
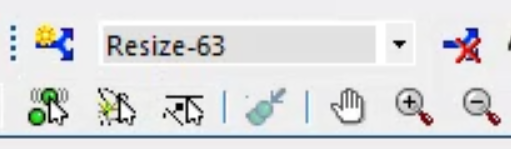
In the Scenarios toolbar, in the Scenario select drop-down, notice that the name of the scenario changes.
- In the Operations toolbar, select Find network objects.

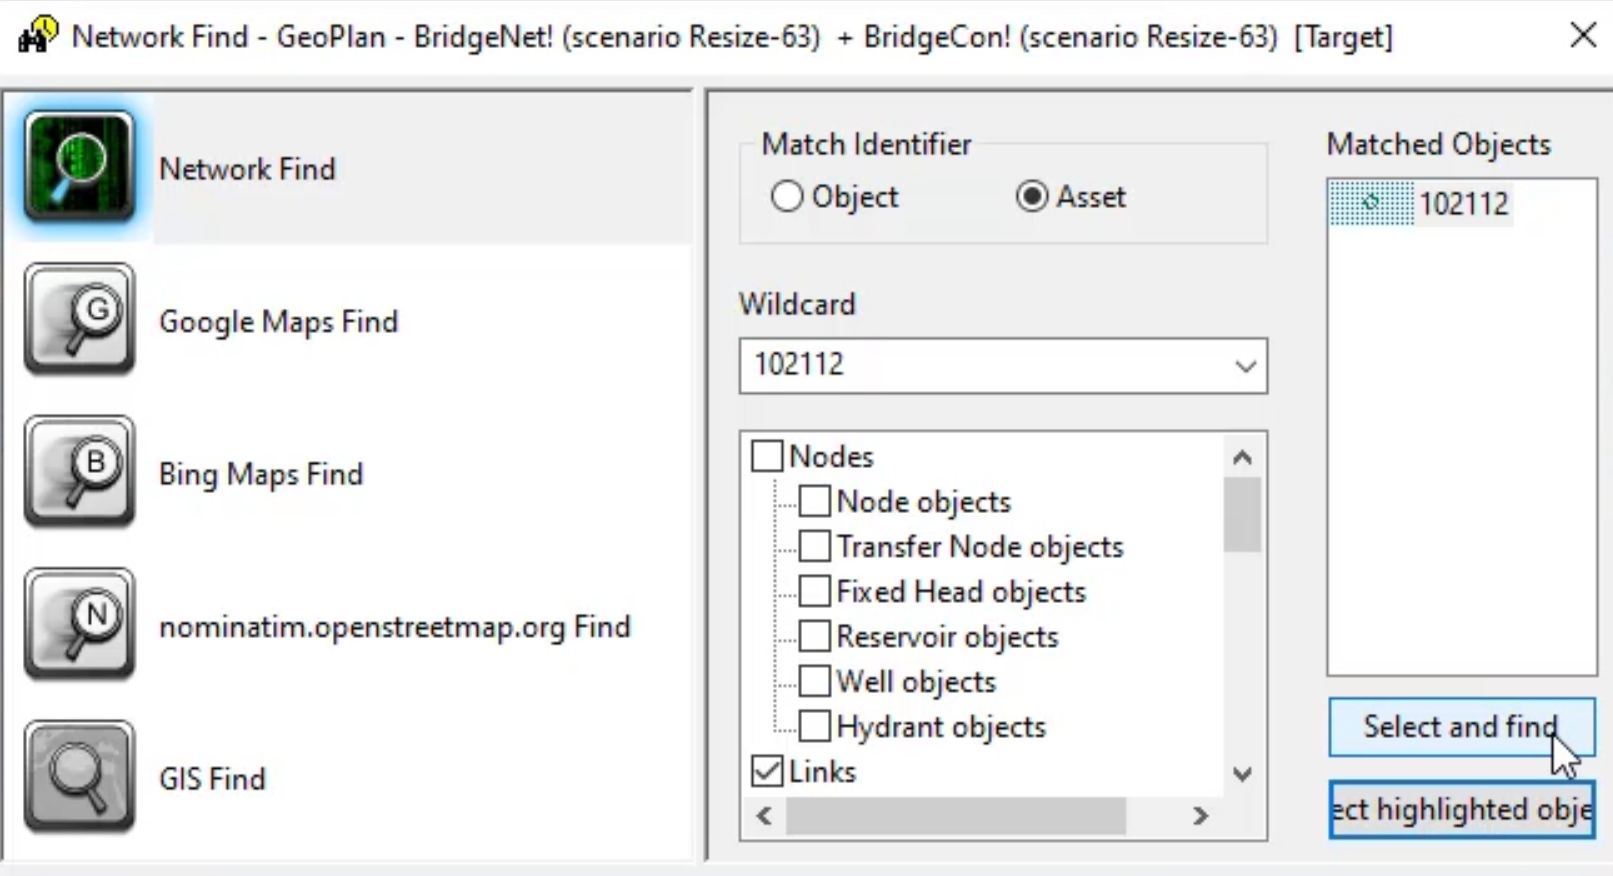
- In the Network Find dialog box, in the Match Identifier group box, select Asset.
- In the Wildcard field, enter the asset ID “102112”.
- In the Matched Objects list, click on the asset ID 102112.
- Click Select and find.
- Close the Network Find dialog box.
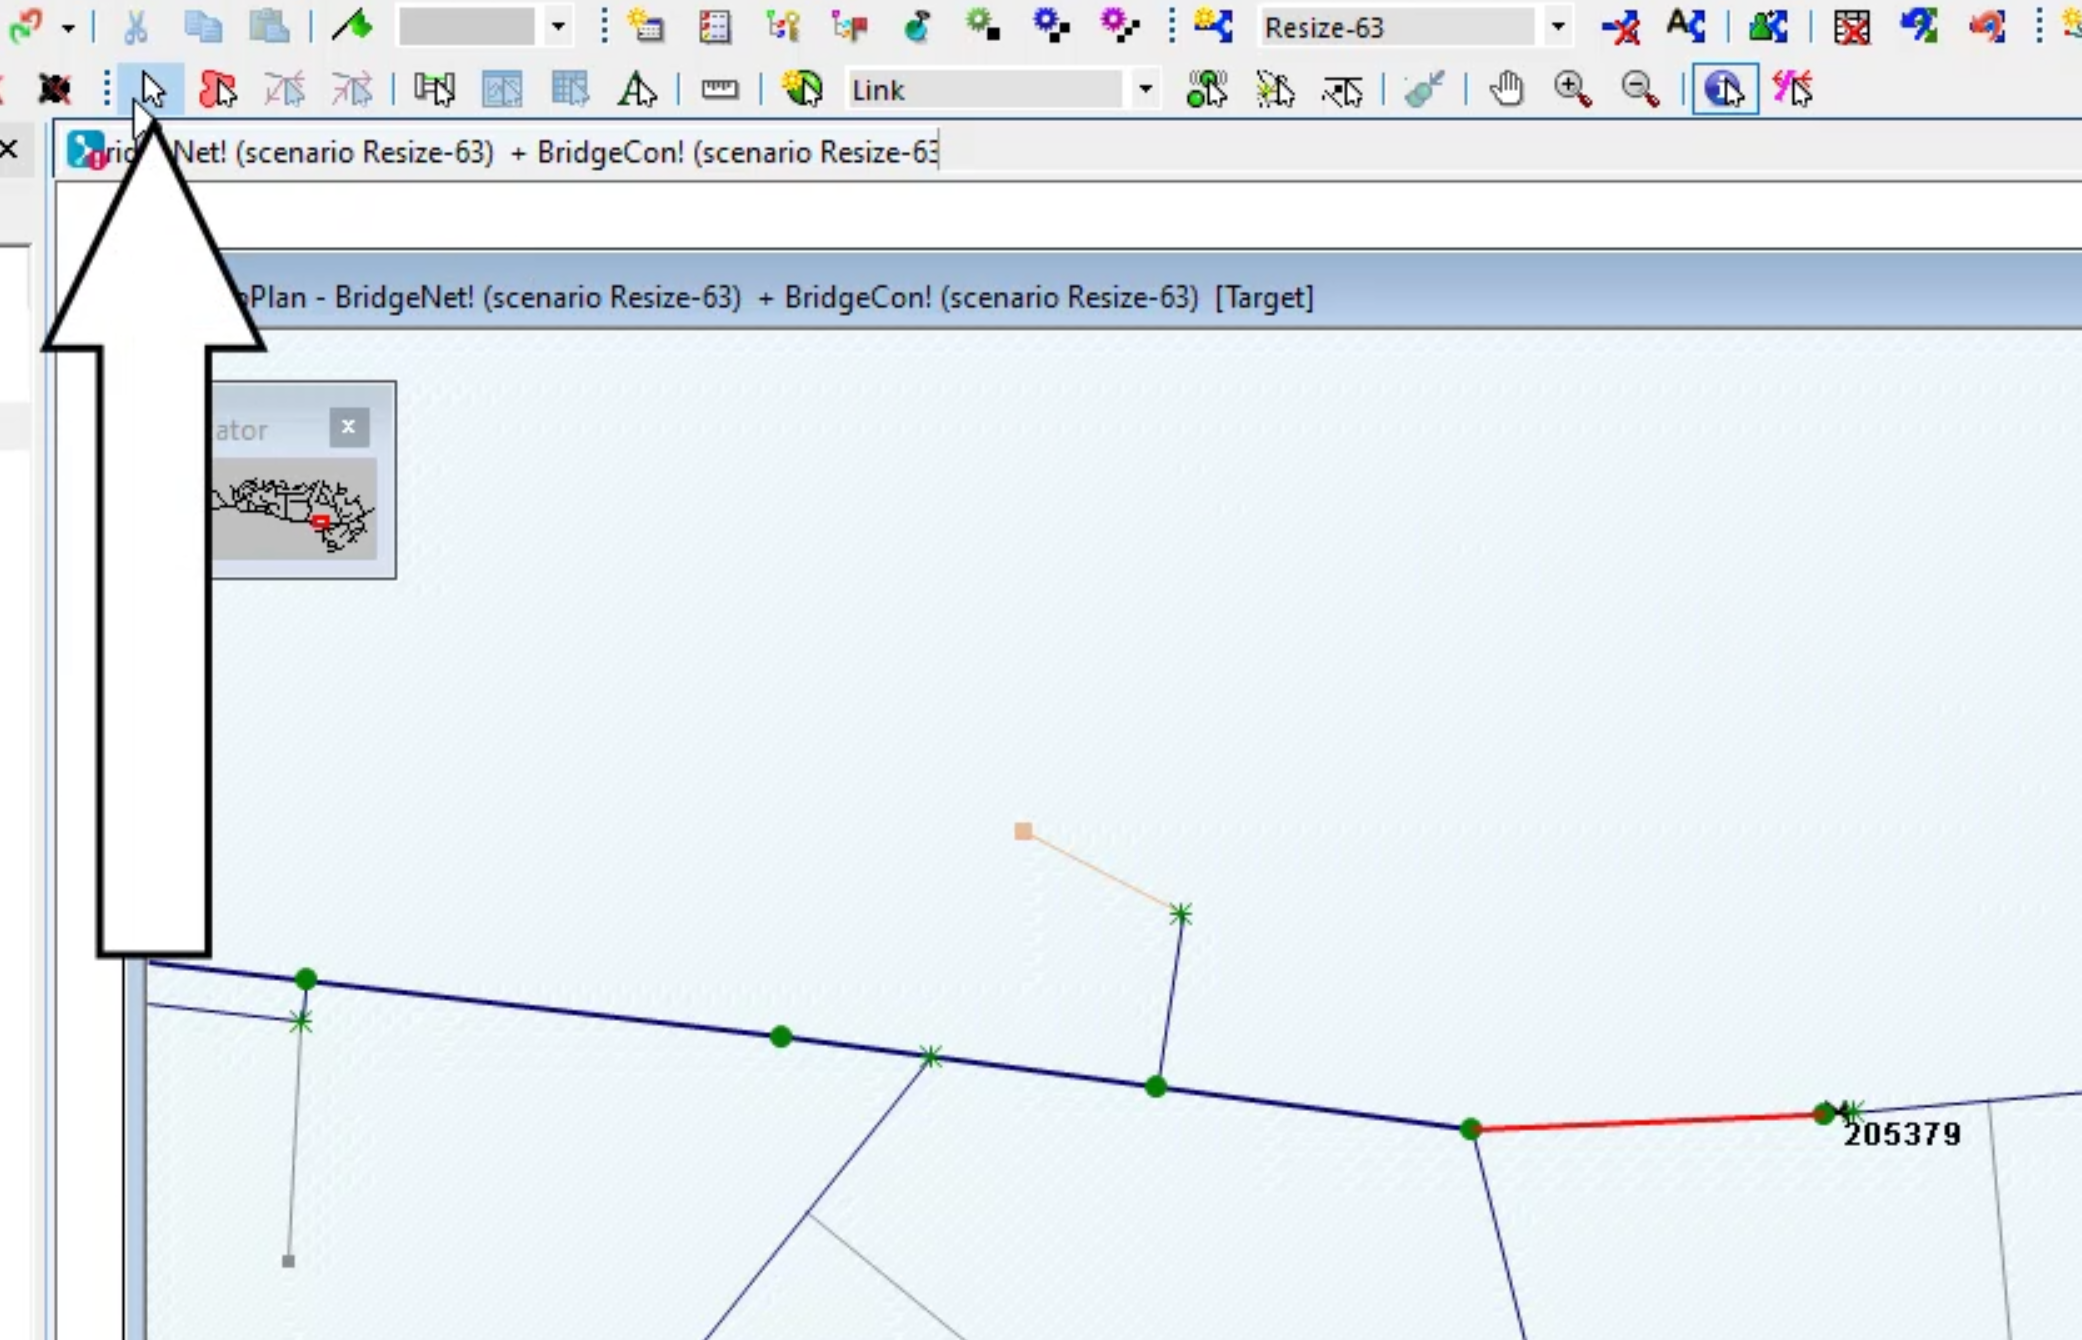
Notice in the GeoPlan, pipe 102112 appears highlighted in red.
- In the Tools toolbar, click Select.
- On your keyboard, hold CTRL as you click the pipes to the left and to the right of the highlighted pipe.
Note: All three pipes should be selected.
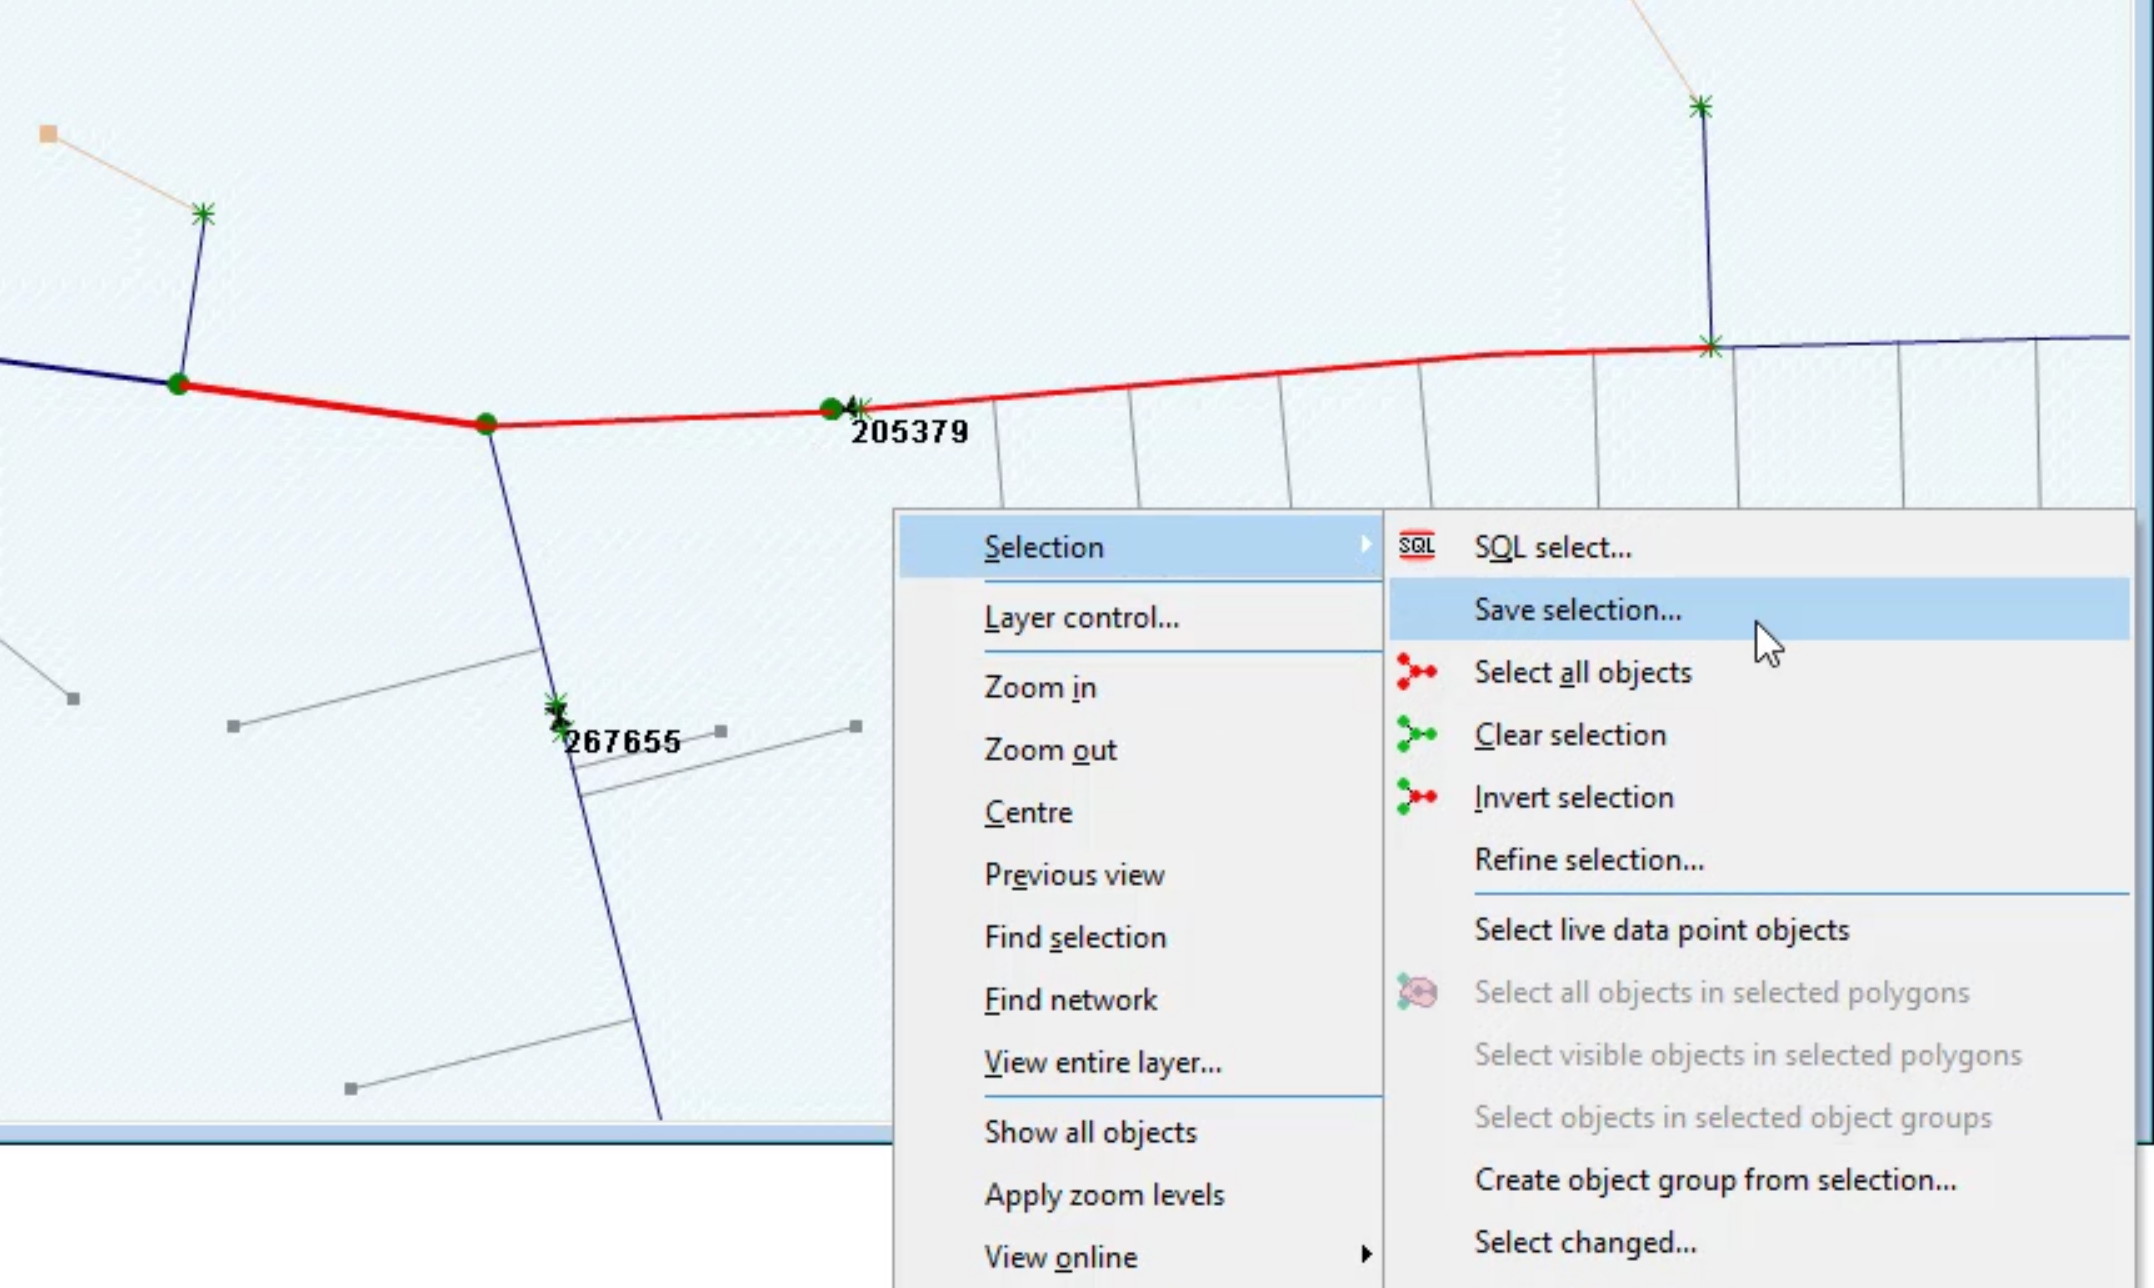
- Right-click inside the GeoPlan and click Selection > Save selection.
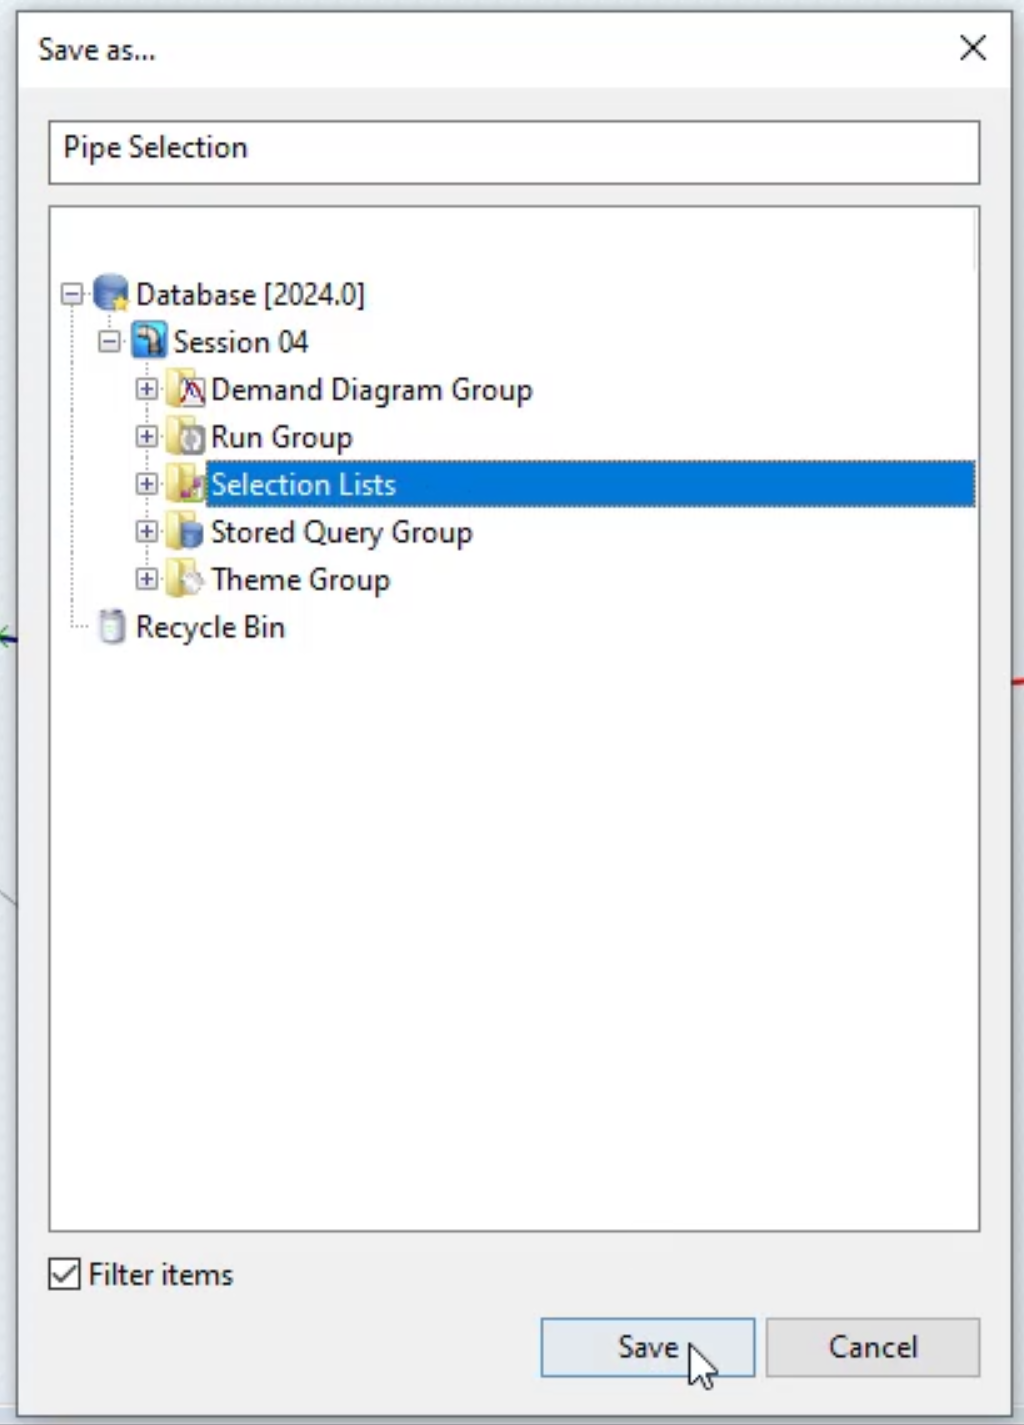
- In the Save as dialog box, in the folder tree, click Selection Lists.
- In the field at the top of the dialog box, enter the name “Pipe selection”.
- Click Save.
The three pipes are now grouped.
To change the properties of all three pipes at once:
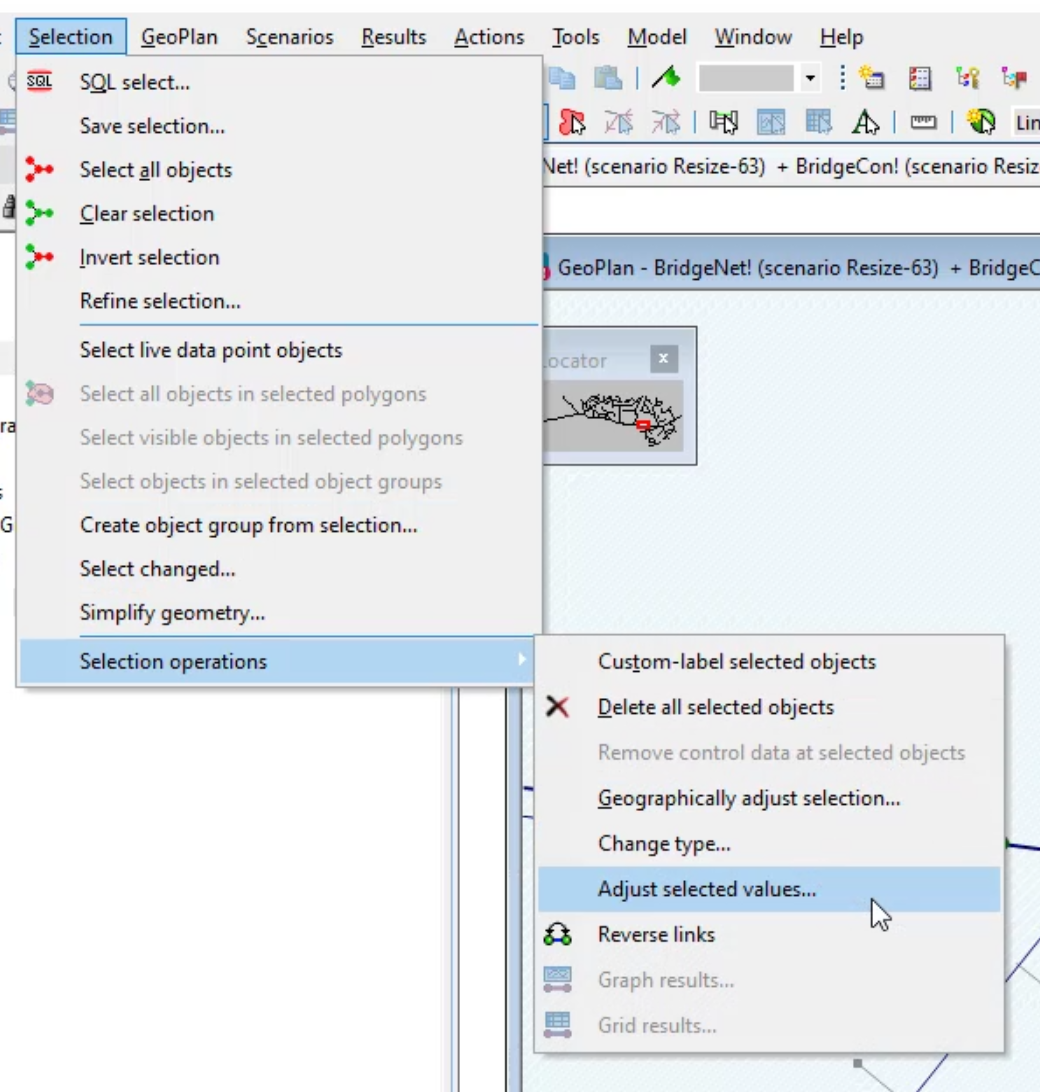
- On the menu bar, click Selection > Selection operations > Adjust selected values.
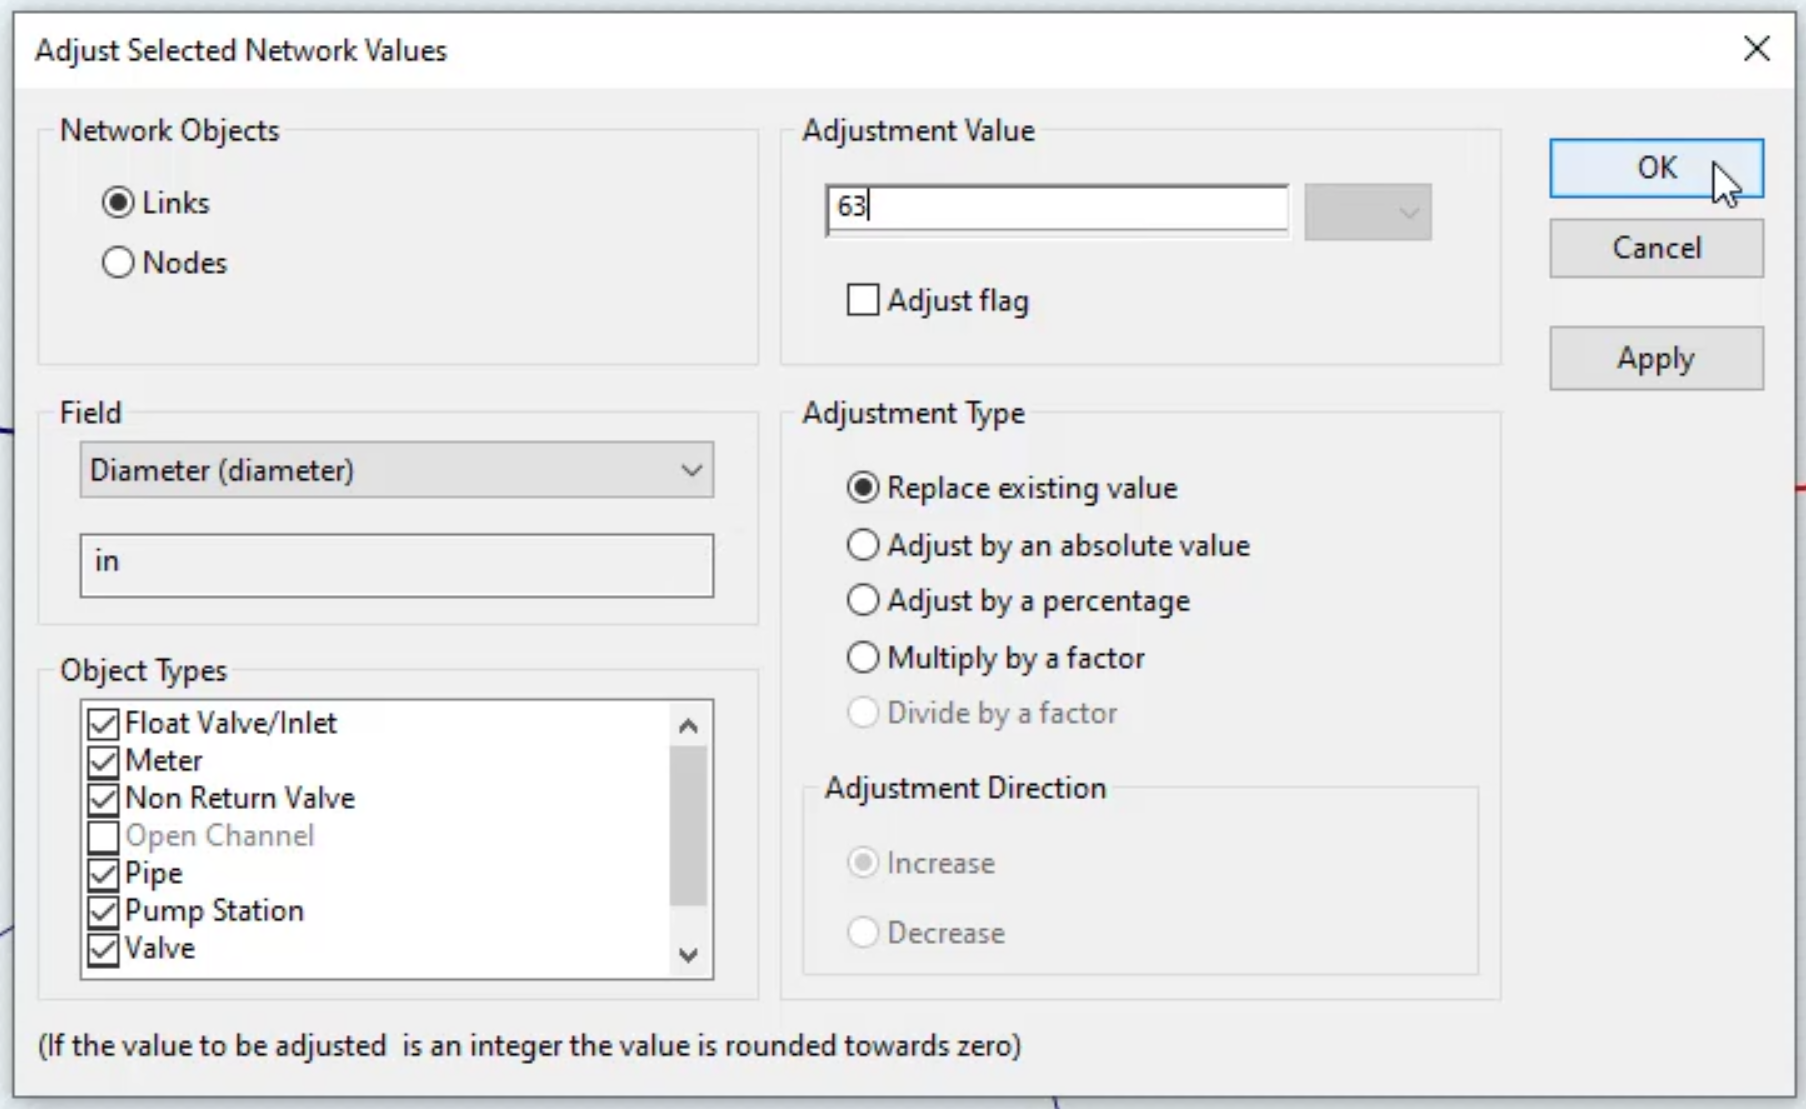
- In the Adjust Selected Network Values dialog box, in the Network Objects group box, enable Links.
- In the Field group box, expand the drop-down and select Diameter.
- In the Adjustment Value group box, enter the value “63”.
- In the Adjustment Type group box, enable Replace existing value.
- Click OK.
- In the notification dialog box, click Yes.
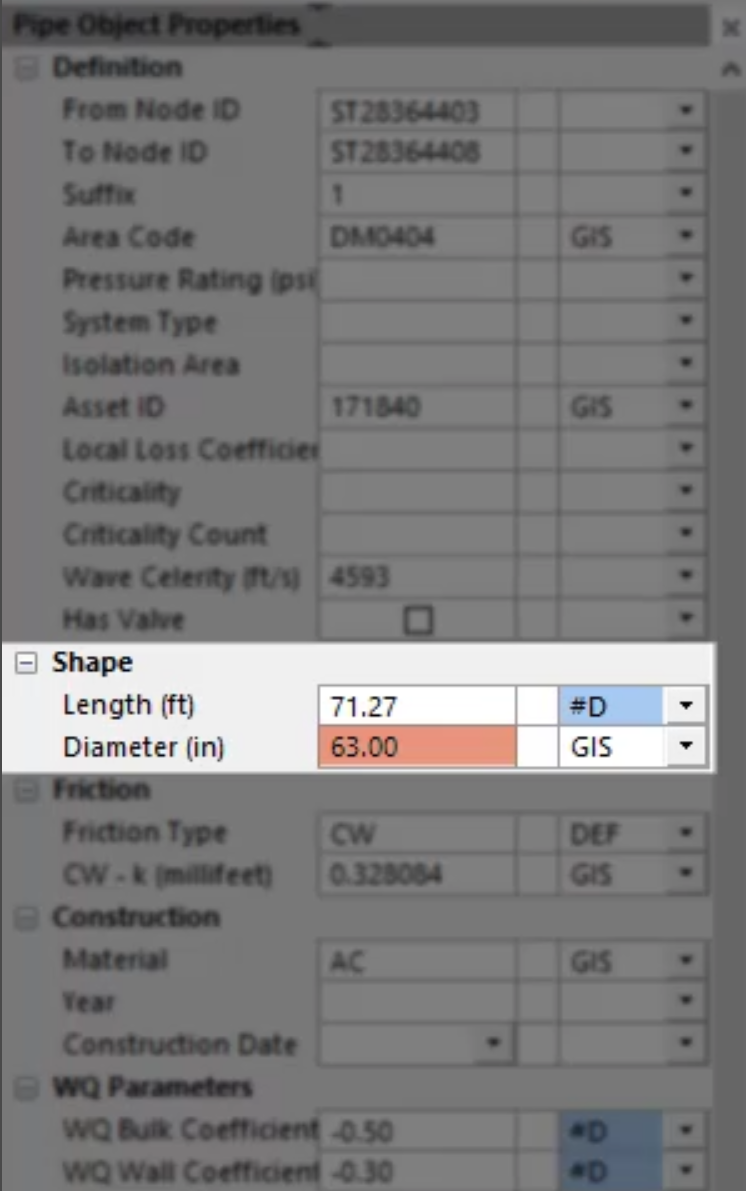
- In the Tools toolbar, click Properties.

- In the GeoPlan, select one of the three pipes still highlighted in red.
- n the Properties window, check that the Diameter is 63.
To make changes to multiple objects using grid windows:
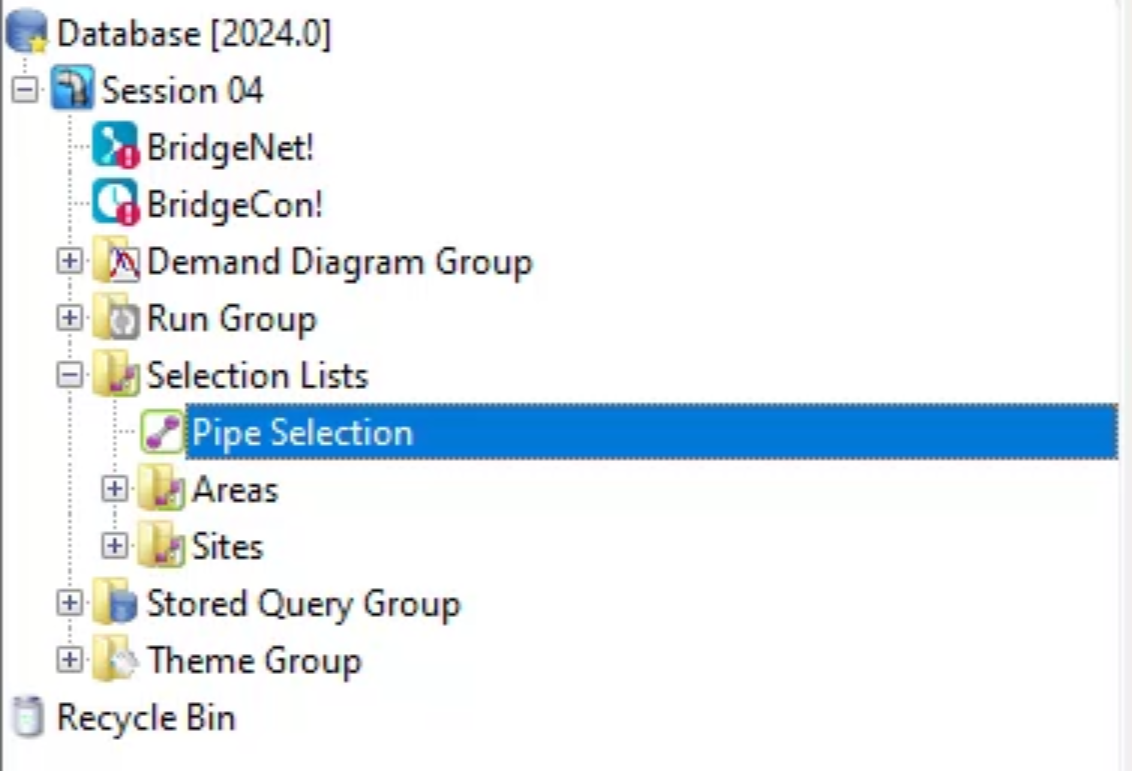
- In the Model Group window, expand Selection Lists.
- Drag-and-drop Pipe Selection into the GeoPlan.
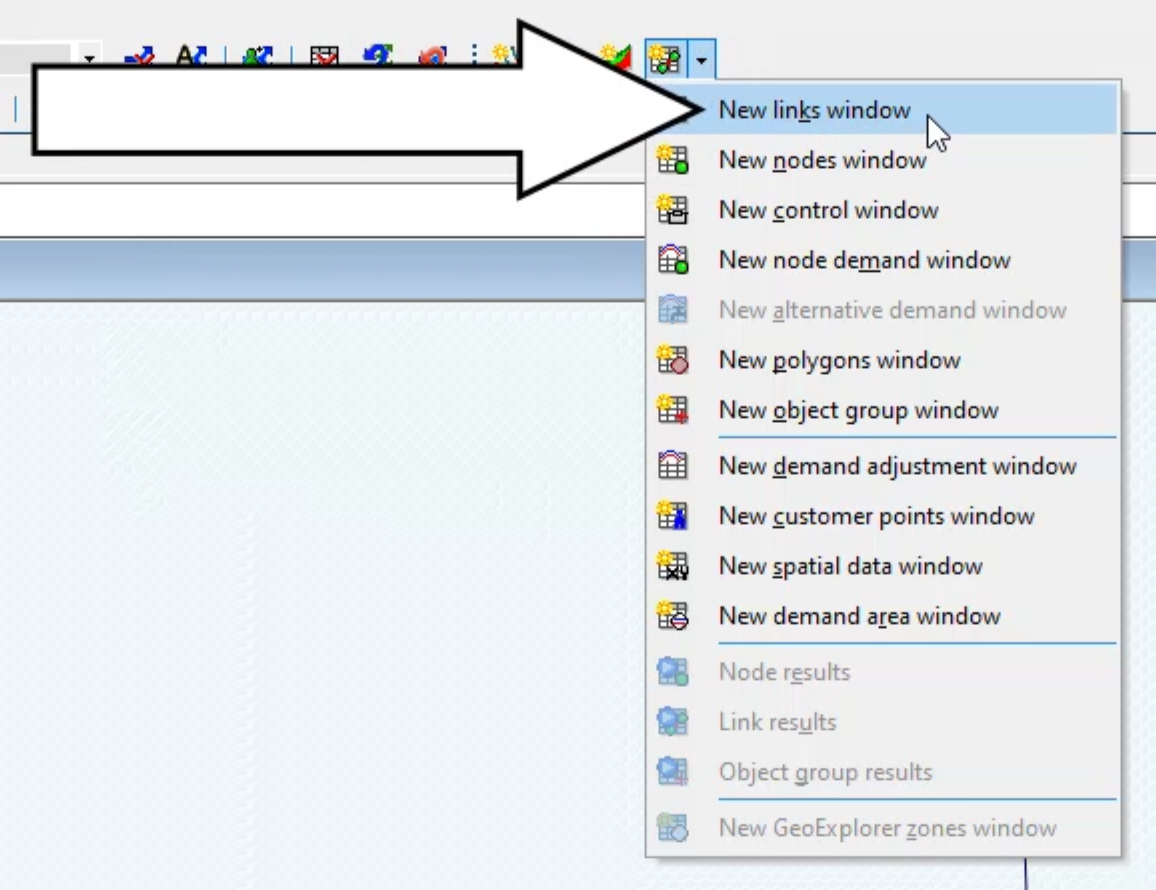
- On your keyboard, press and hold CTRL.
- In the Windows toolbar, expand the Grid windows drop-down and select New links window.
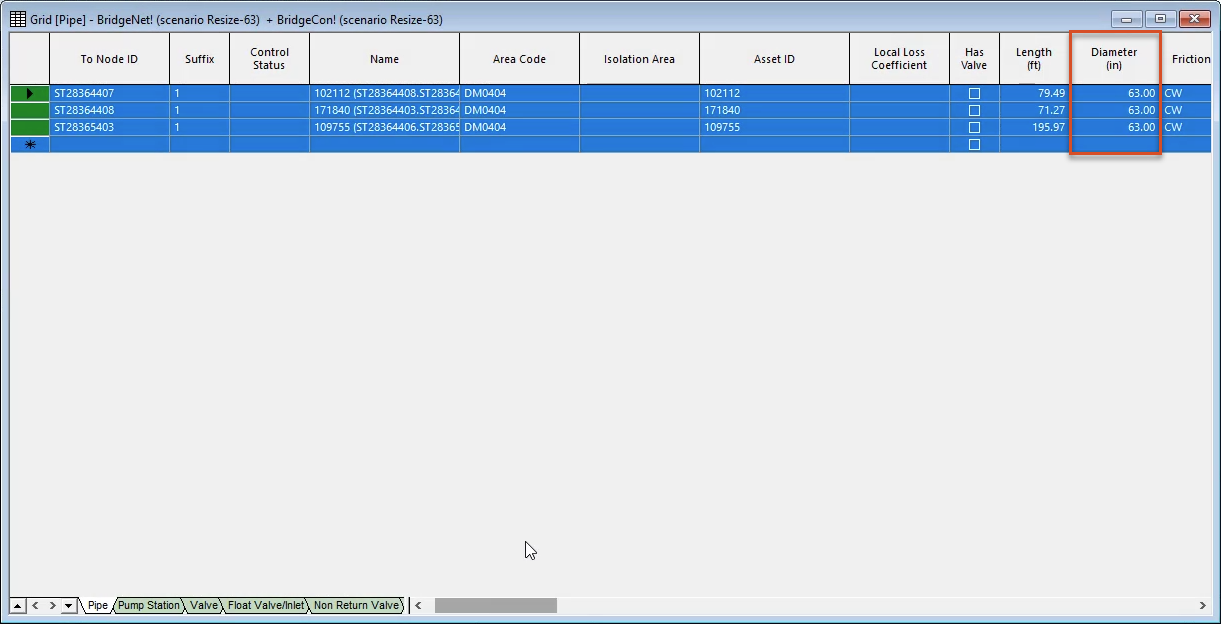
- In the Grid window, locate the Diameter column.
If needed, enter new values for each pipe here.
- Close the grid window.
To incorporate the scenario into an existing run group:
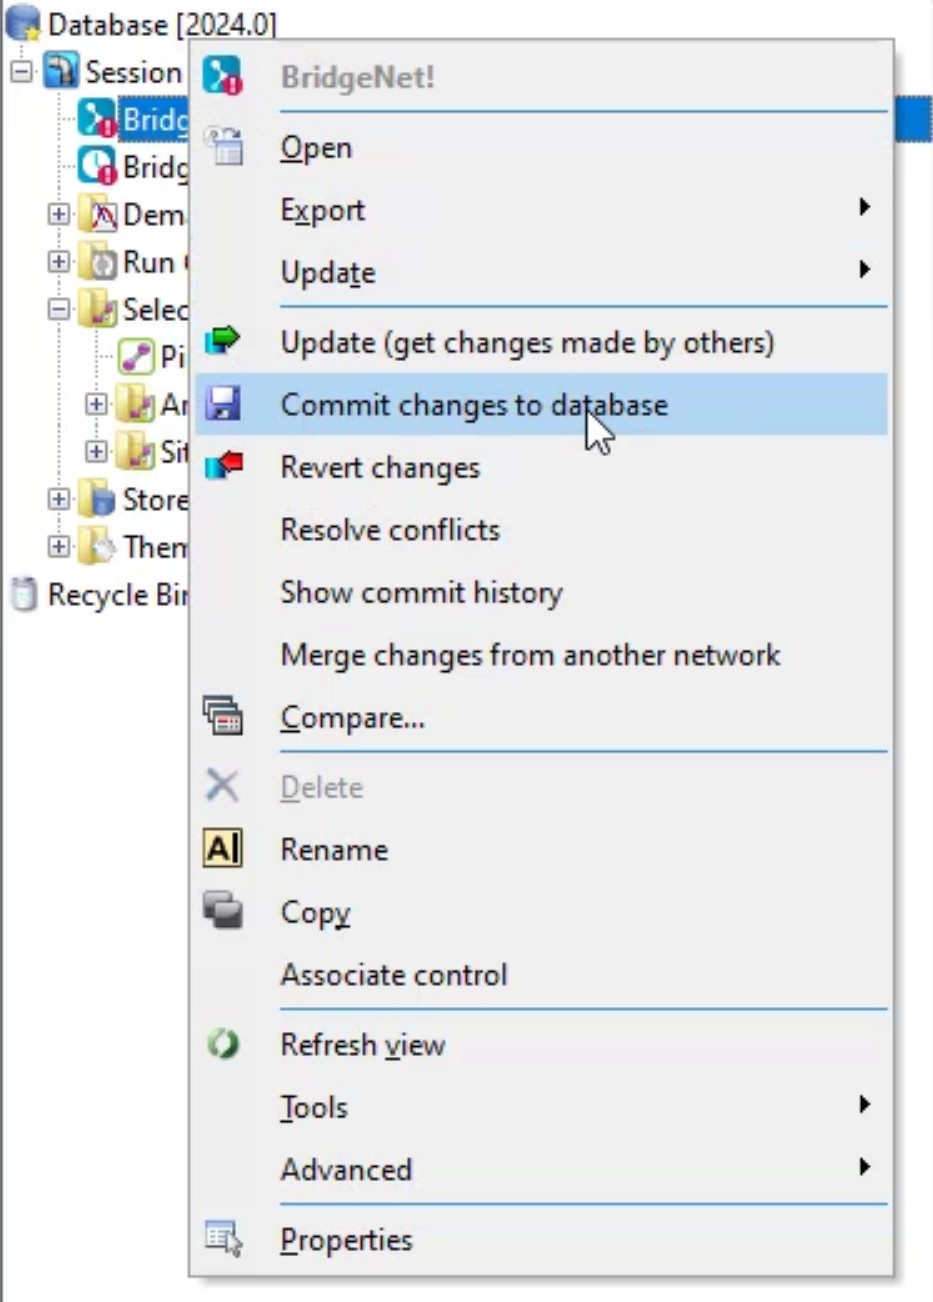
- In the Model Group window, right-click BridgeNet and select Commit changes to database.
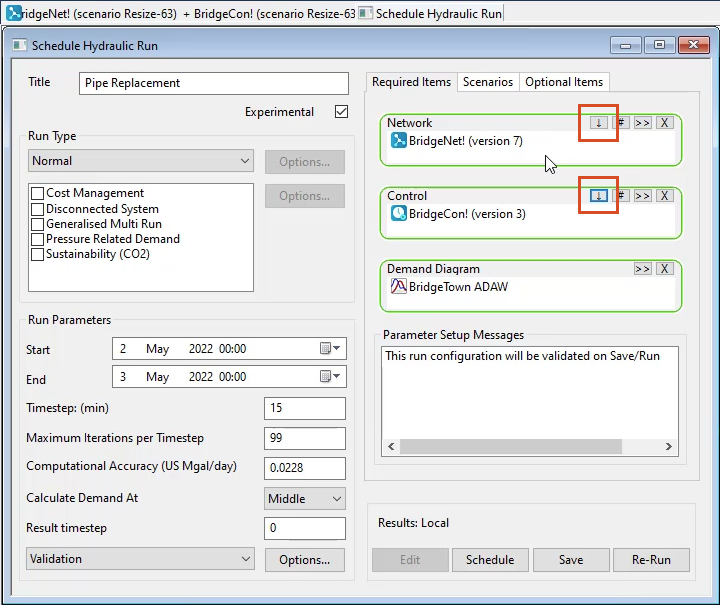
- Double-click the Pipe Replacement run group.
- In the Schedule Hydraulic Run dialog box, in the Network group box, click Update to latest.
- In the Control group box, click Update to latest.
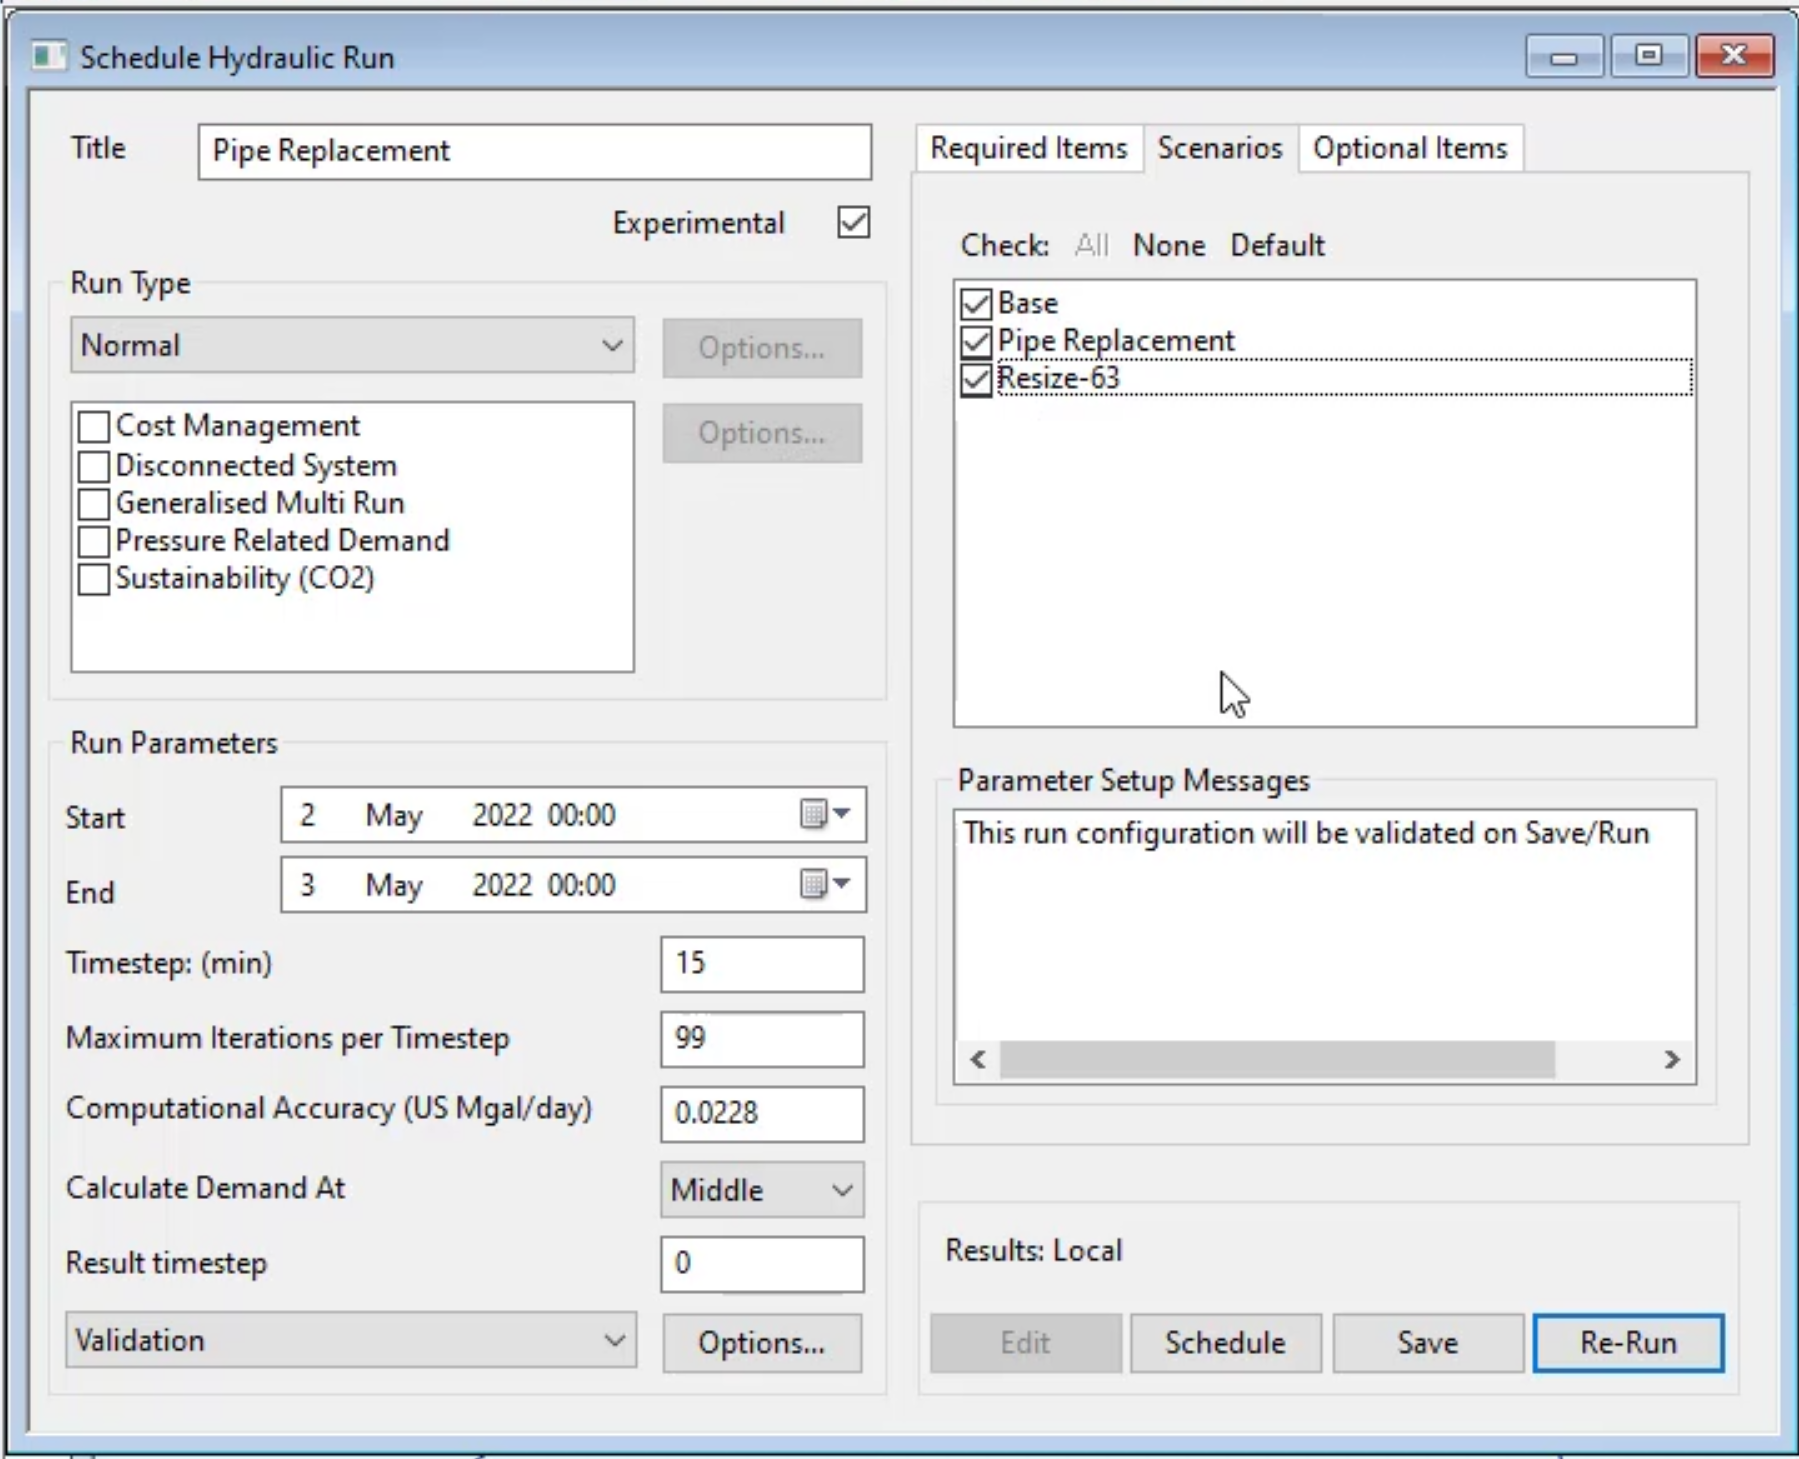
- Open the Scenarios tab.
- Select the box next to Resize-63.
- Click Save.
- Click Re-Run.
- Click Yes in the confirmation dialog box.
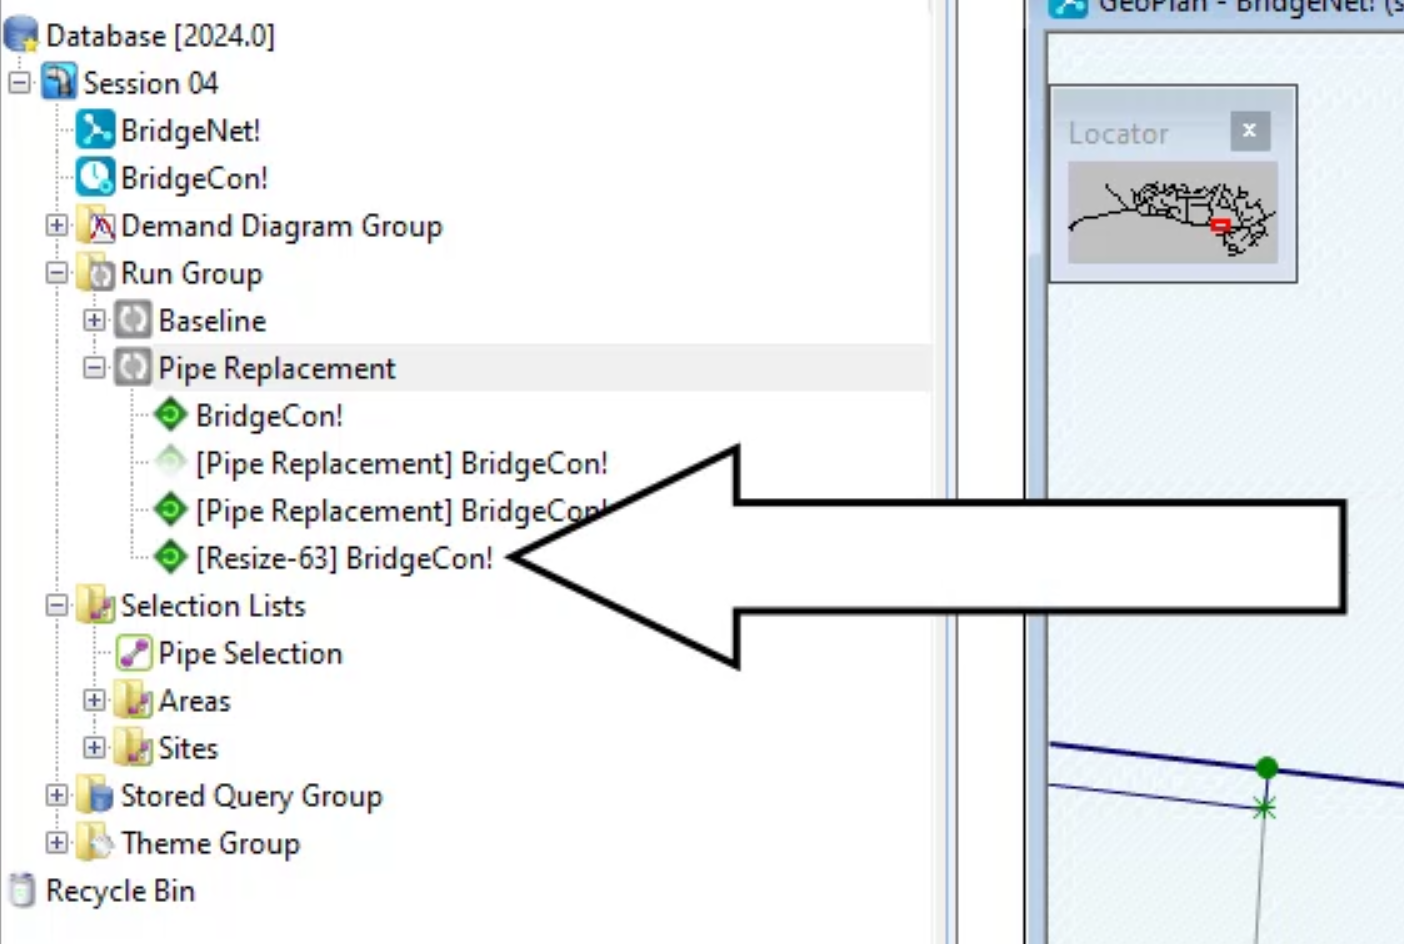
Notice in the Model Group window, the Resize-63 scenario has been simulated as part of the Pipe Replacement run group.
To view the results of a scenario, drag-and-drop it into the GeoPlan. Or, view the graph or grid results of each.


